Gaslands – Final touch
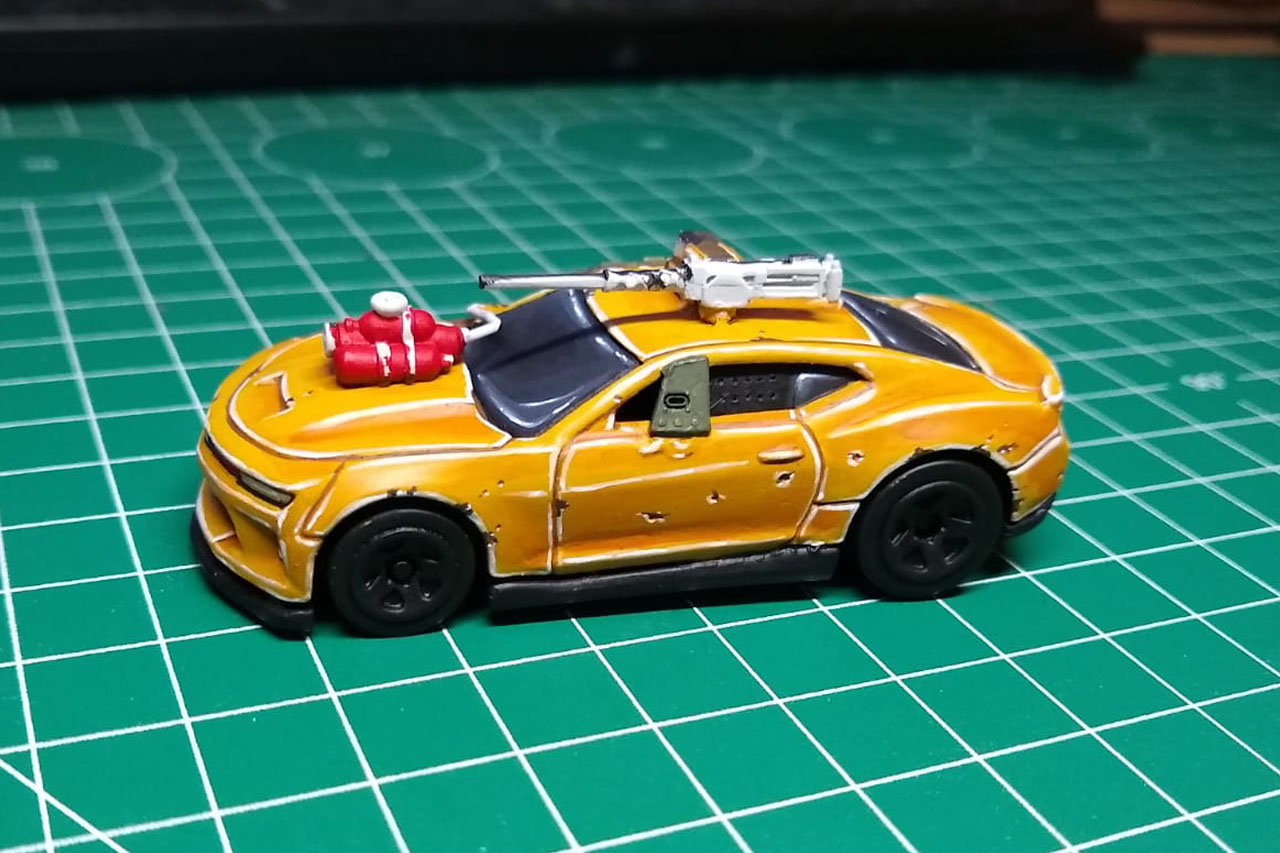
We're in the next round in Gaslands - last week I showed you the first steps in painting the car and today we'll finish it as promised. The base colour for the chassis was Plague Brown. But before I started to set the accents I made sure I separated all parts by mixing Parasite Brown and Black. With this I traced all the ridges on the car. Parasite Brown was also the color I used for the shadows. I mixed Parasite Brown about 50/50 with Lahmian Medium to create a wash.
" I said YELLOW! This isn't yellow!" shouted the freelancer angrily.
The pretty repairwoman smiled gloatingly and said:
"Freelancer, you just don't listen - I told you I'll fix your car and the parts will be available in any colour as long as it's Rutherford Green."
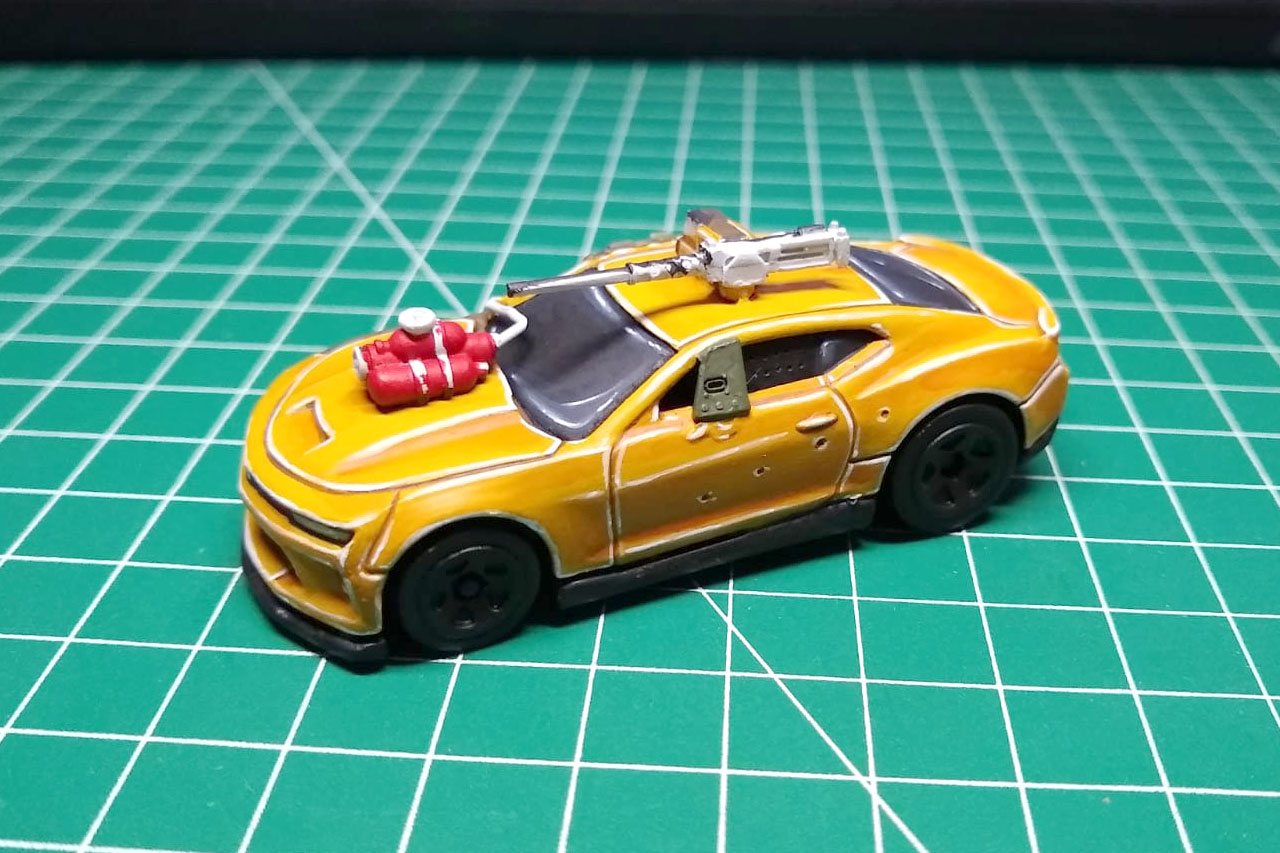
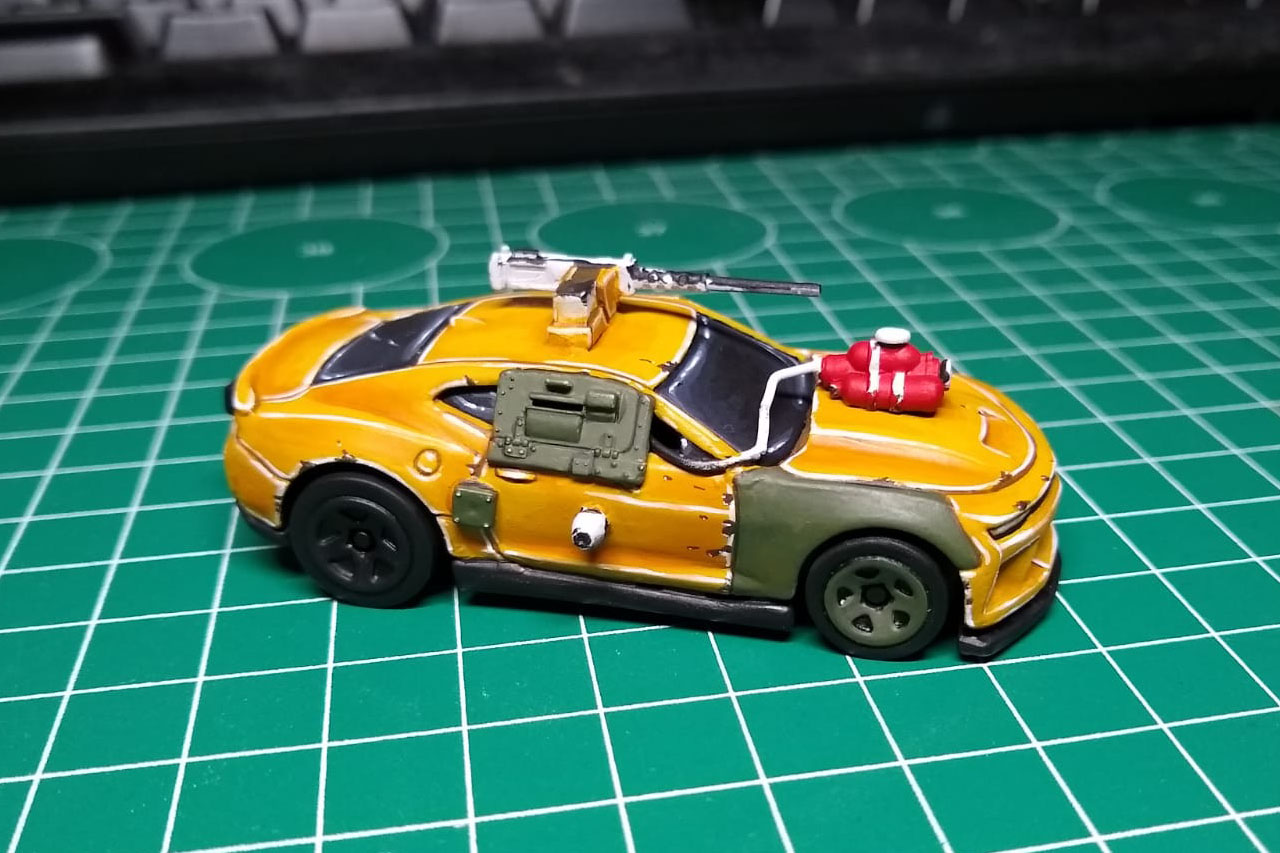
By the way, it is better to go over the darker areas with the wash a few times more often than to dilute the paint less. This creates a softer transition without having to put a lot of effort into it. Some of the parts I painted in US Dark Green. This gave the impression that some of them had been replaced with others. Afterwards I painted on some scratches with the same mix as for the shadows, but with a little more Black in it.

In order to make the whole thing look like chipped paint, paint a white dot at the bottom or in the corner of the scratches. This is a common and very simple method to create a recognizable effect. Even if you are driving a Wasteland car, you should avoid painting too many weather effects onto it. Sometimes less is simply more, otherwise the overall picture will look too artificial.
I followed the same method for the green parts of the car. Here US Dark Green was directly shaded with black and the accents were created by adding pure white to it.
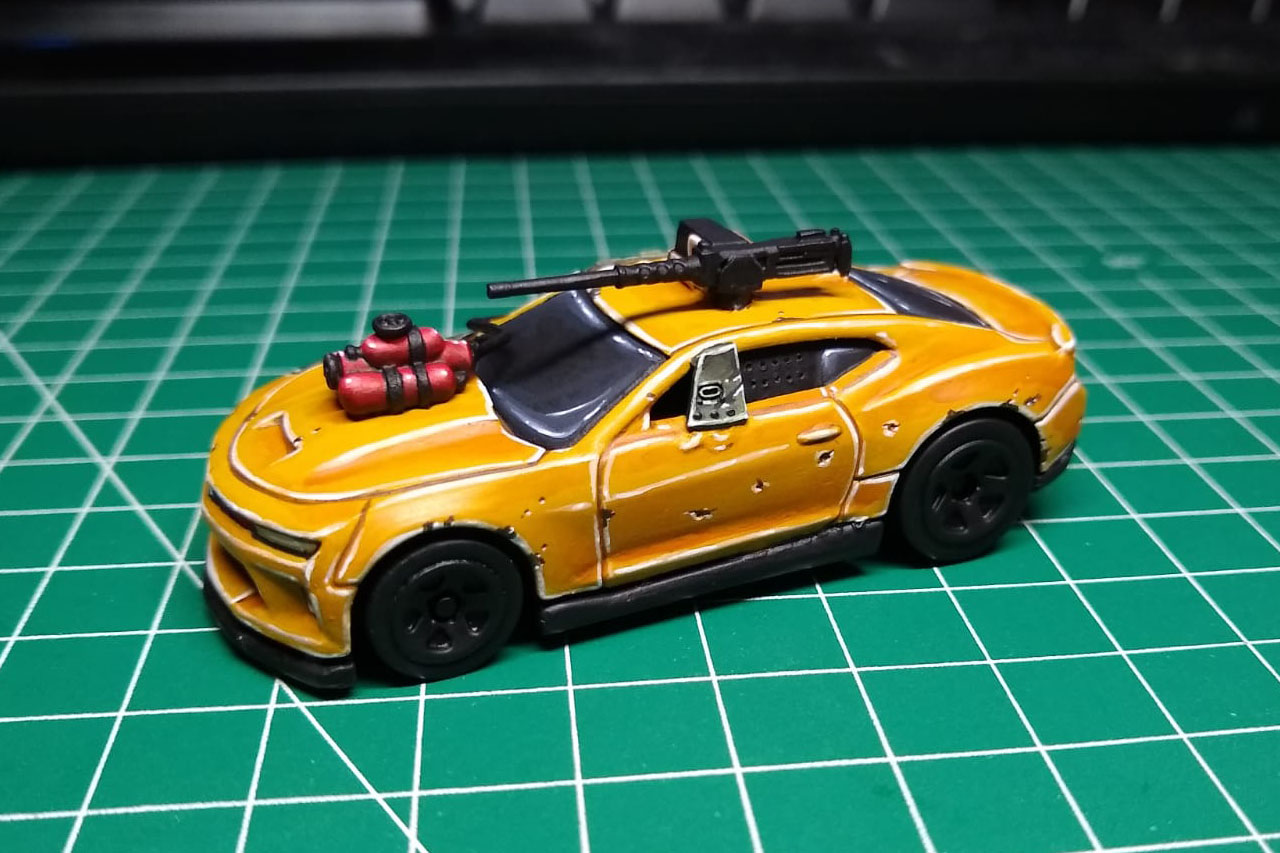

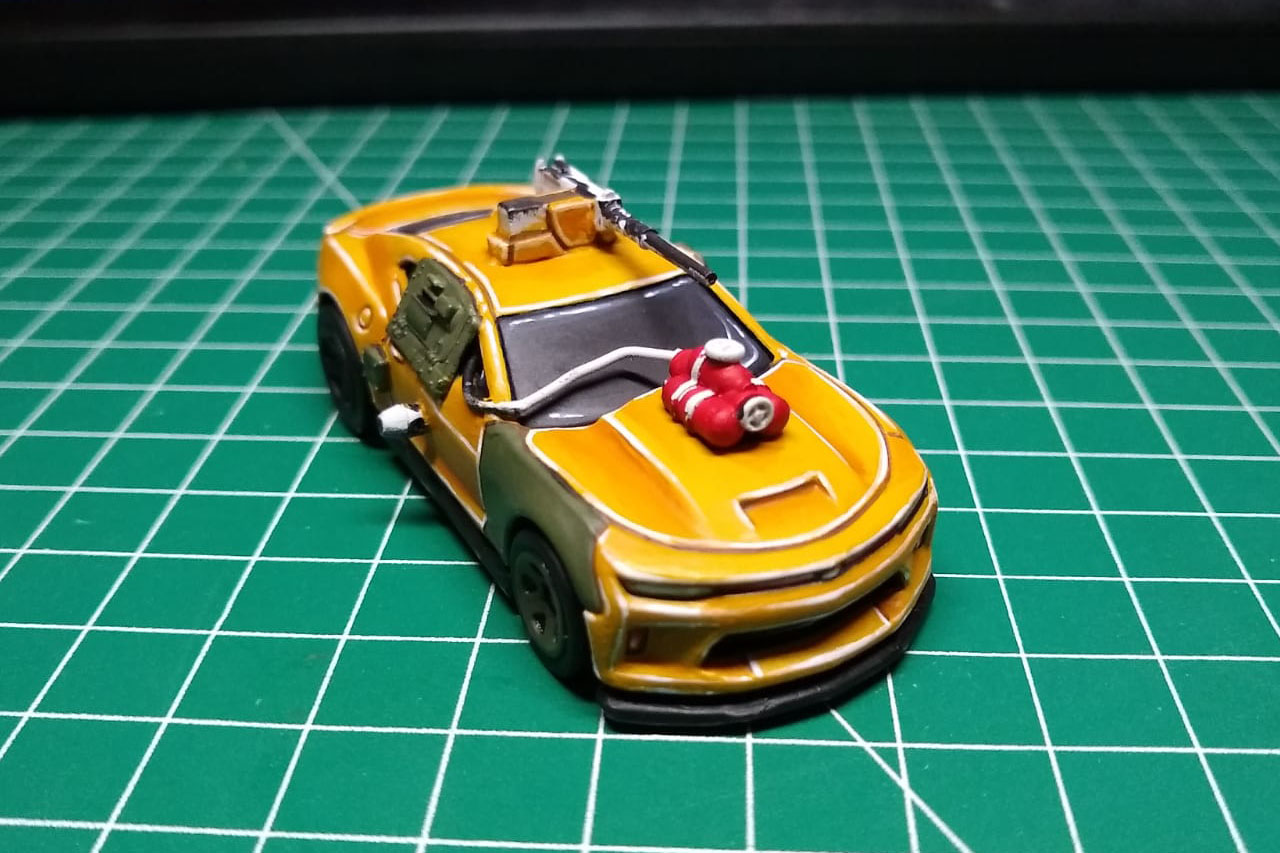
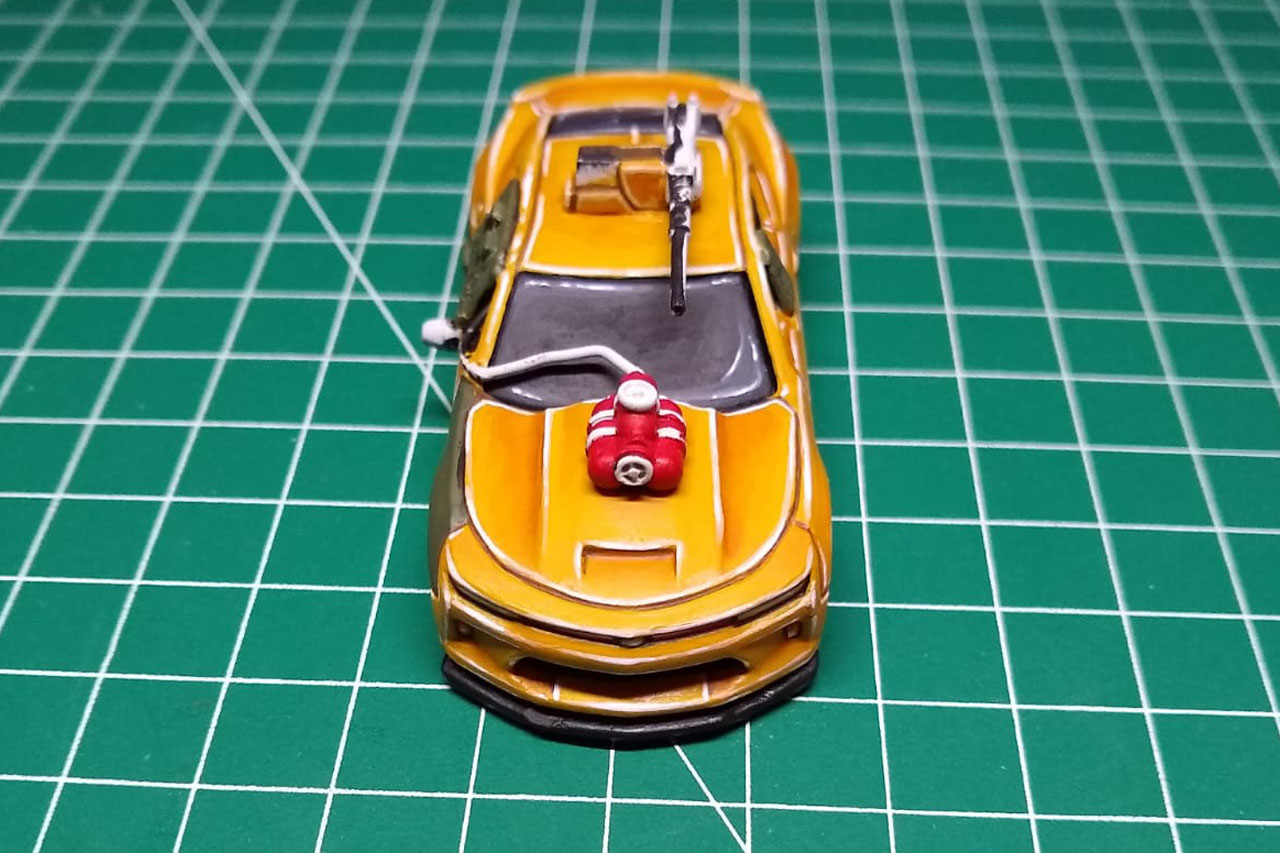
The tanks on the hood, on the other hand, were painted in Bloody Red. I inked the darker parts first by adding brown to the Red and later pure Black. I recommend to thin it a little bit down with medium to ensure the right blend. The accents were created with White and finished with white dots. This way you can imitate a shining effect.
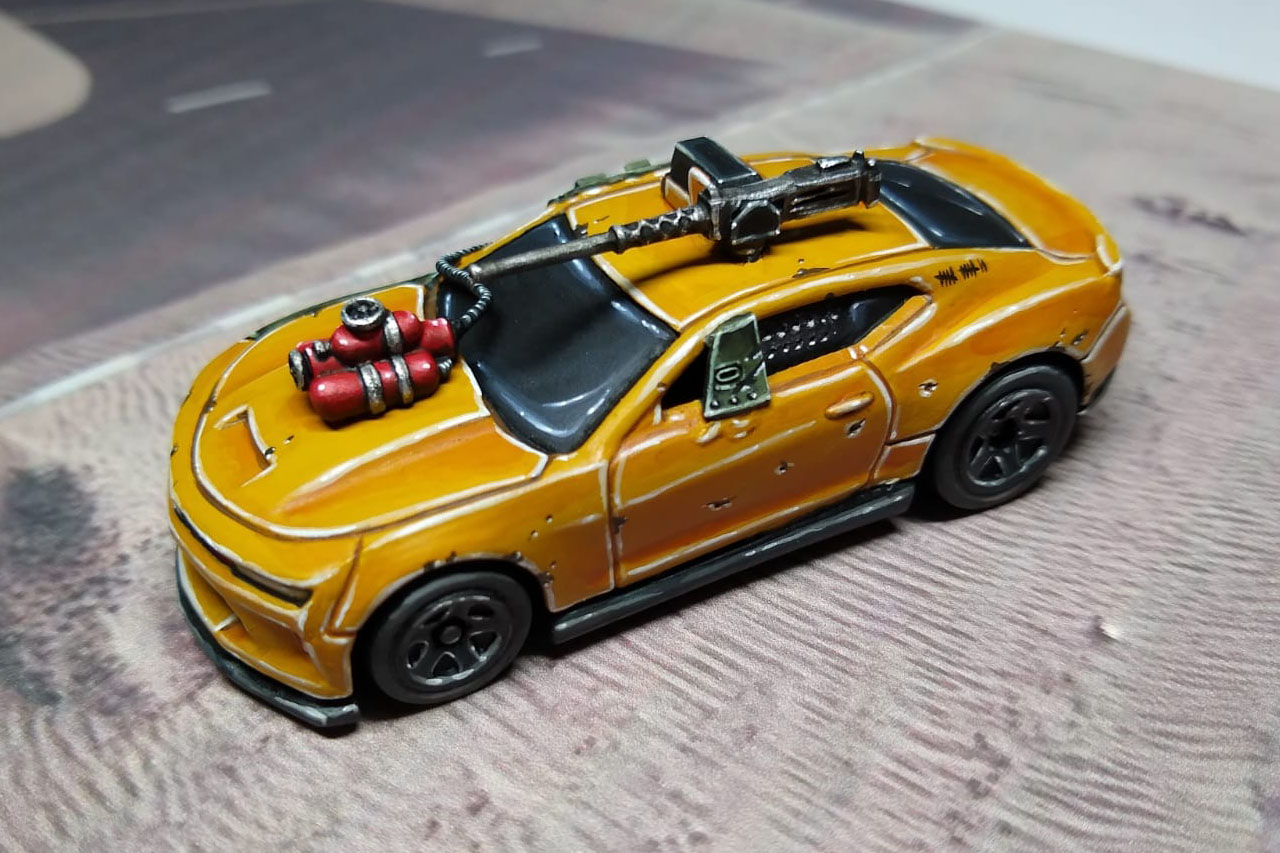
Now only the black areas and the silver parts were left. To create a visible difference to the windows, the accent color this time was Cold Grey instead of Sombre Grey, which is a little bit more bluish. I painted the silver parts in Runefang Steel, inked them with a black wash and highlighted the edges with Plata, a very bright, almost white silver.
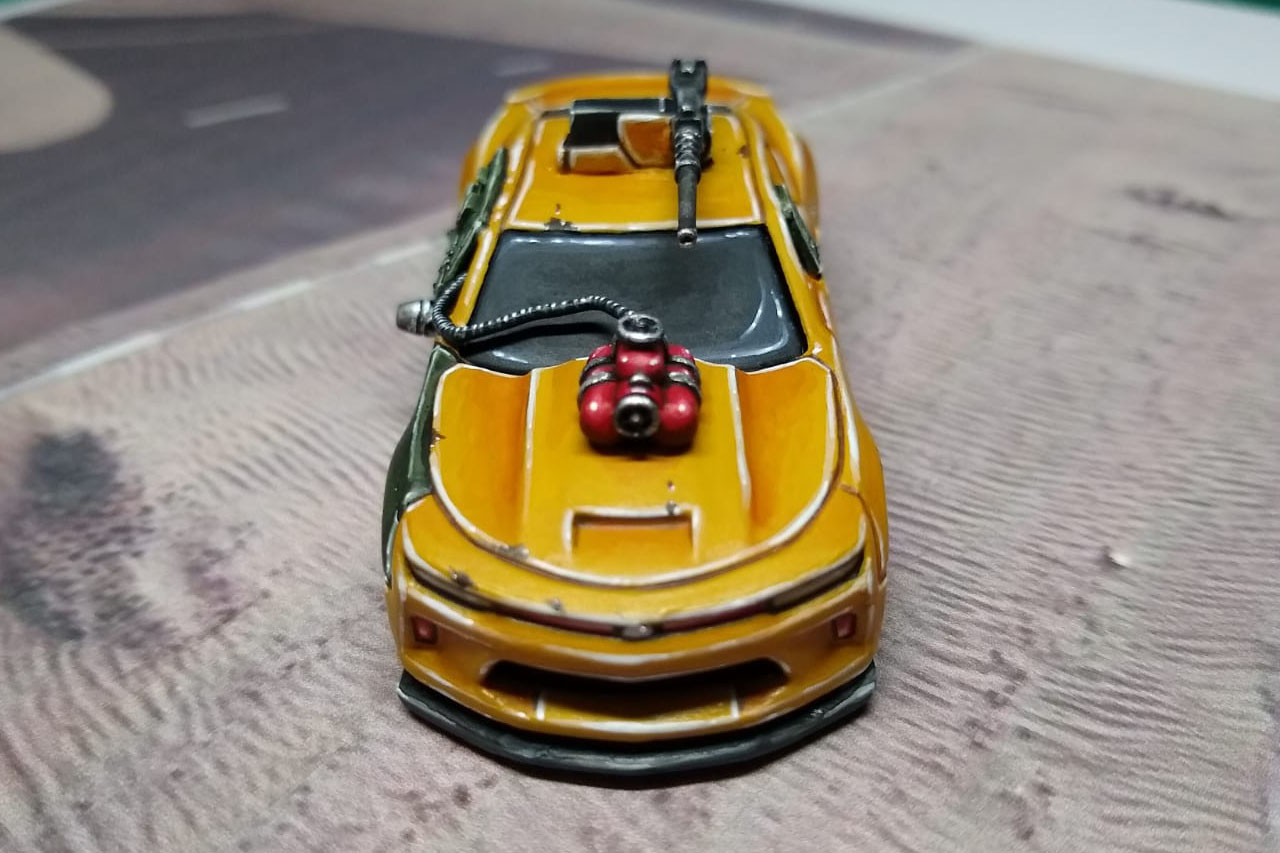
To create a nicer final image, I printed out a picture of a street using Google. There are tons of them on the net and with the mobile app "Movie Effects" you can add a few more little gimmicks, as you can see here...
So freelancer Dino is fit to drive and on the road again. Is that it, then? Of course not! But that's another story... to be told next week.
Greetings from Rutherford‘s workshop
Dino
Enjoy this article?
Like us on Facebook

Follow me on Instagram

Categories
- events (201)
- fantasy (589)
- General (160)
- historical (627)
- Little Big Adventures (4)
- offtopic (5)
- reviews (531)
- science fiction (664)
- showroom (101)
- terrain (114)
- work-in-progress (413)


March 30th, 2020 - 09:38
Excellent Daniel!
Cheers
Matt
French Wargame Holidays