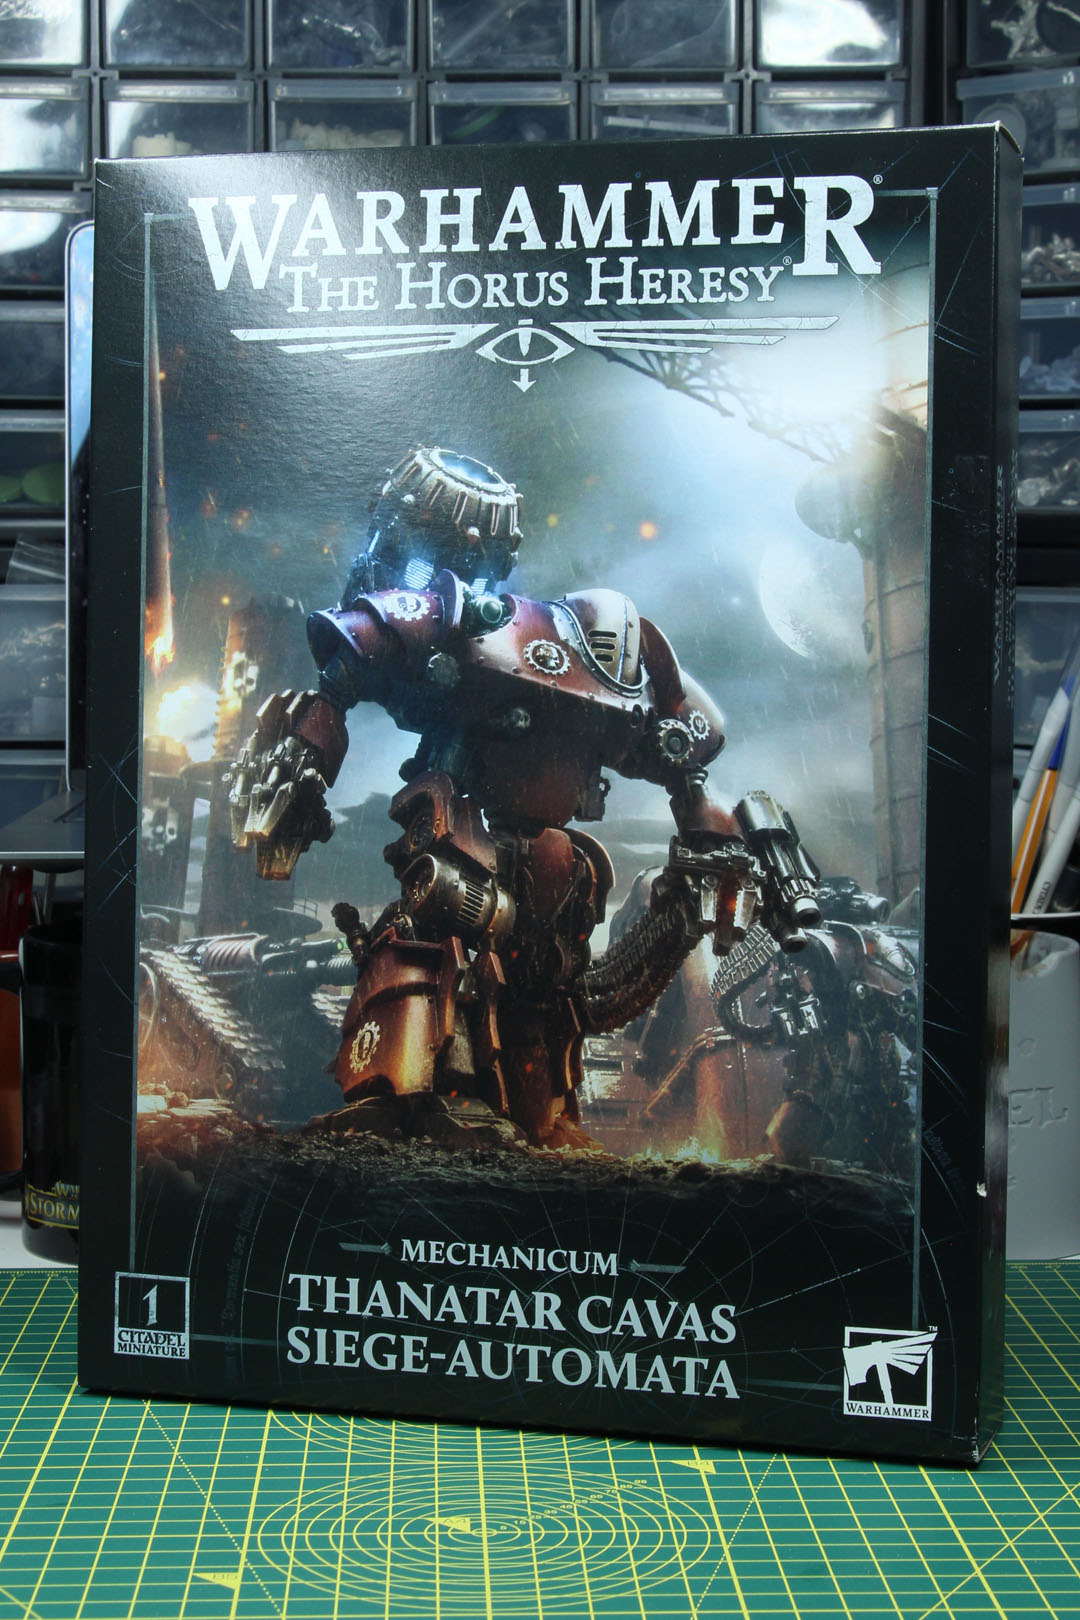
Horus Heresy – Mechanicum Thanatar Cavas Siege-Automata
Along with the individual kits from the Mechanicum Battlegroup there are three novelties for pre-order this Saturday, the new supplement for Horus Heresy - The Martian Civil War, an Archmagos Prime and the Thanatar Cavas Siege-automata. The last one we're going to build today.
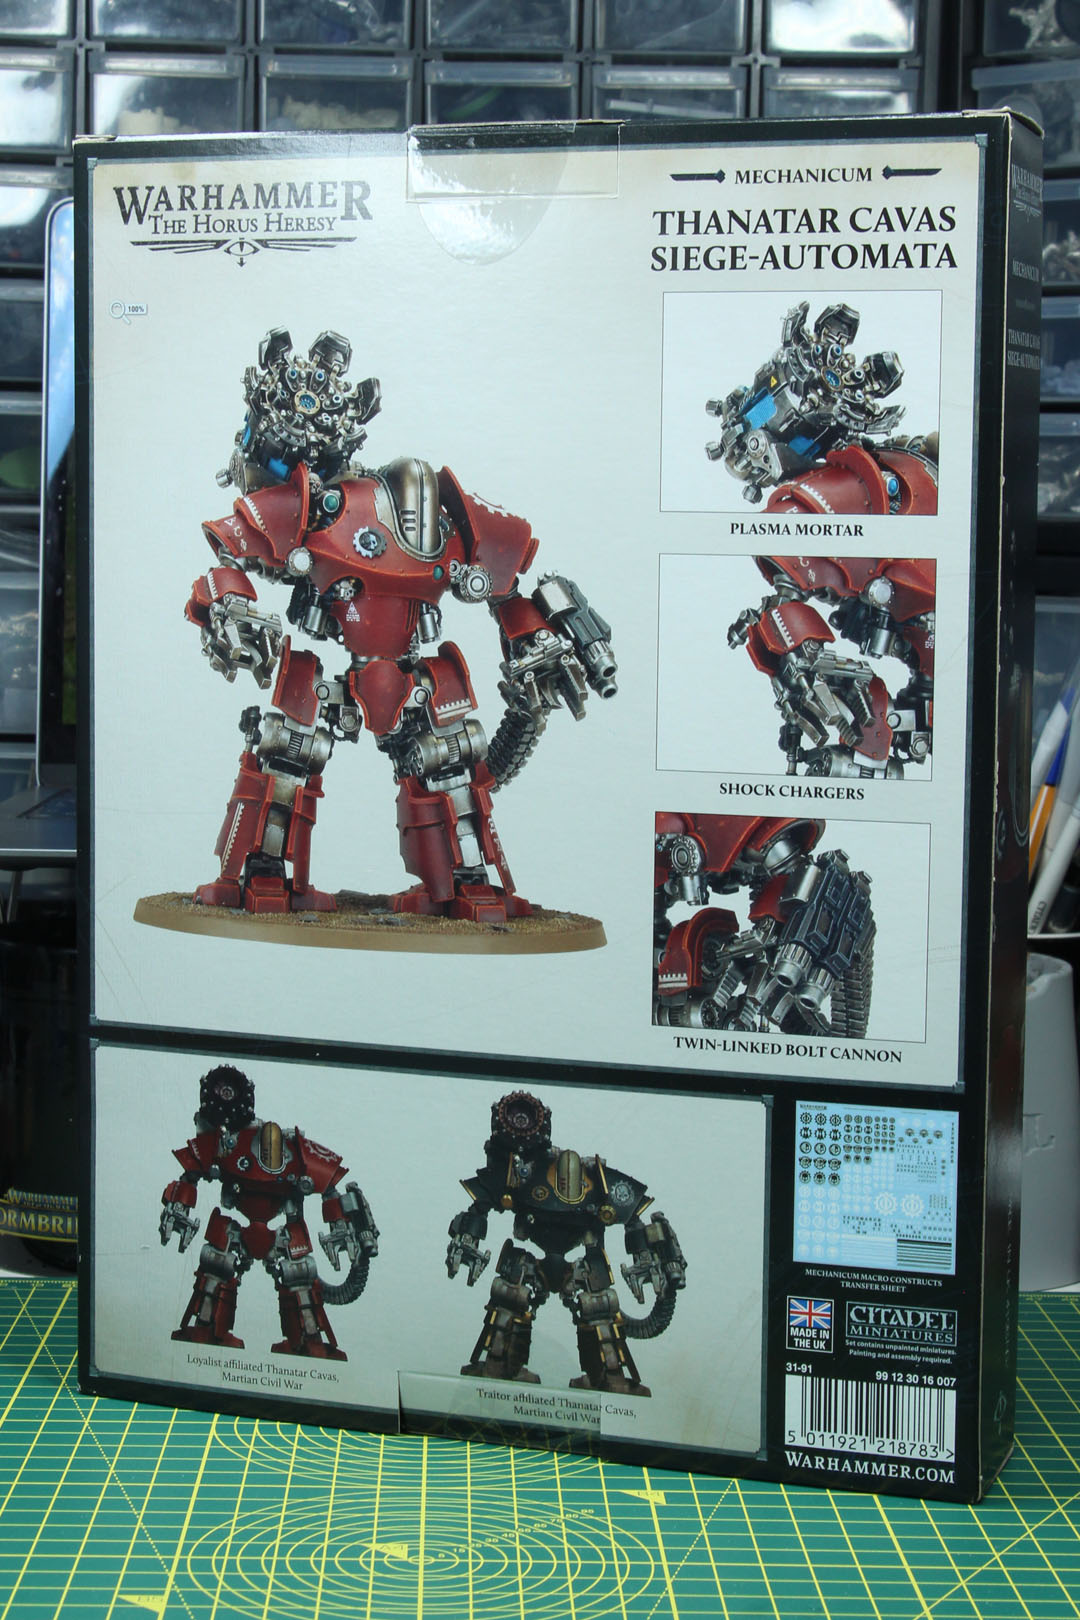
The Thanatar Automata is the largest walker, that is not a Knight, within the ranks of the Mechanicum and a former resin kit, available in the Cavas or Calix Siege-Automata variants. With the Cavas being the first to the produced in plastic. But don't worry, you will see it further below, the kit (or rather the sprues) are designed in a way, that the armament can be swapped and the Calix variant will likely be covered with a weapon sprue of its own.
The heavy class imperial robot was used by the Legio Cybernetica during the Great Crusade and Horus Heresy. The Thanatar class was developed to be able to provide a frame for heavier weapon, with a greater power / fuel supply than the Castellax Battle-Automata, and its role was moved from a general battle unit to a mobile artillery platform, thus creating the siege function. In the standard variant, called the Cavas, it is armed with a Hellex Pattern Plasma Mortar, and the derivate Calix-class has a Solex Pattern Heavy Lascannon. There was the development of a third pattern, the Cynis-class, by the Magi of Forge World Esteban III (home to Legio Tempestus/Tempestor), armed with Cynis Pattern Plasma Ejector, as an attempt to increase their influence and standing within the greater Mechanicum. But the more powerful Forge World of Ryza holds a monopoly on the knowledge of plasma weaponry, resulting in an inferior development of the Cynis pattern, causing it to be more unstable with a higher tendency to self-destruction.
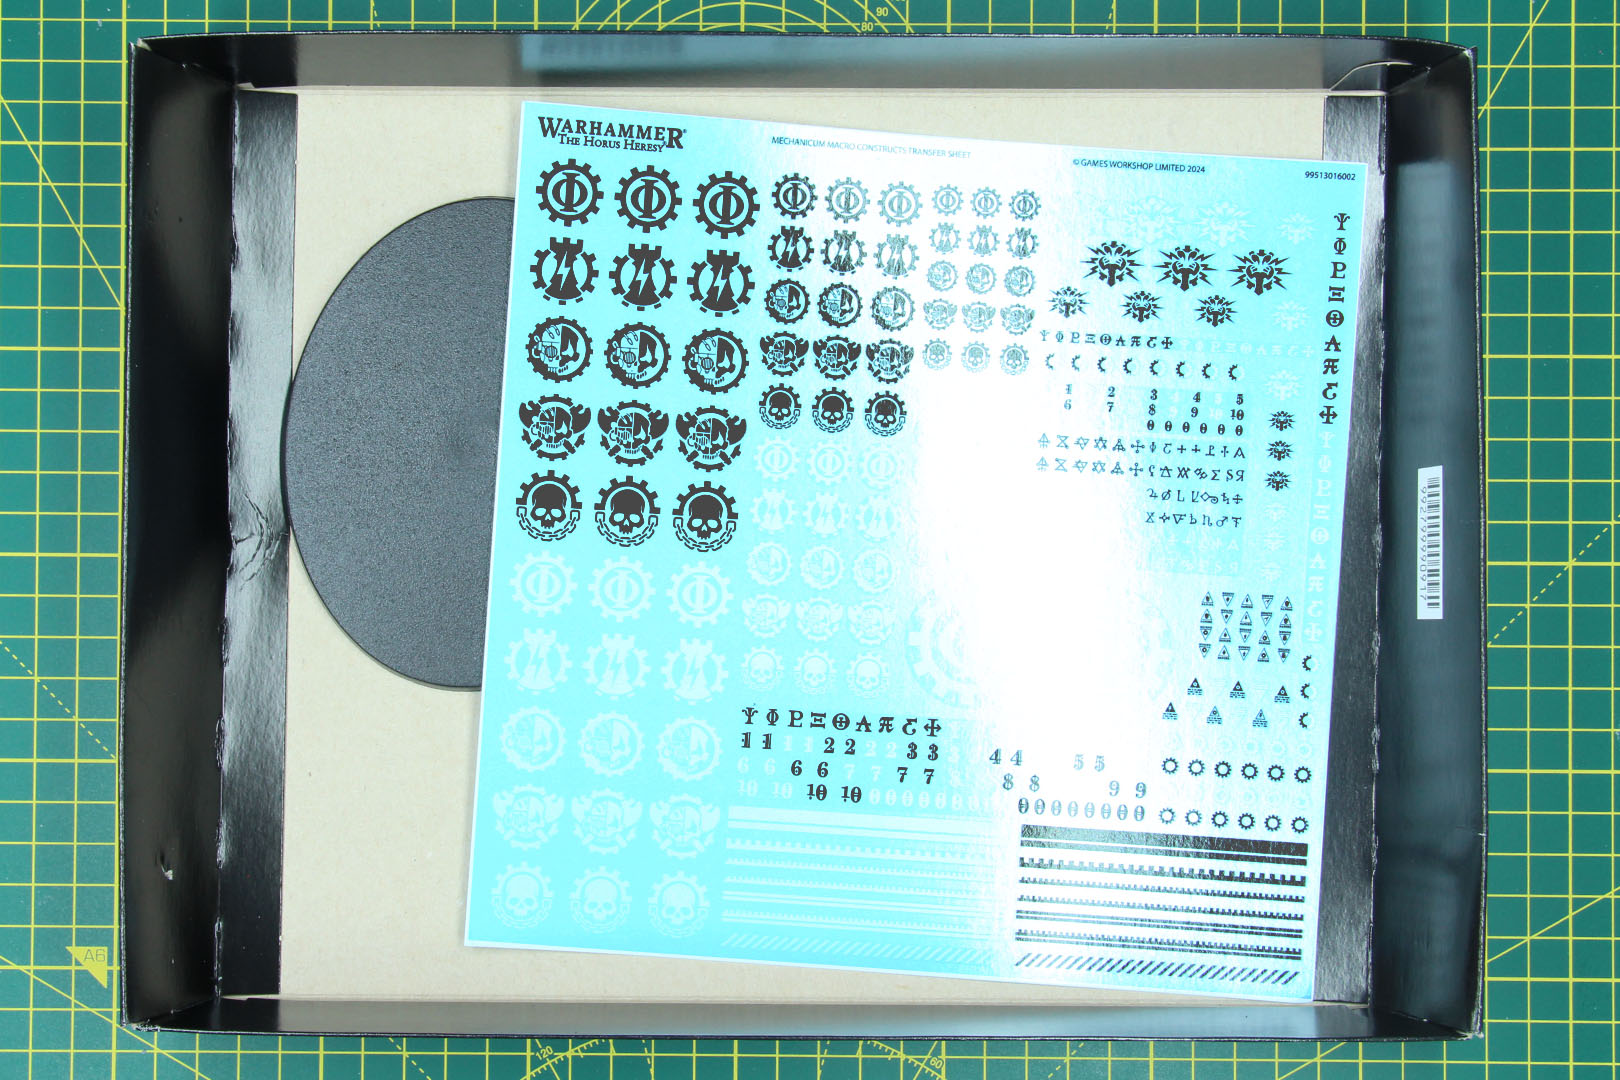
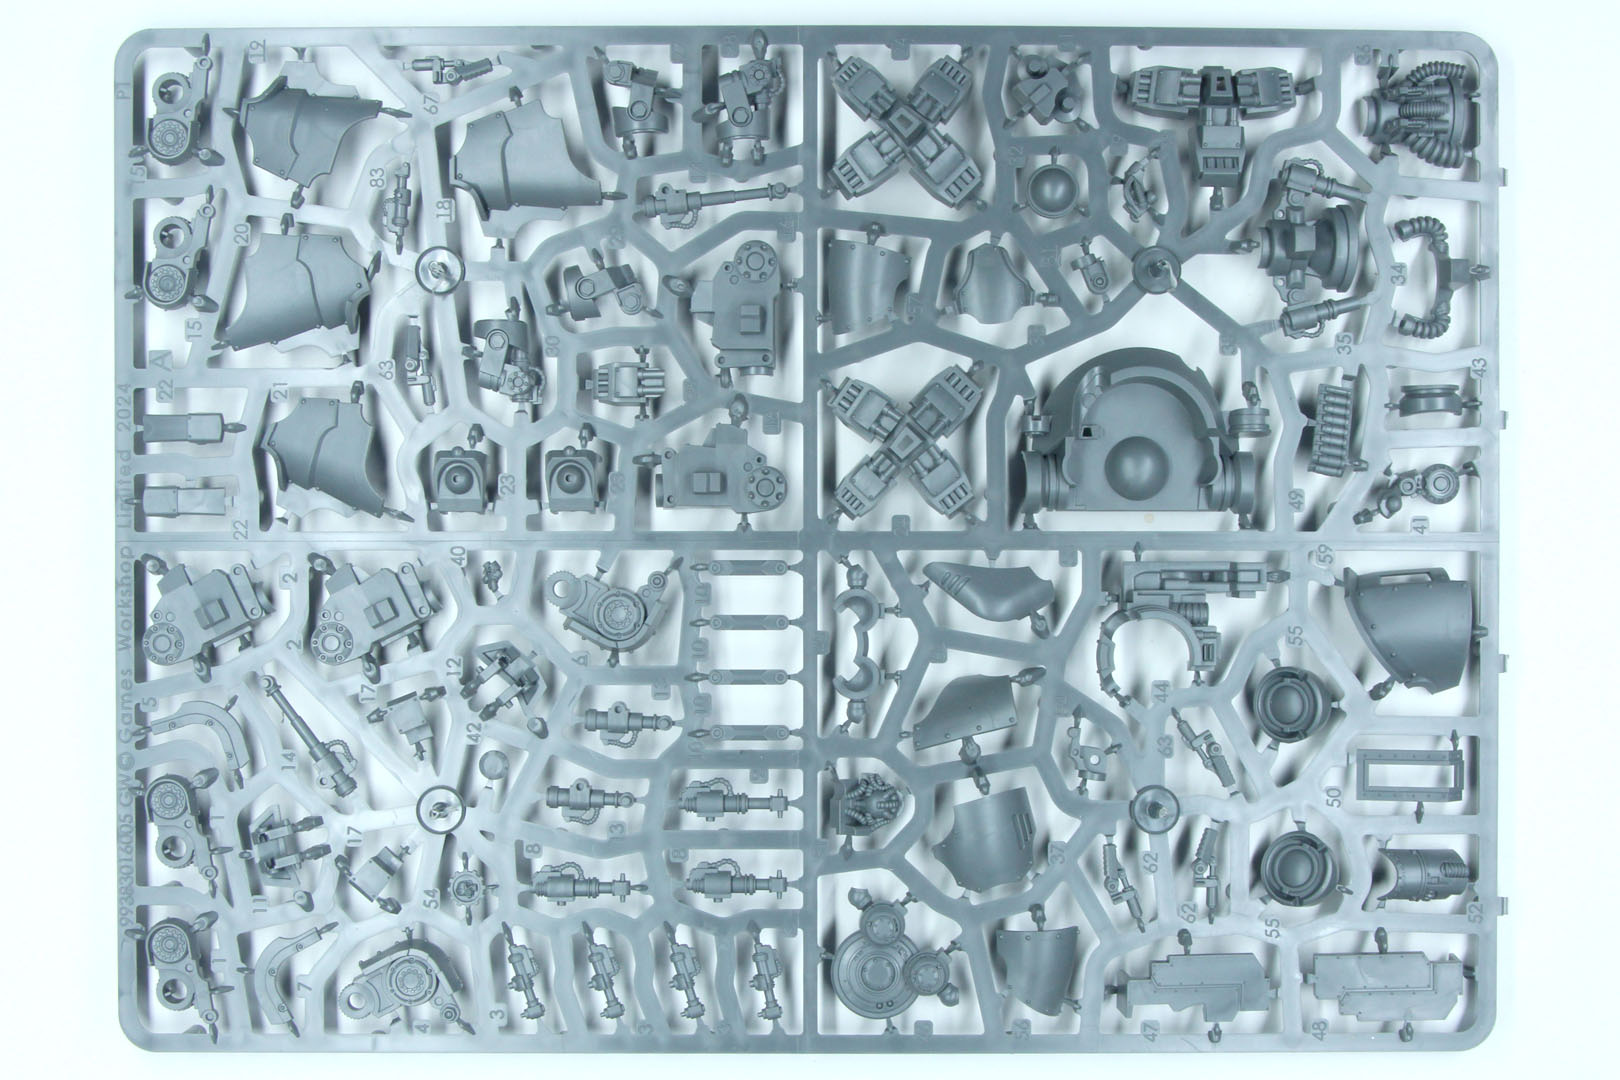
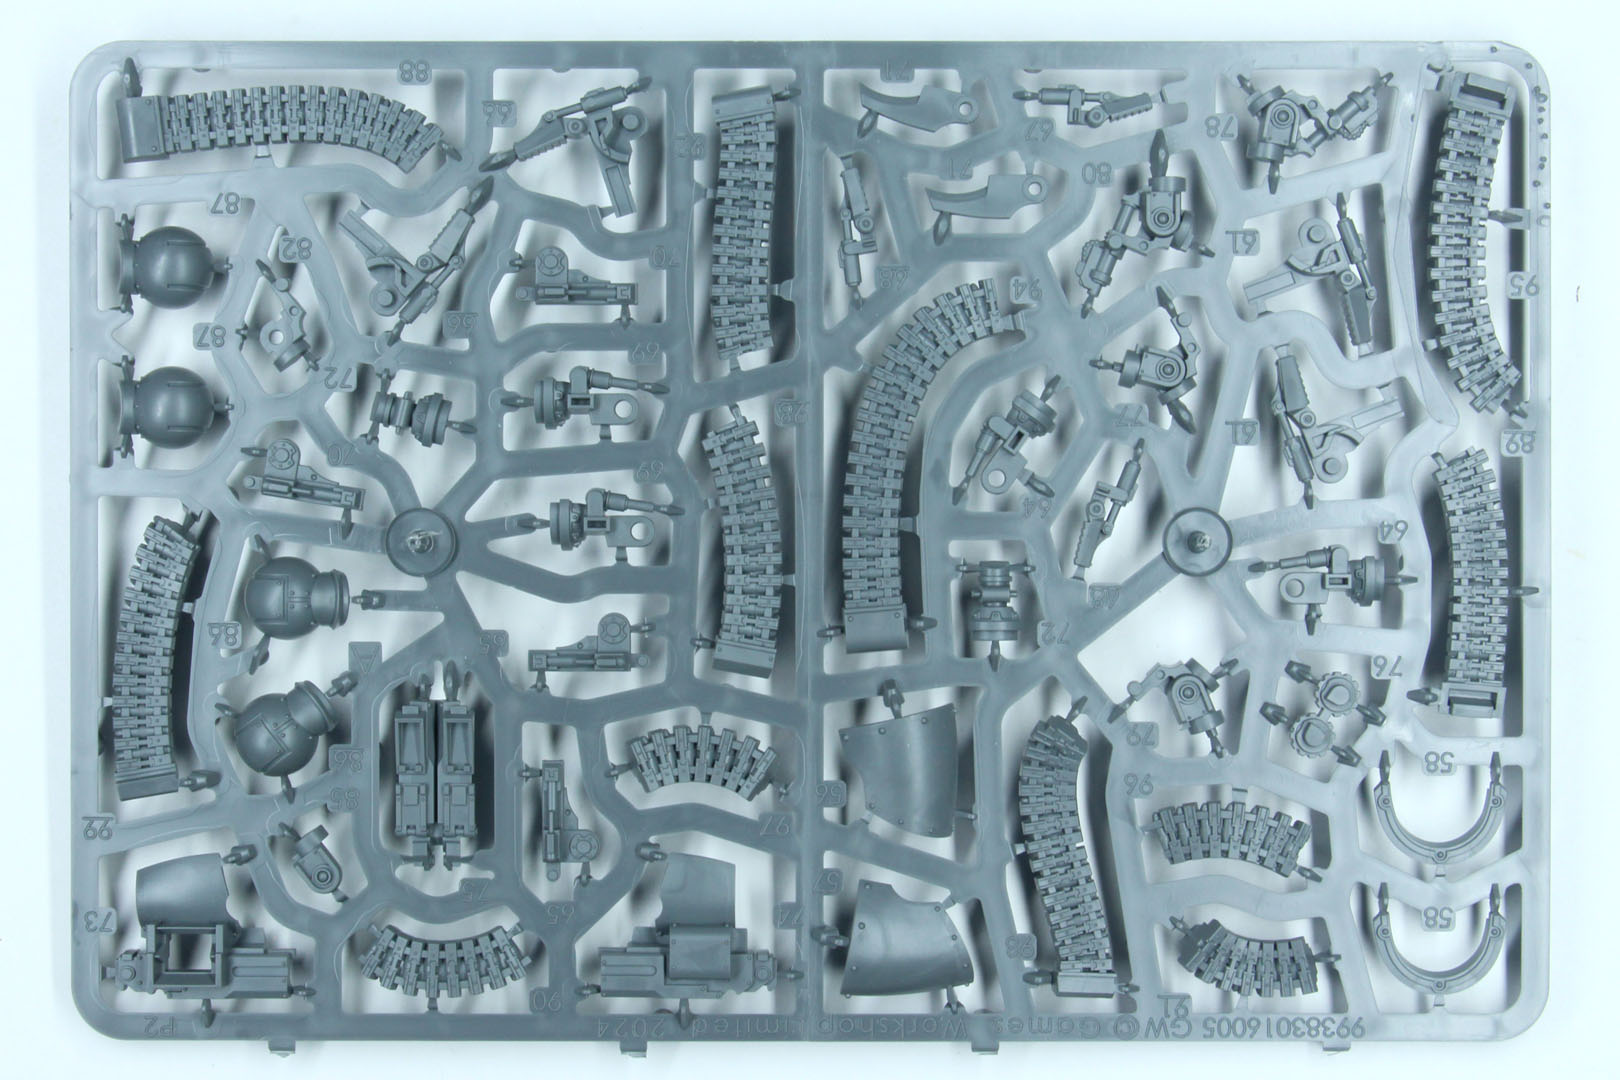
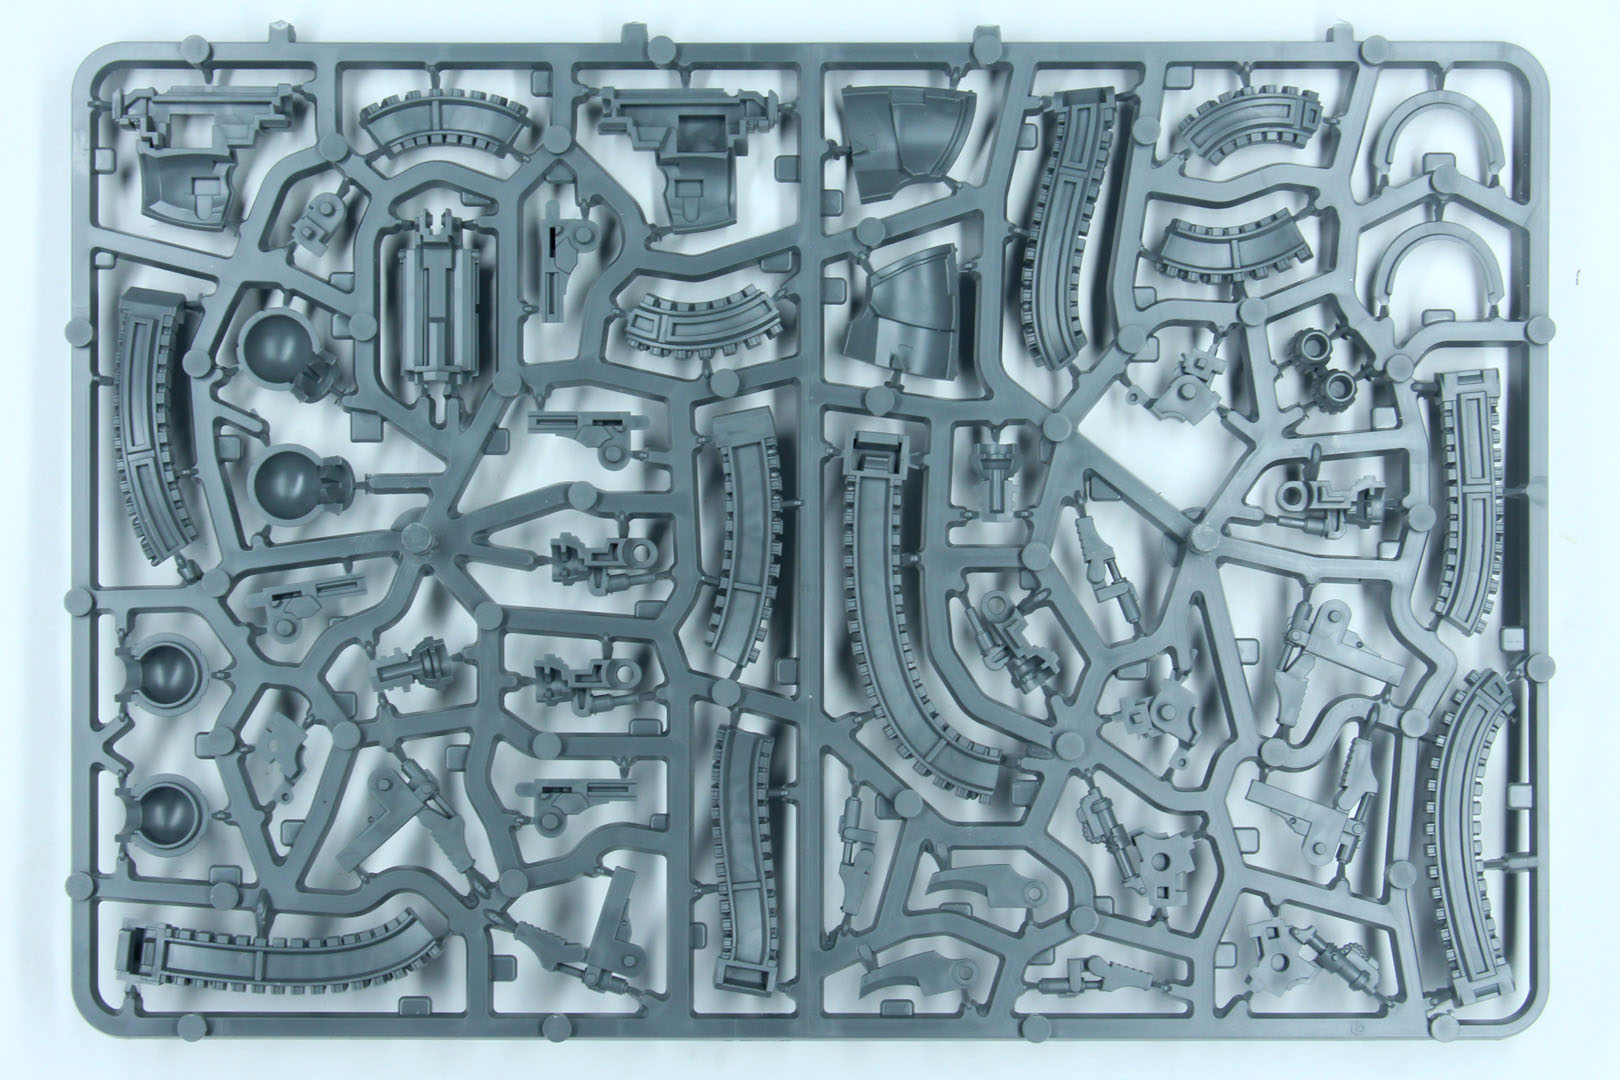
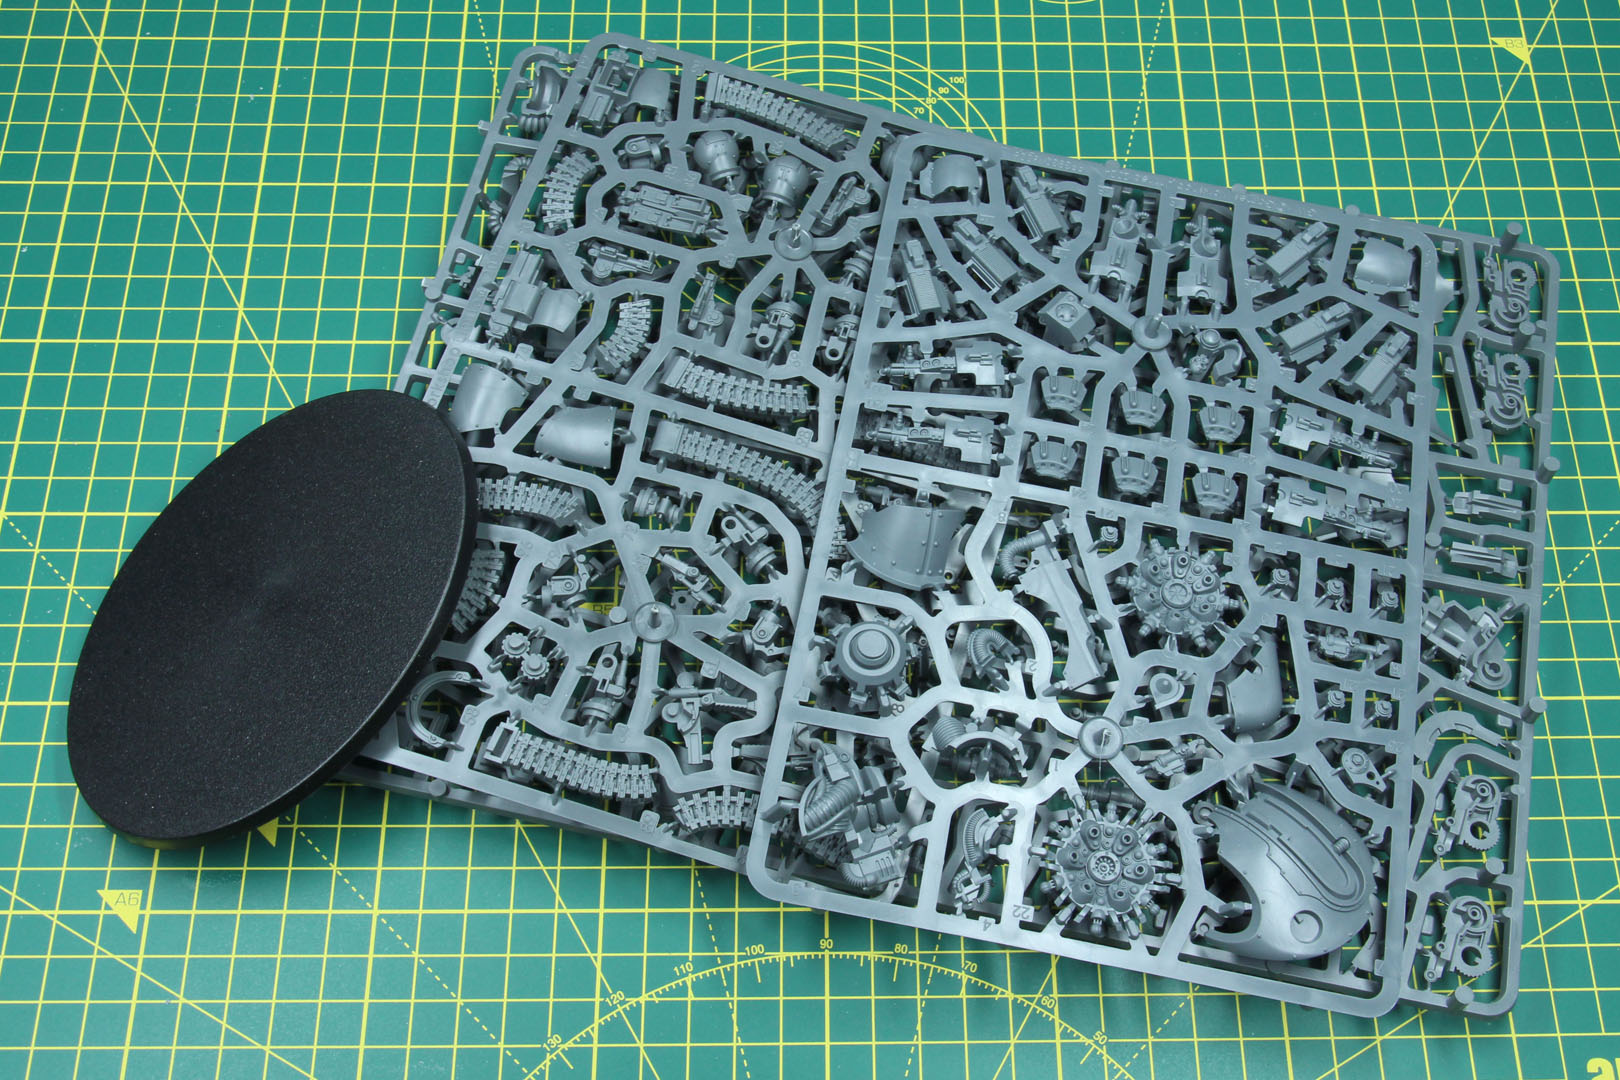
The Thanatar Cavas Siege Automata is a multi-part plastic kit, build from three sprues (a large one, and two medium sized ones), comes with a large 120 x 92mm oval base, a grey-scale instruction leaflet and large decal sheet. The RRP of this kit is set at 82,50 EUR, making it noticeably cheaper than the former resin kit at 125 EUR.
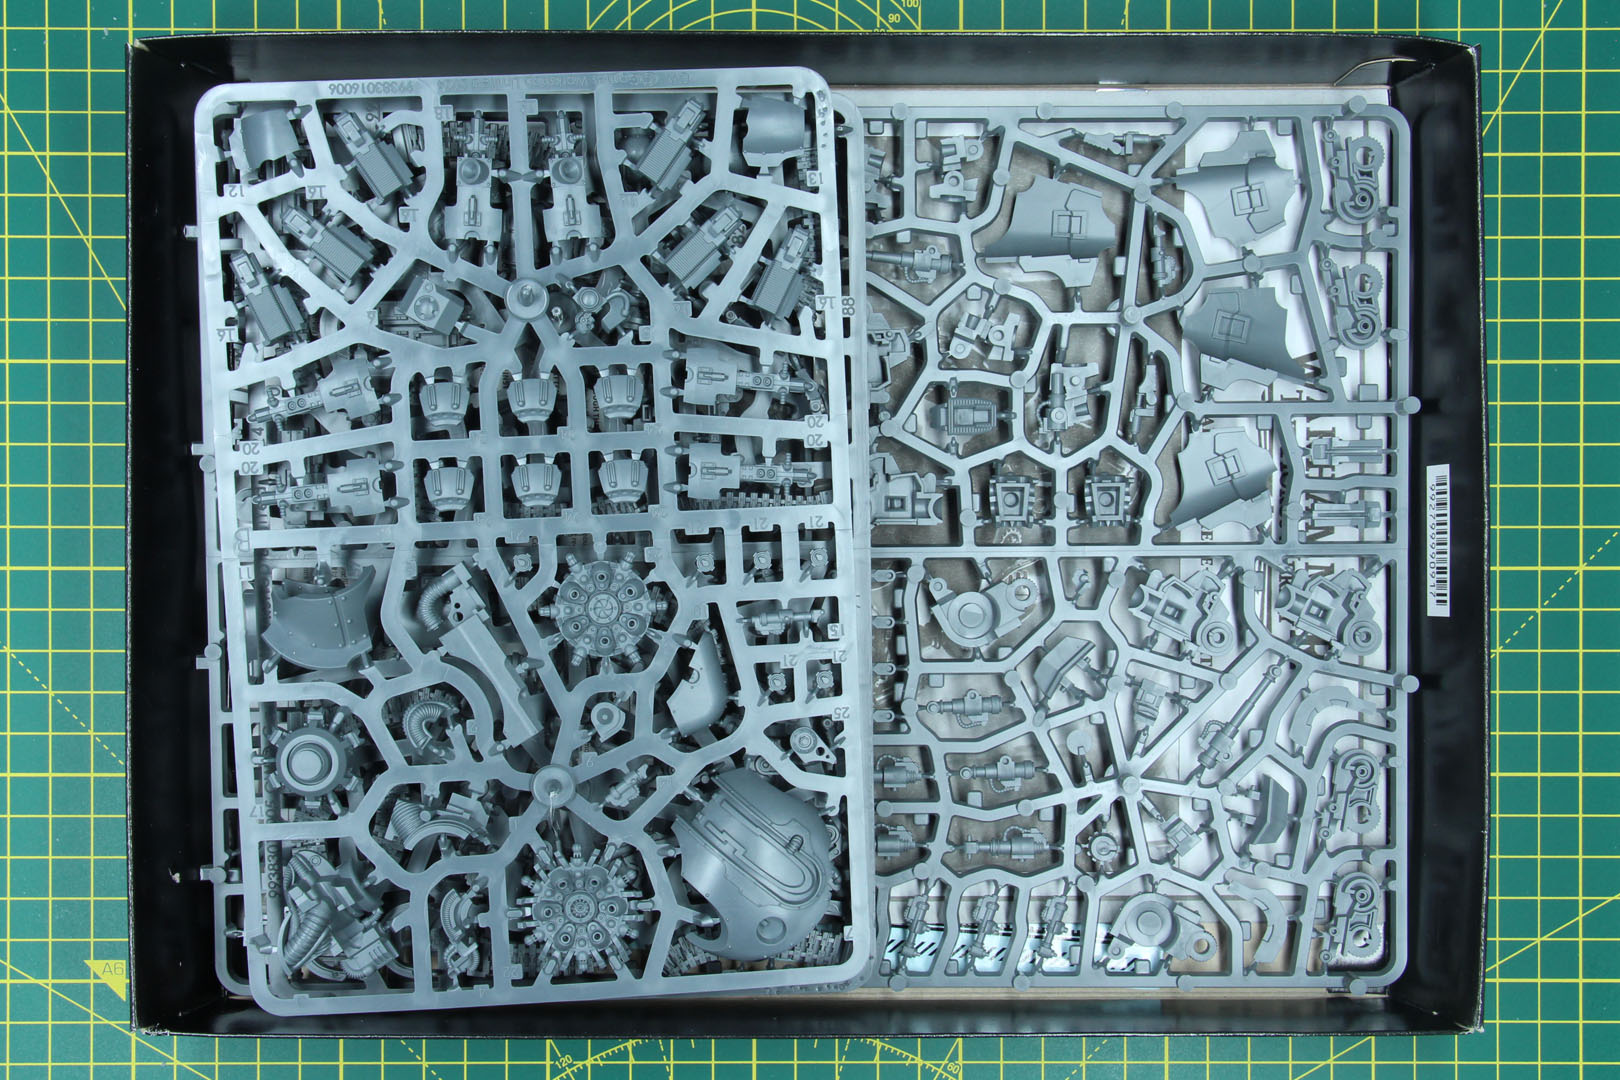
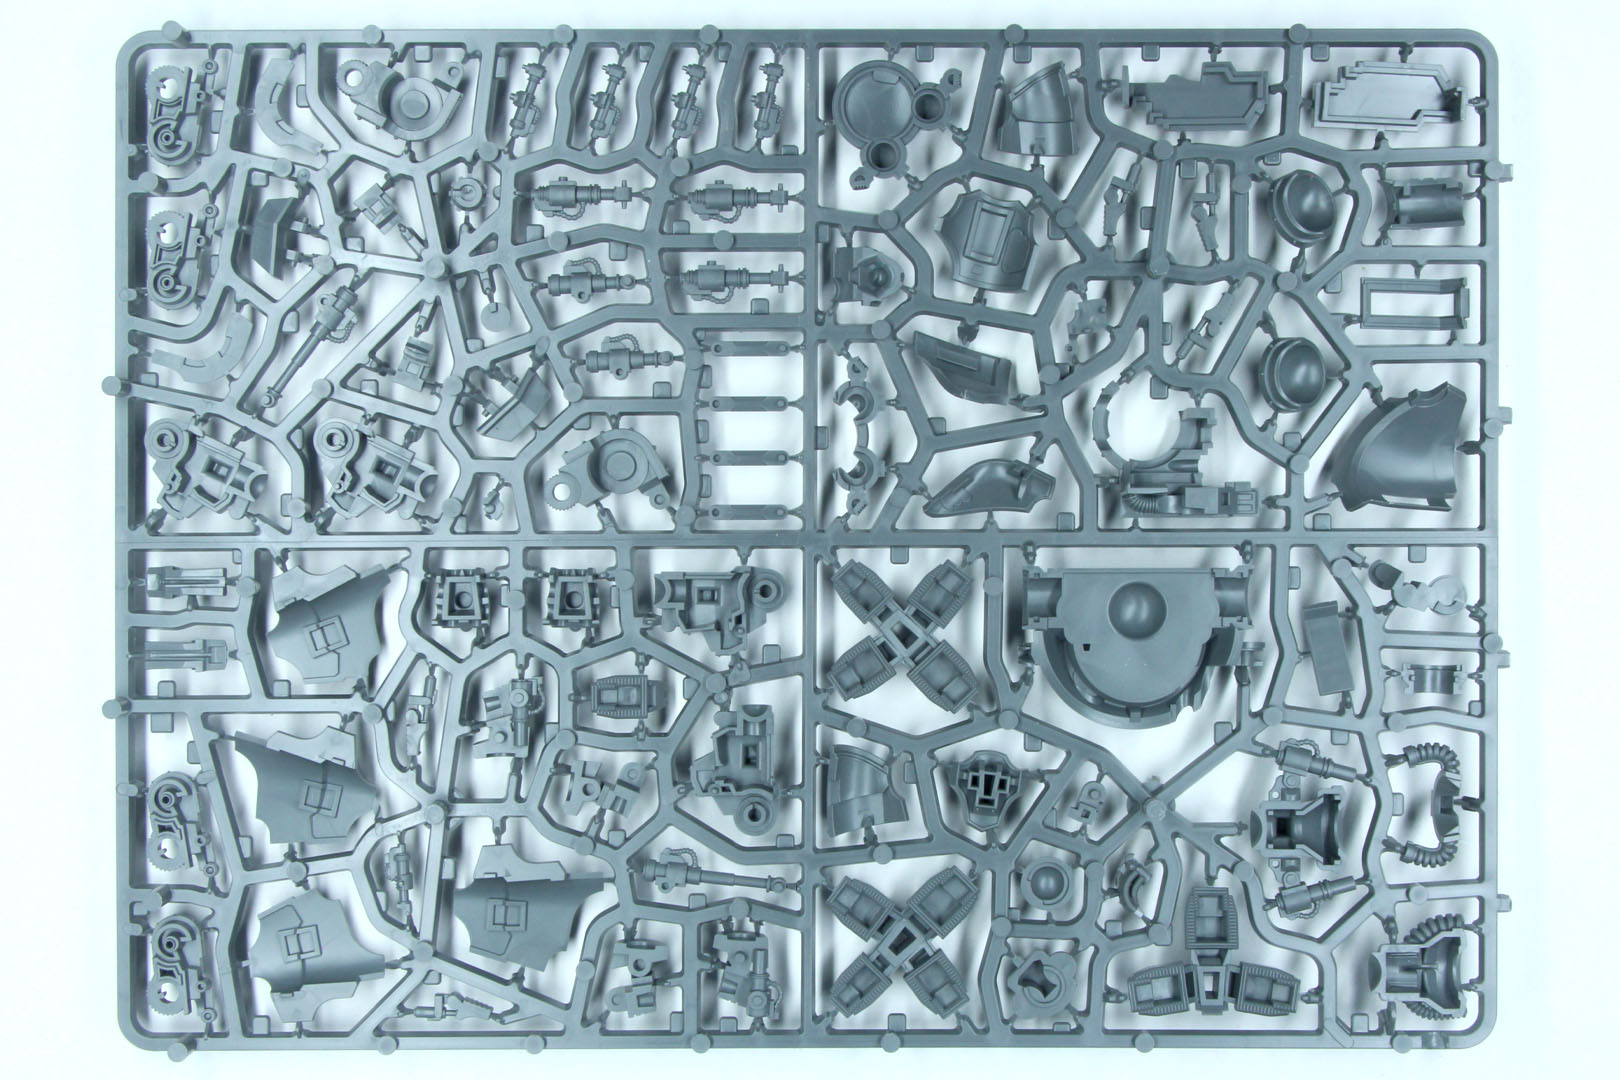
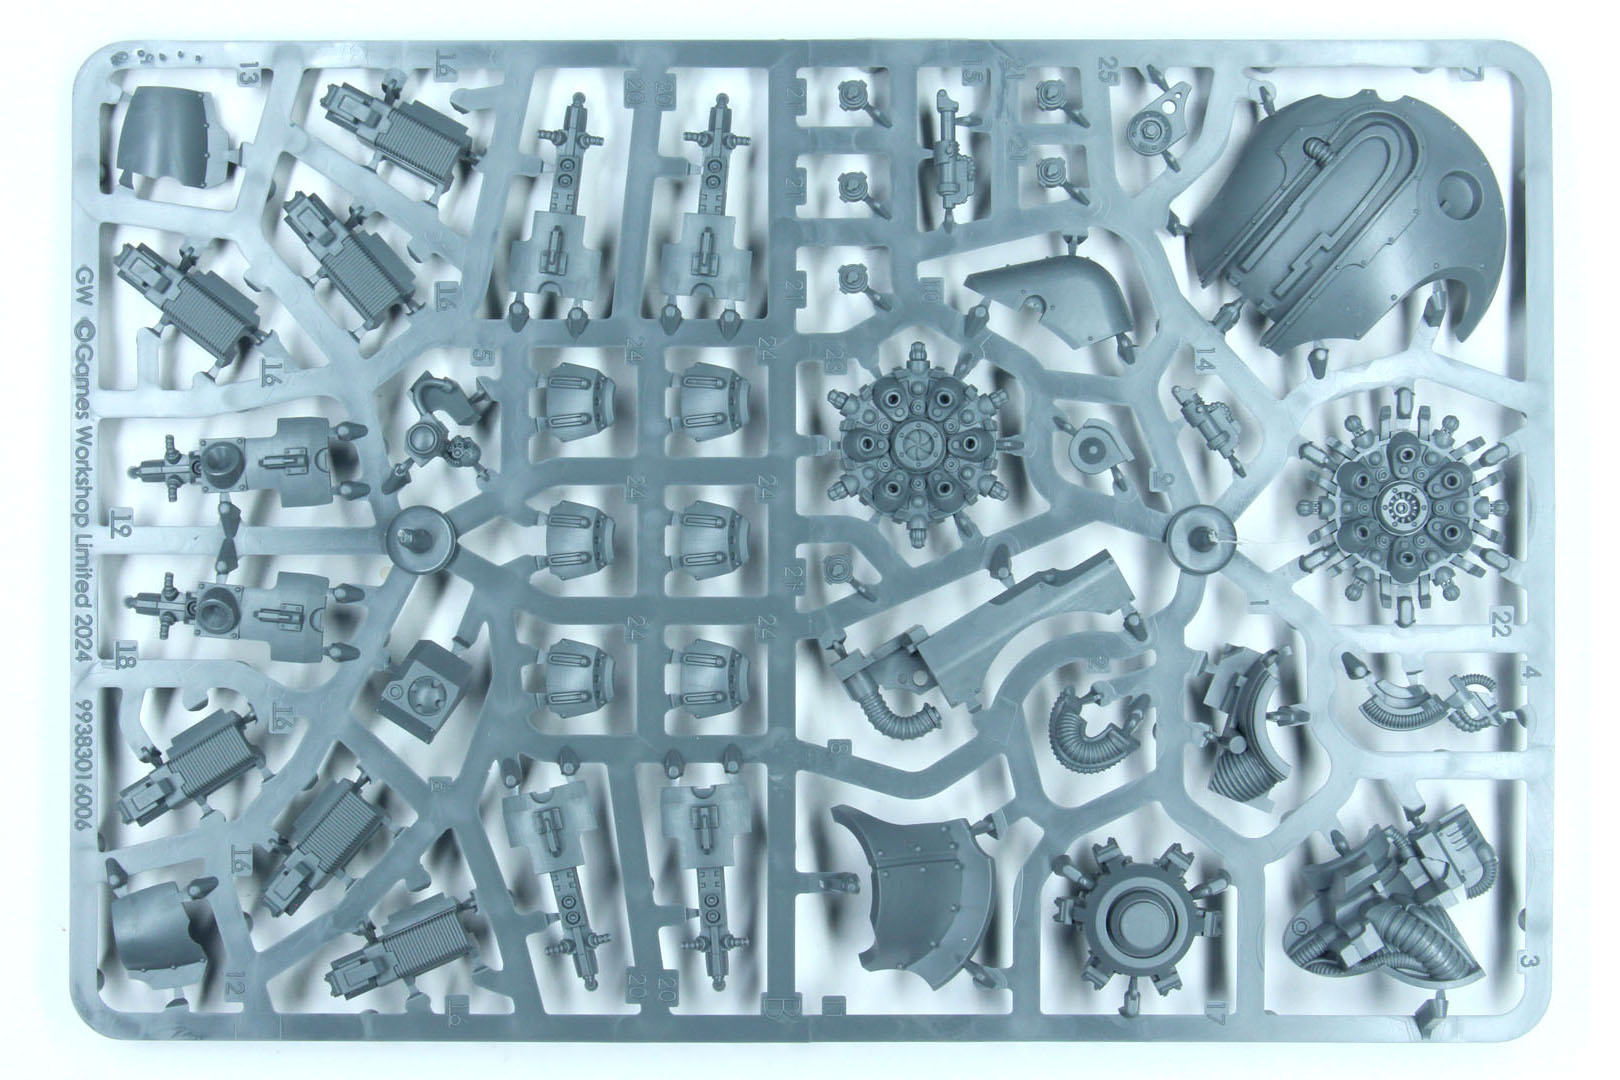
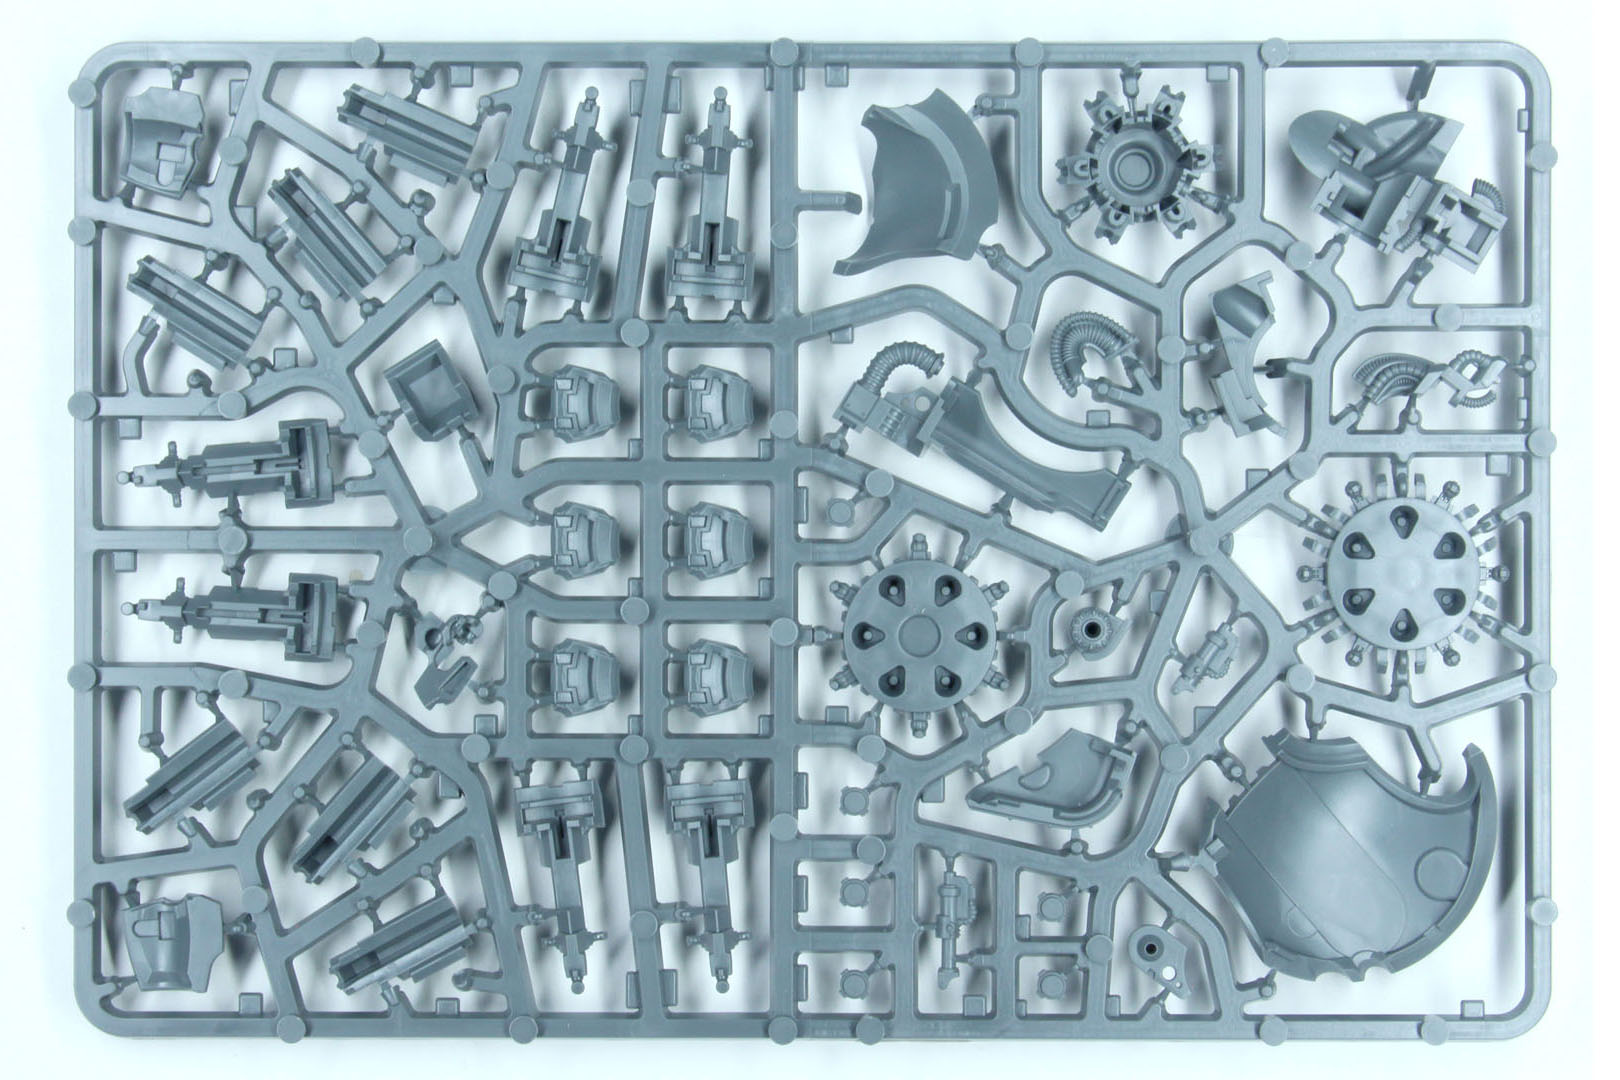
The model of the Thanatar is split into three sprues, a large one covering the main frame, primary legs and lower upper body, with the further parts to build the Cavas variant spread across the smaller sprues, including the weapon system of the twin linked Mauler Bolt Cannon (sprue A) and Hellex Plasma Mortar (sprue B). For whatever reason, the large sprue and the smaller one covering the Mauler Bolt Cannons are both labelled A, with a mixed number range, which will create unnecessary irritation during the built.
This is a request towards the design department, the detail is crisp and the sprue was without doubt used to the brim, but please, if you have to reference multiple sprues with the same letter, at least split the range of the numbers (for example 1 to 97 in the large one, and 98 on going in the other), and don't mix them across both.
While the instructions are spread across 16 pages, and have detailed shots, this is a kit that requires your full attention, as some steps are not very clearly documented.

And this begins with the first step, as we're shown pose 1 and pose 2 of the Thanatar, having a standing pose with an open Hellex Plasma Mortar (pose 1) and an advancing pose with raised Mauler Bolt Cannons (pose 2), unfortunately, this is not properly translated into the legwork of the upcoming steps, as they are just speaking of Pose 1 Right Leg and Pose 1 Left Leg, with the variants of "Right Leg Lifted" and "Left Leg Lifted". I thought that this would mean the lifted variant was pose 2, but you can build the lifted variant of both legs, as part A9, which would be required for both steps, is only included once in the sprue.
You see, we're right off for a good start.


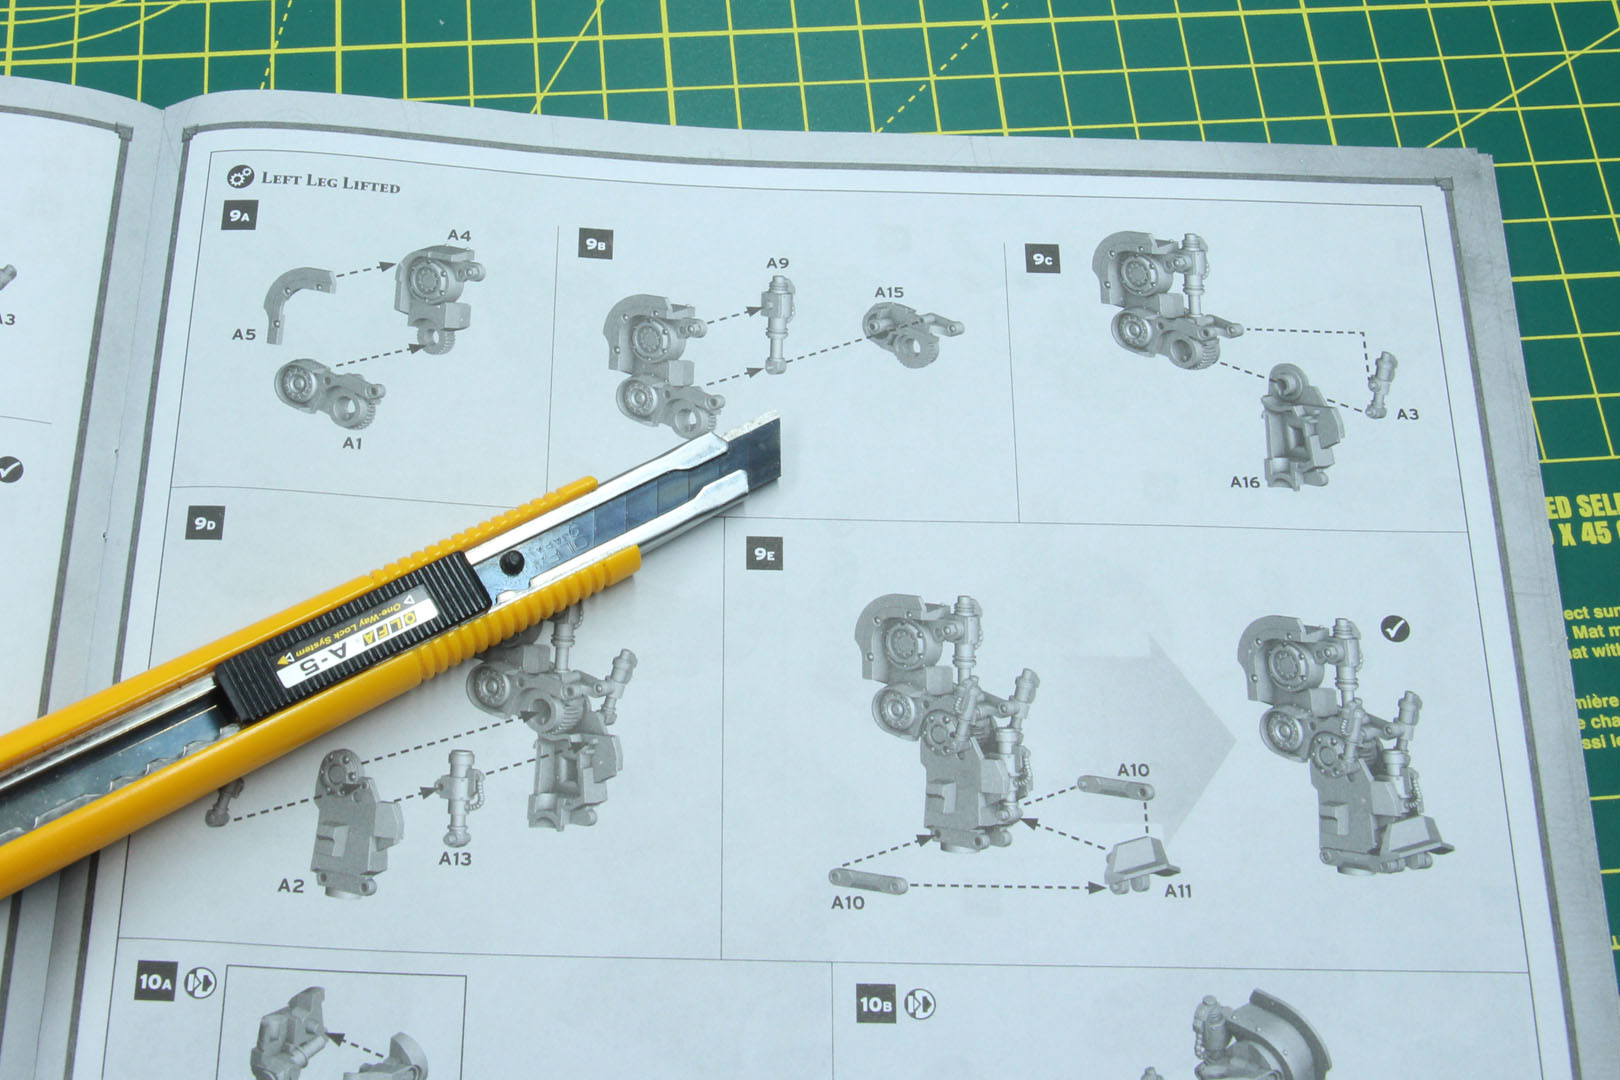
After noticing this problem and removing half-glued pieces we went with Pose 1 Right Leg and Left Leg Lifted for the further build. The next steps are demanding as well, and you should only follow them in parts, depending on your skill level and how comfortable you are with painting completely assembled models.
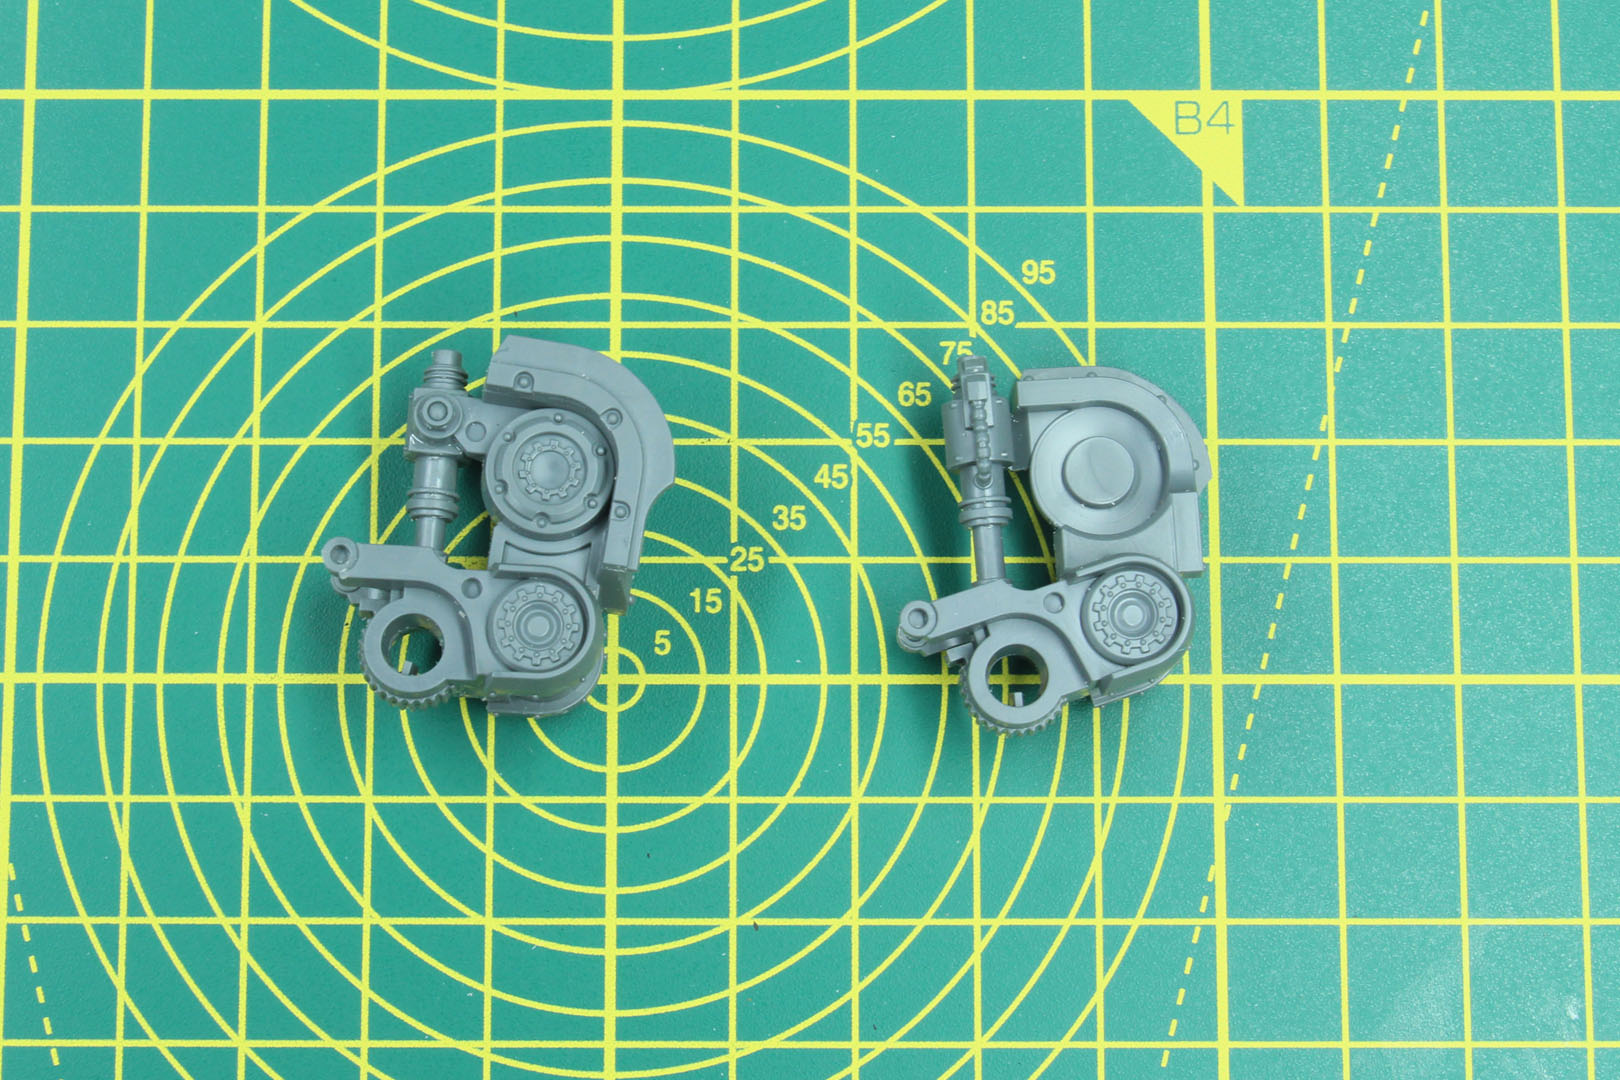
The legs come with stabilisers, that can be put down to "anker" the feet into the ground. Model wise this will be great to bond the model with the surface of the base. Please pay attenttion to the orientation of the "shovel" extension, I glued it upside down in the first few steps and fixed it afterwards.
About step 3, please do not glue the ankles in place at this point. The feet and lower legs are connected with ball joints without guidance. Wait for this until step 12, when you have the hips as an alignment and you can make sure the legs are on the same level. This will create unnecessary problems. Similar with the armour plates on the lower legs, (parts A18 to A21), I'd recommend leaving them off, paint them individually and later add them to the model.
While you could probably change some of the poses within the legs for a more dynamic end result, this does not provide the freedom like the Titanicus kits have. Especially as the pistons would have to be converted, as they are not moveable / have leeway.


In step 12 you build the pelvis / hips, I recommend waiting to glue the feet to the legs until you have this piece for orientation.


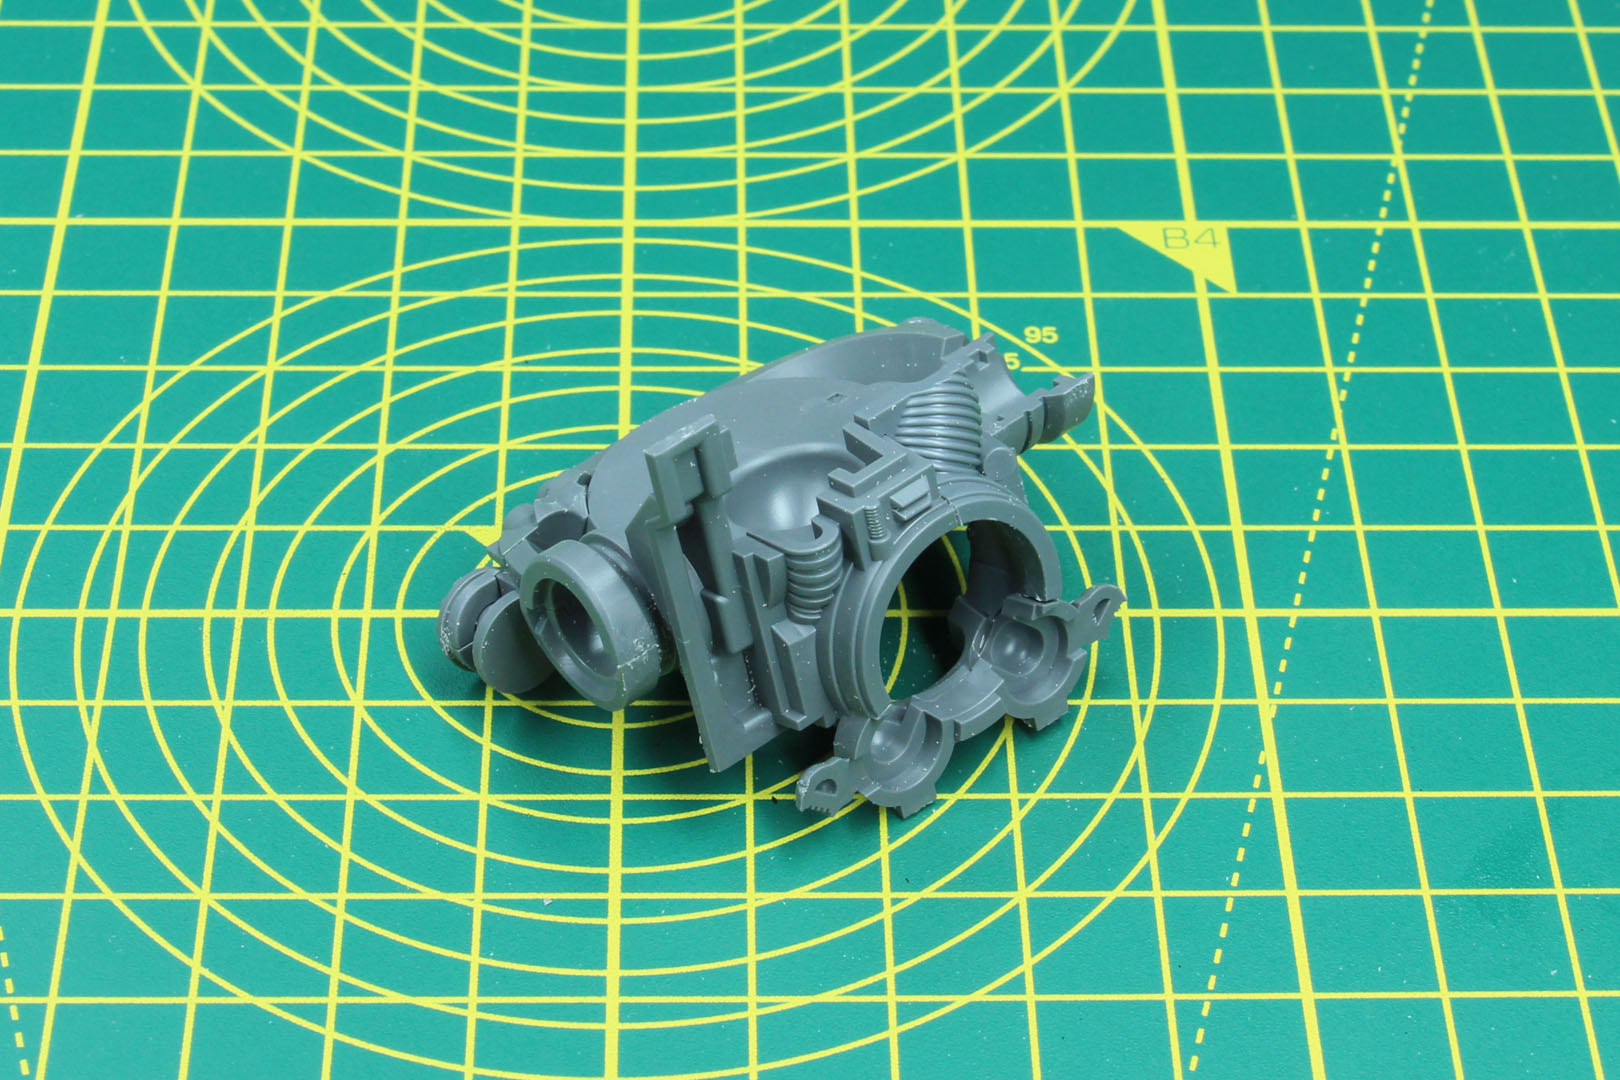
We move on further upwards, with the "lower belly", this is cleverly designed on another ball joint, giving you a bit of freedom and flexibility to tilt and turn the upper body of the Thanatar, as the entire weaponry is fixed / placed upon the upper torso. You would only have to make sure that the ammo feed of the Mauler Bolt Cannon doesn't cross with the left leg, but that shouldn't be a big problem unless you go for an extreme pose.


Up to step 15, this is the "generic" built of the Thanatar. I expect the variant for the Calis to be different from 16 ongoing, as we add parts to the upper body, that will mount the Hellis Plasma Mortar later on. The very plastic design of the former resin model is captured very well in this plastic kit, with a clever cut of the round shapes and quite decent fit.
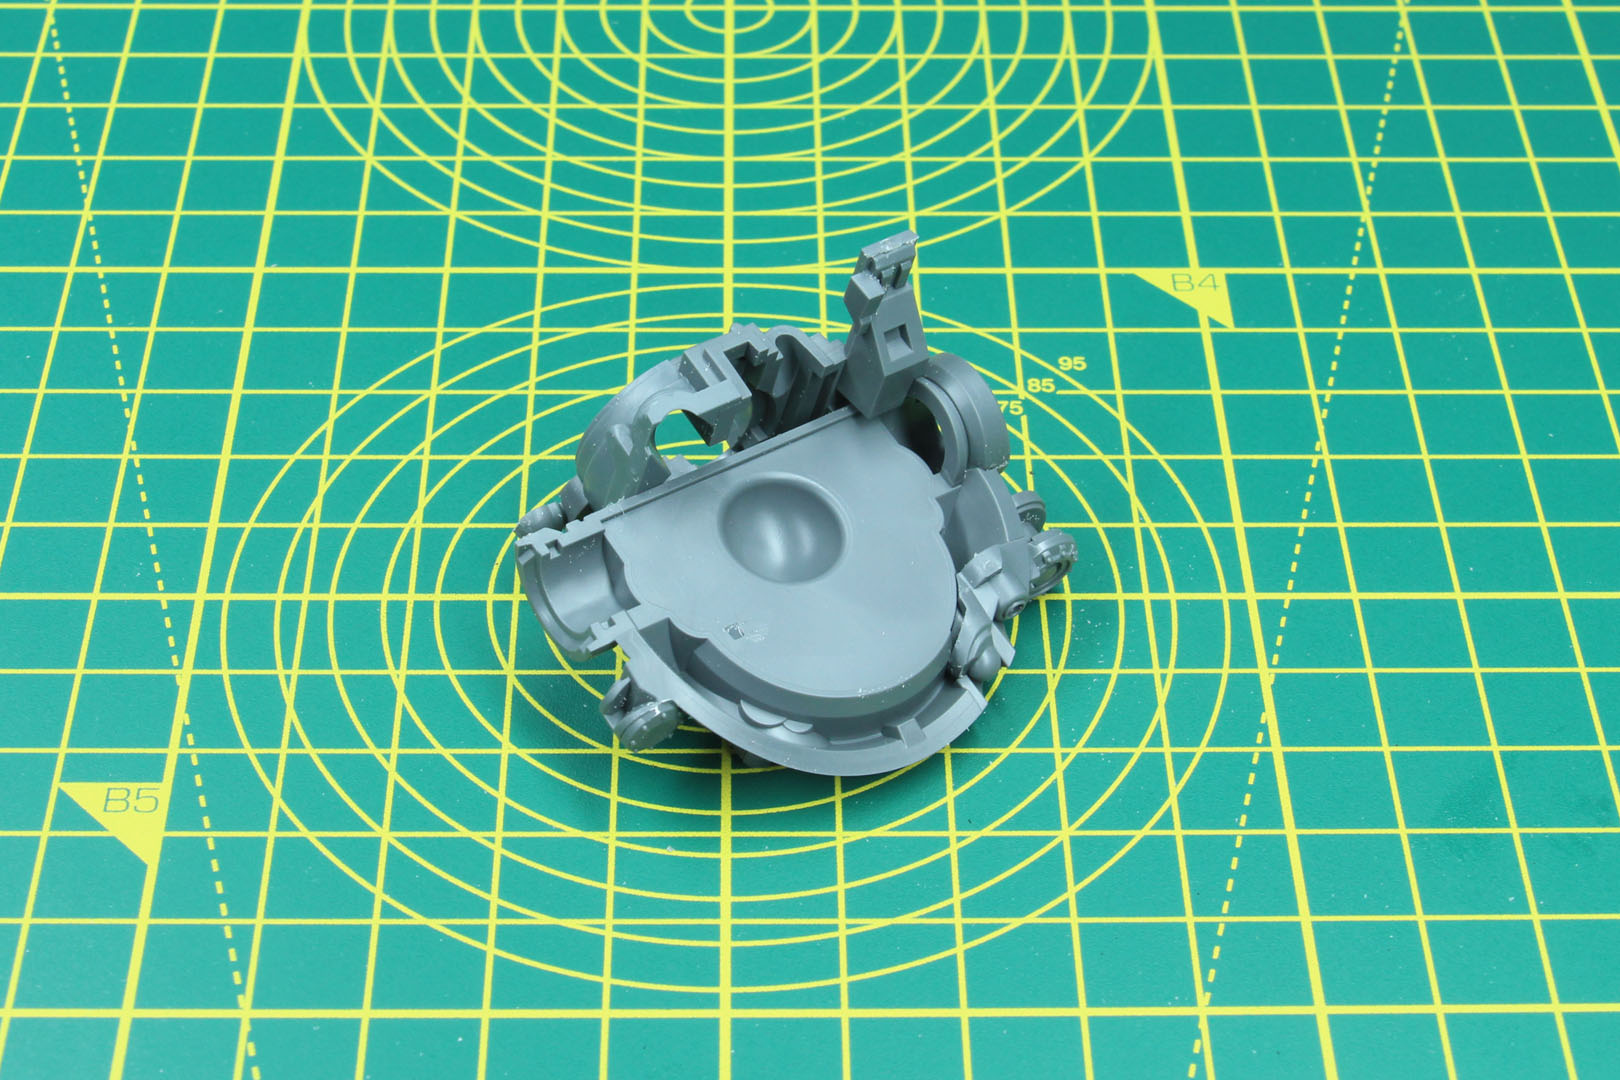


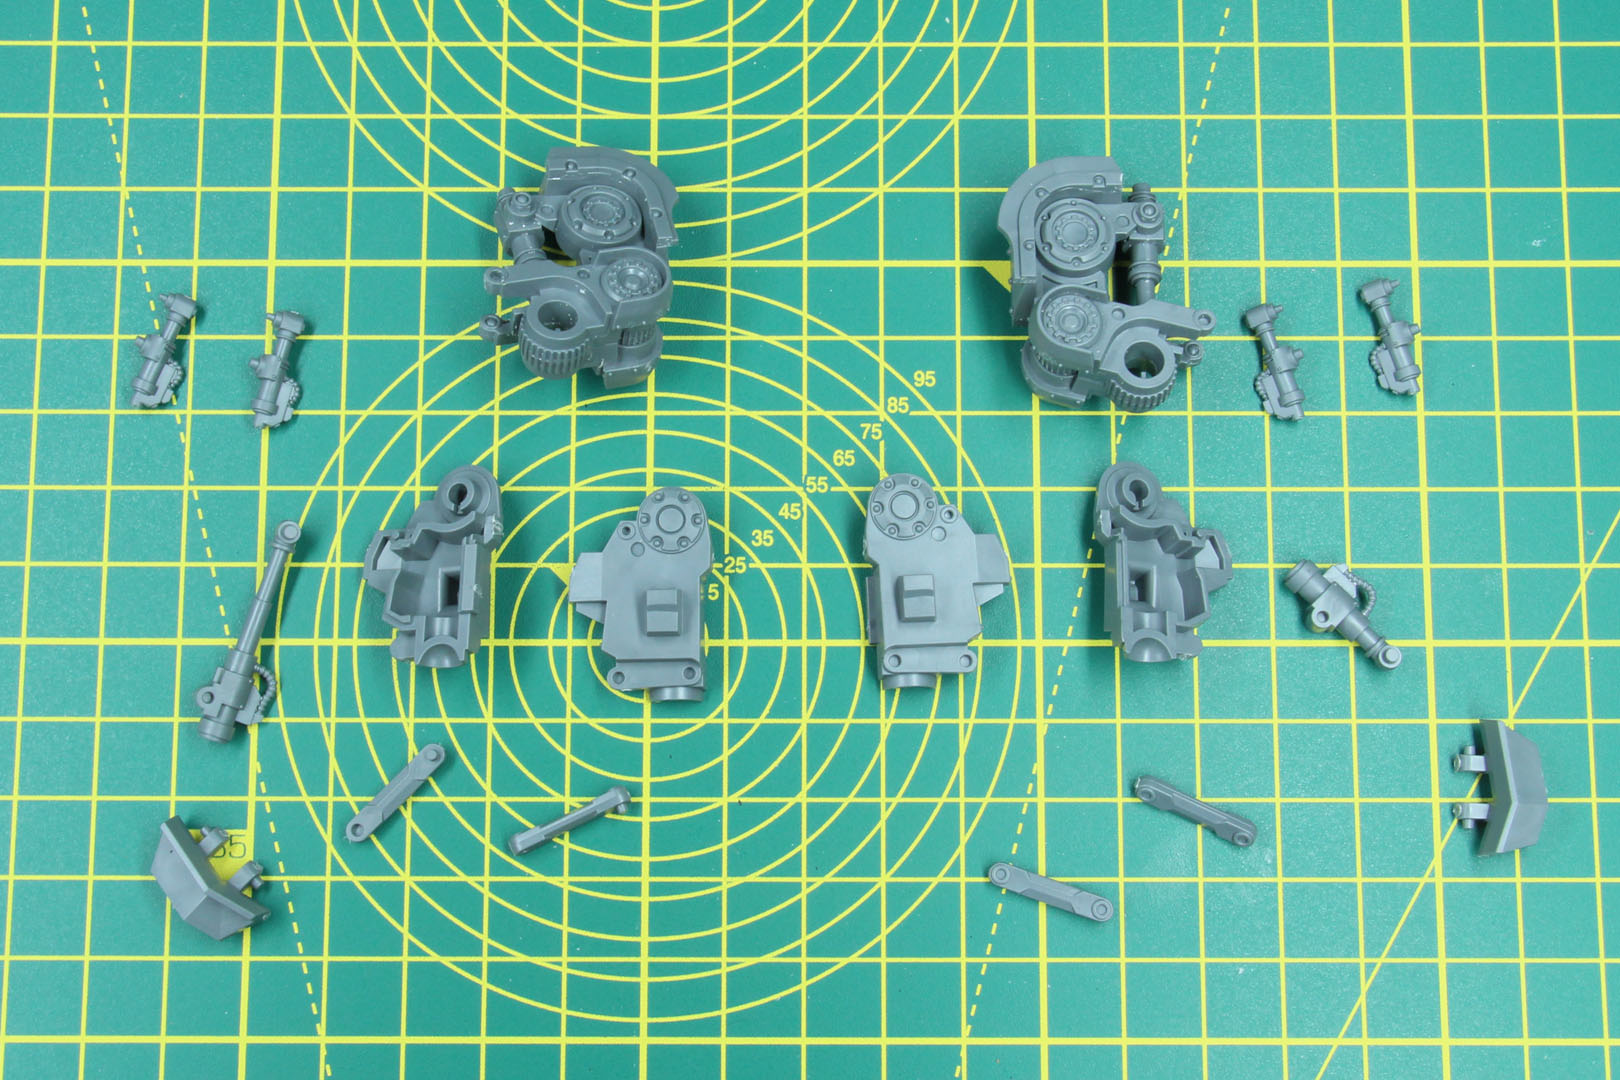
Now we add the ammo feed of the Mauler Bolt Cannons along with the upper armour plate and "head" of the model. These parts are included in sprue B, with the Hellis Plasma Mortar and will be replaced by slightly different designs in an alternate variant like the Calis.


Moving on from there, we add the shoulder armour. Once again, the managed to capture the round shapes quite well, with the limitations of no undercuts. Depending on how comfortable you are with painting assembled models, I'd recommend leaving these off until after you painted them.
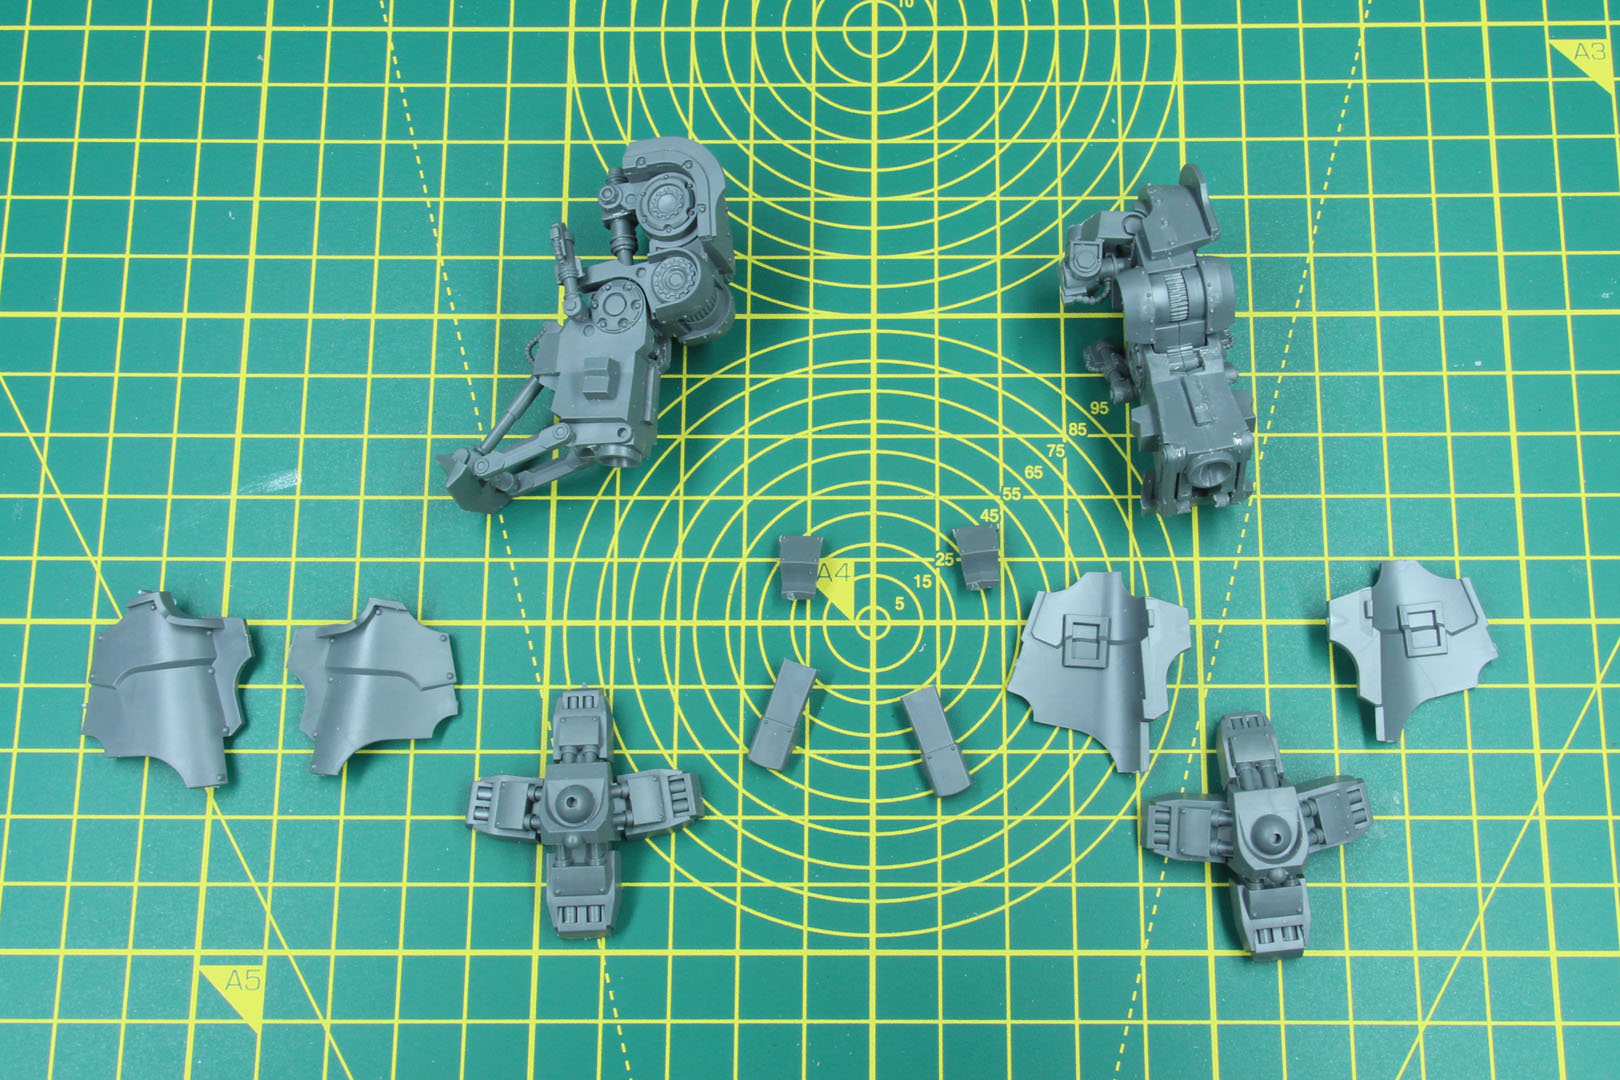
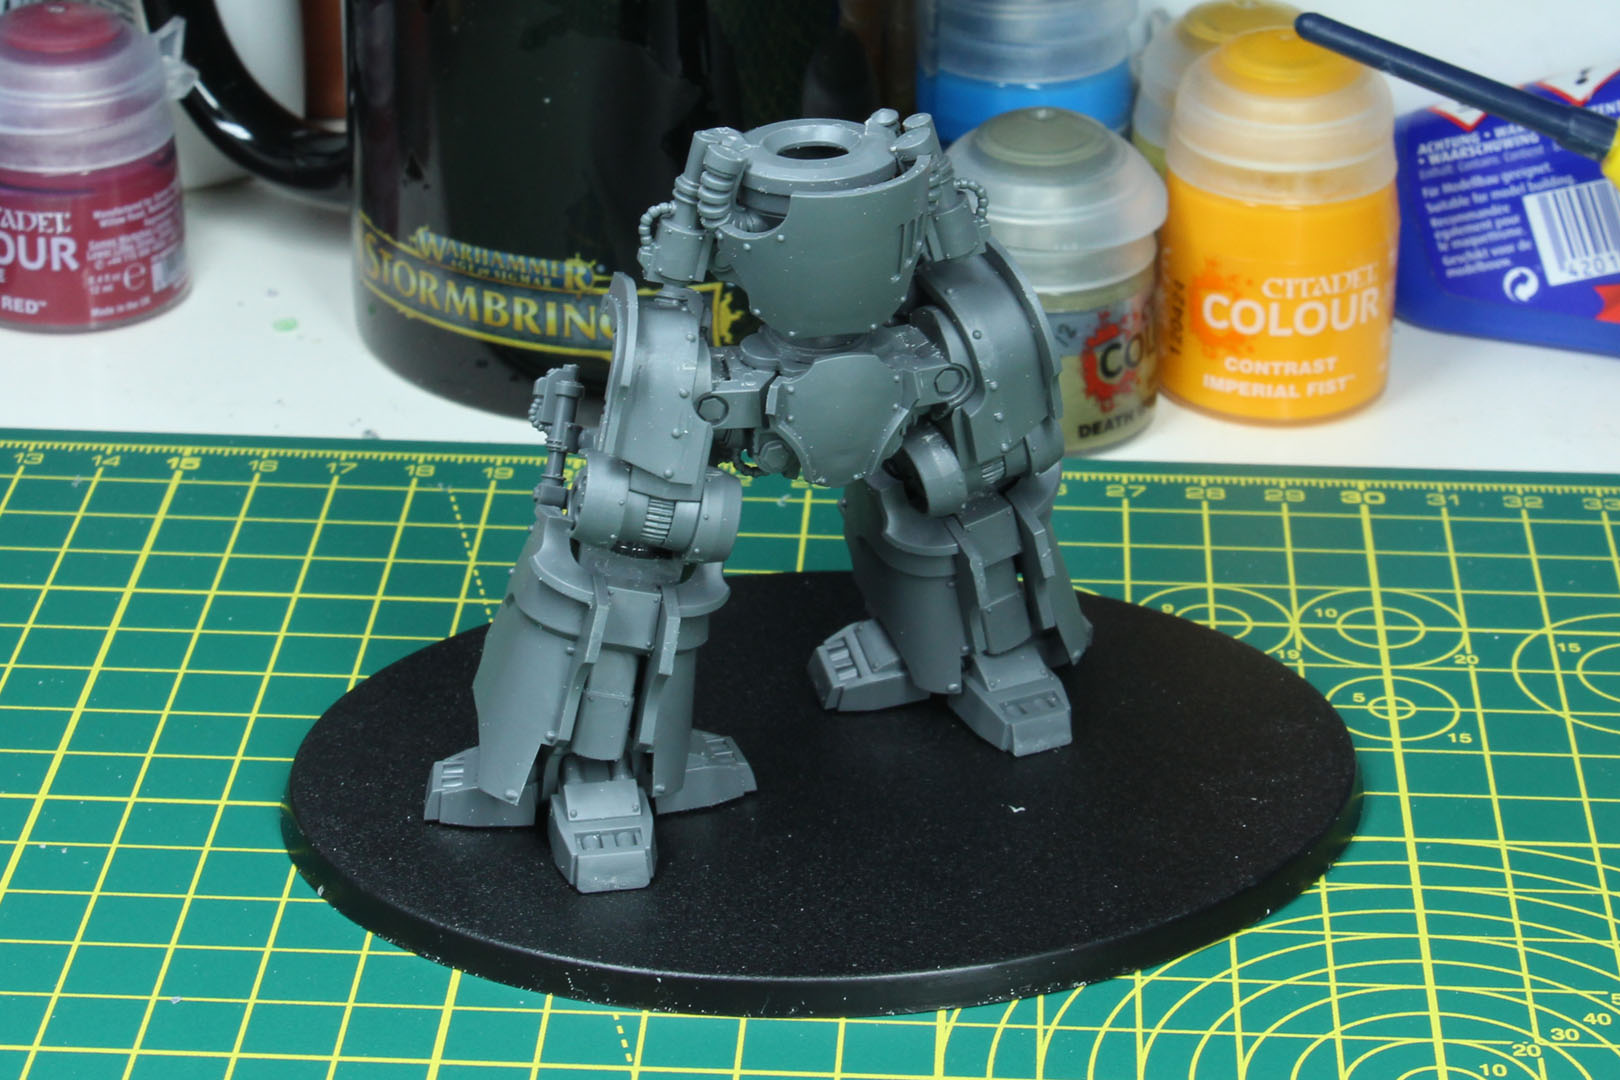
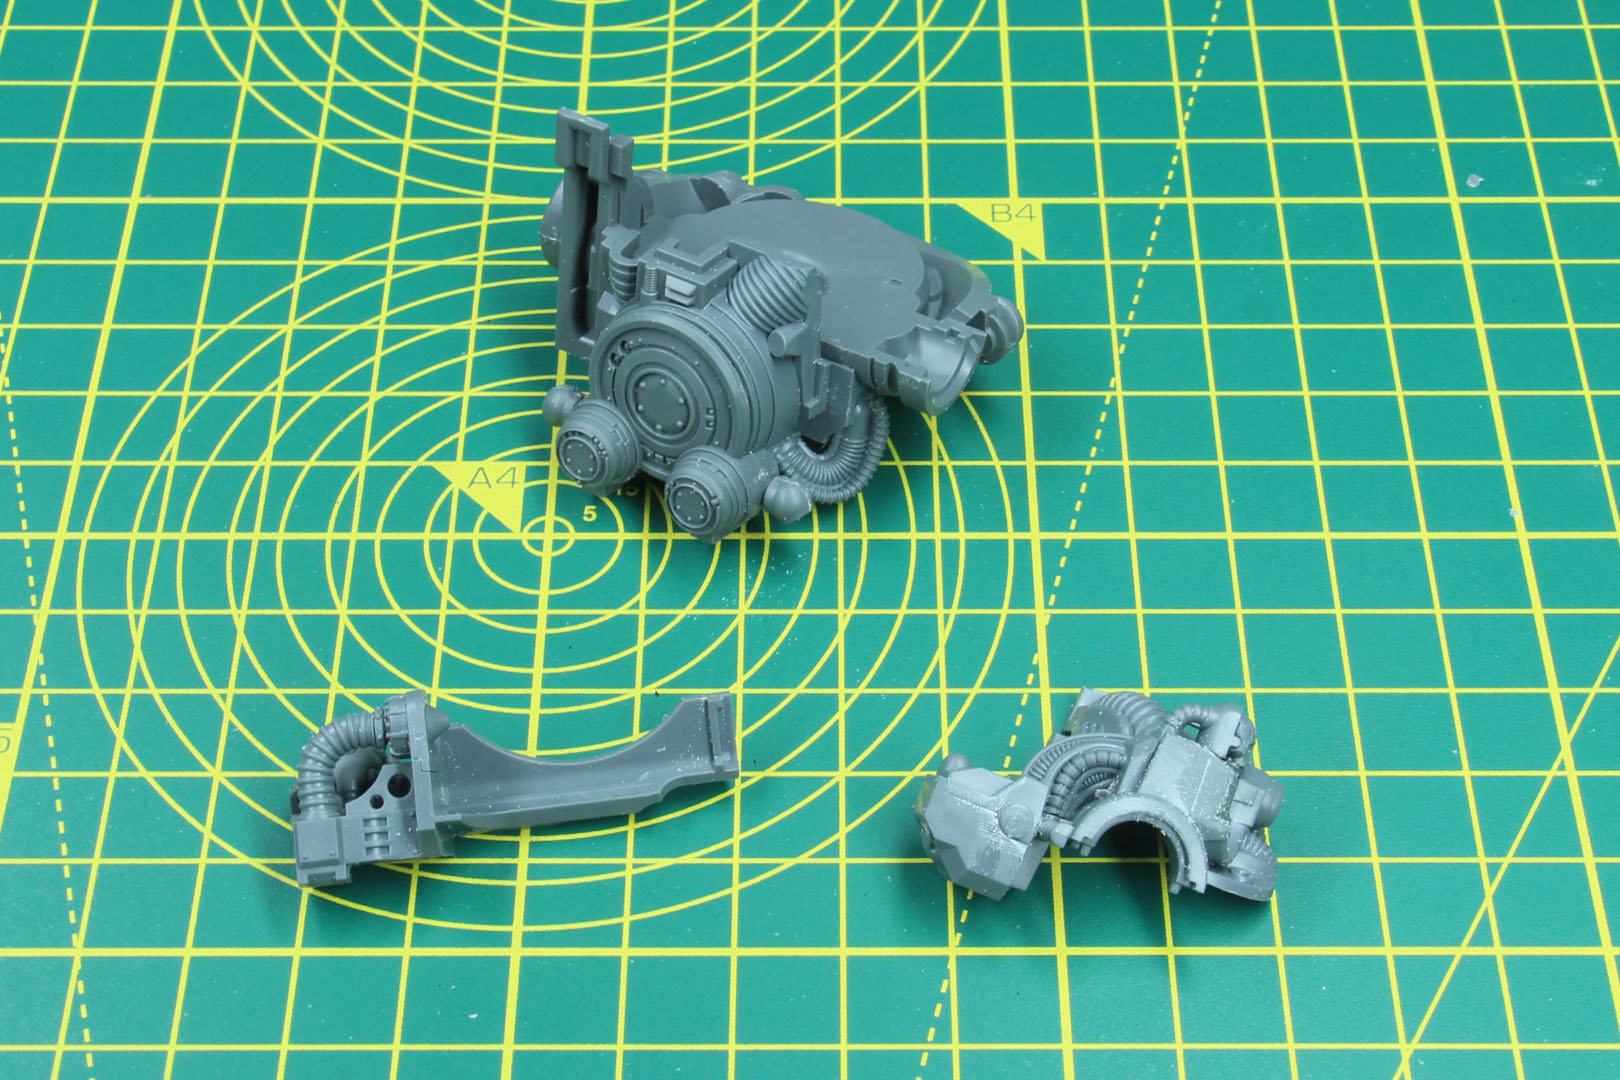
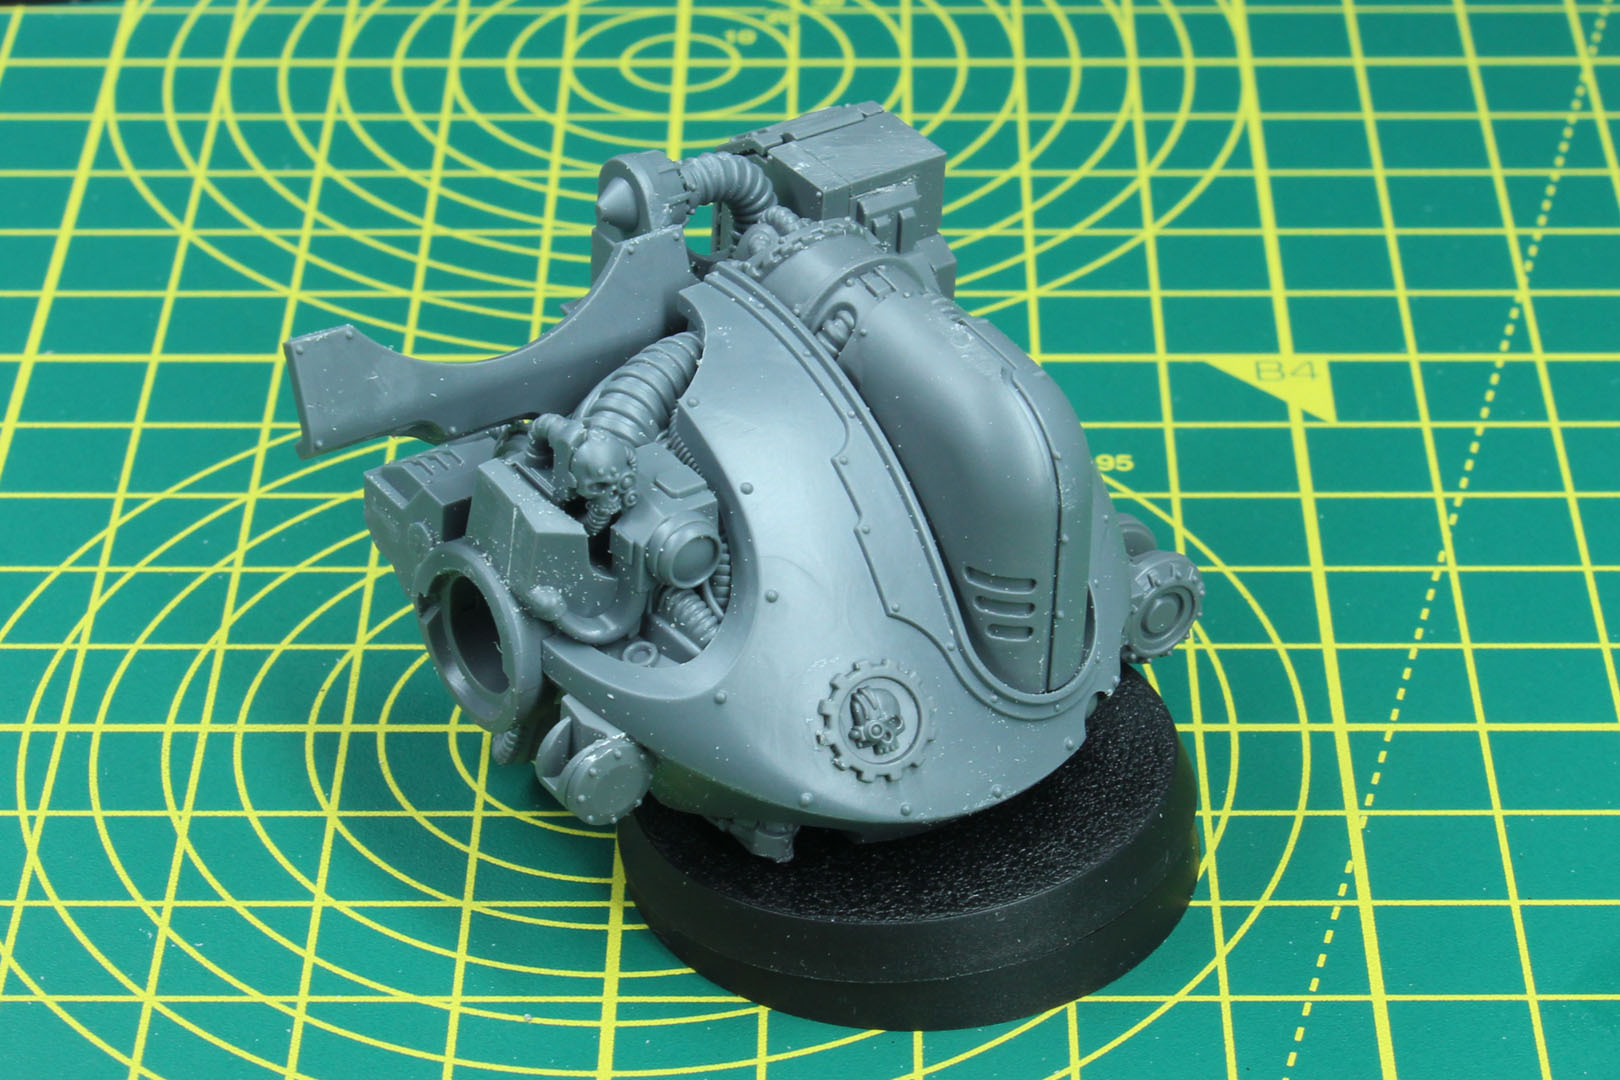
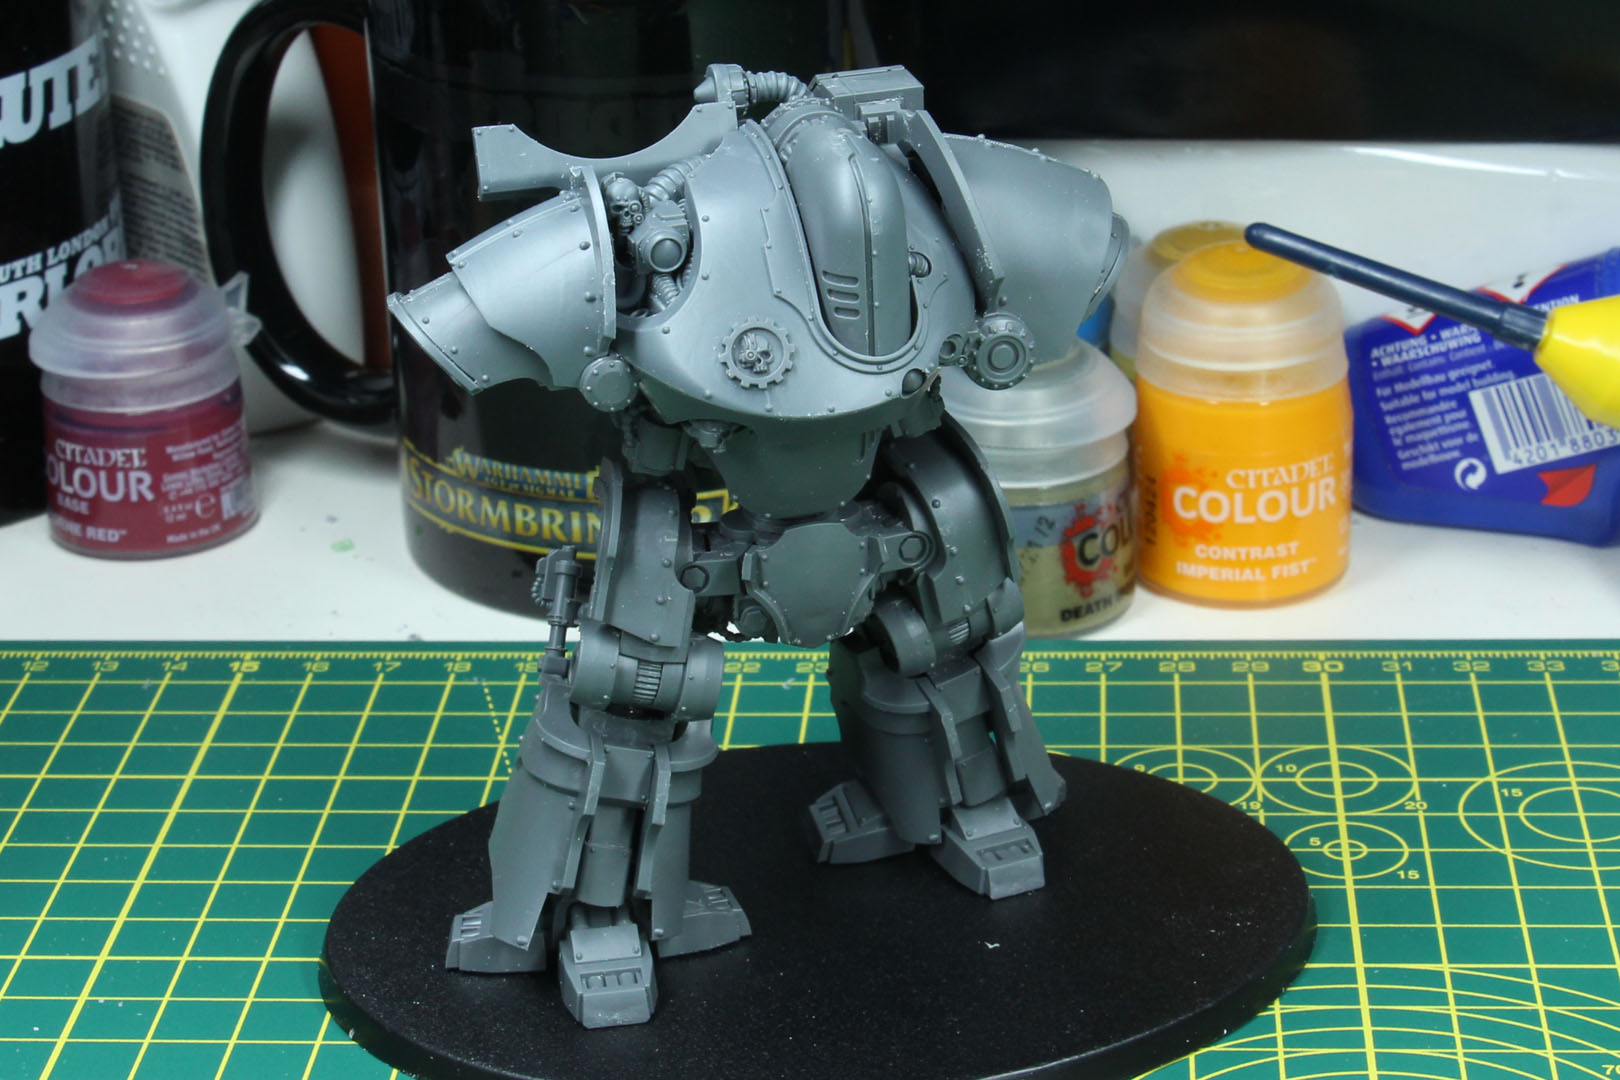
And with this step, we have an unarmed Thanatar Cavas frame. So far, no options or variants, with the exception of the legs.
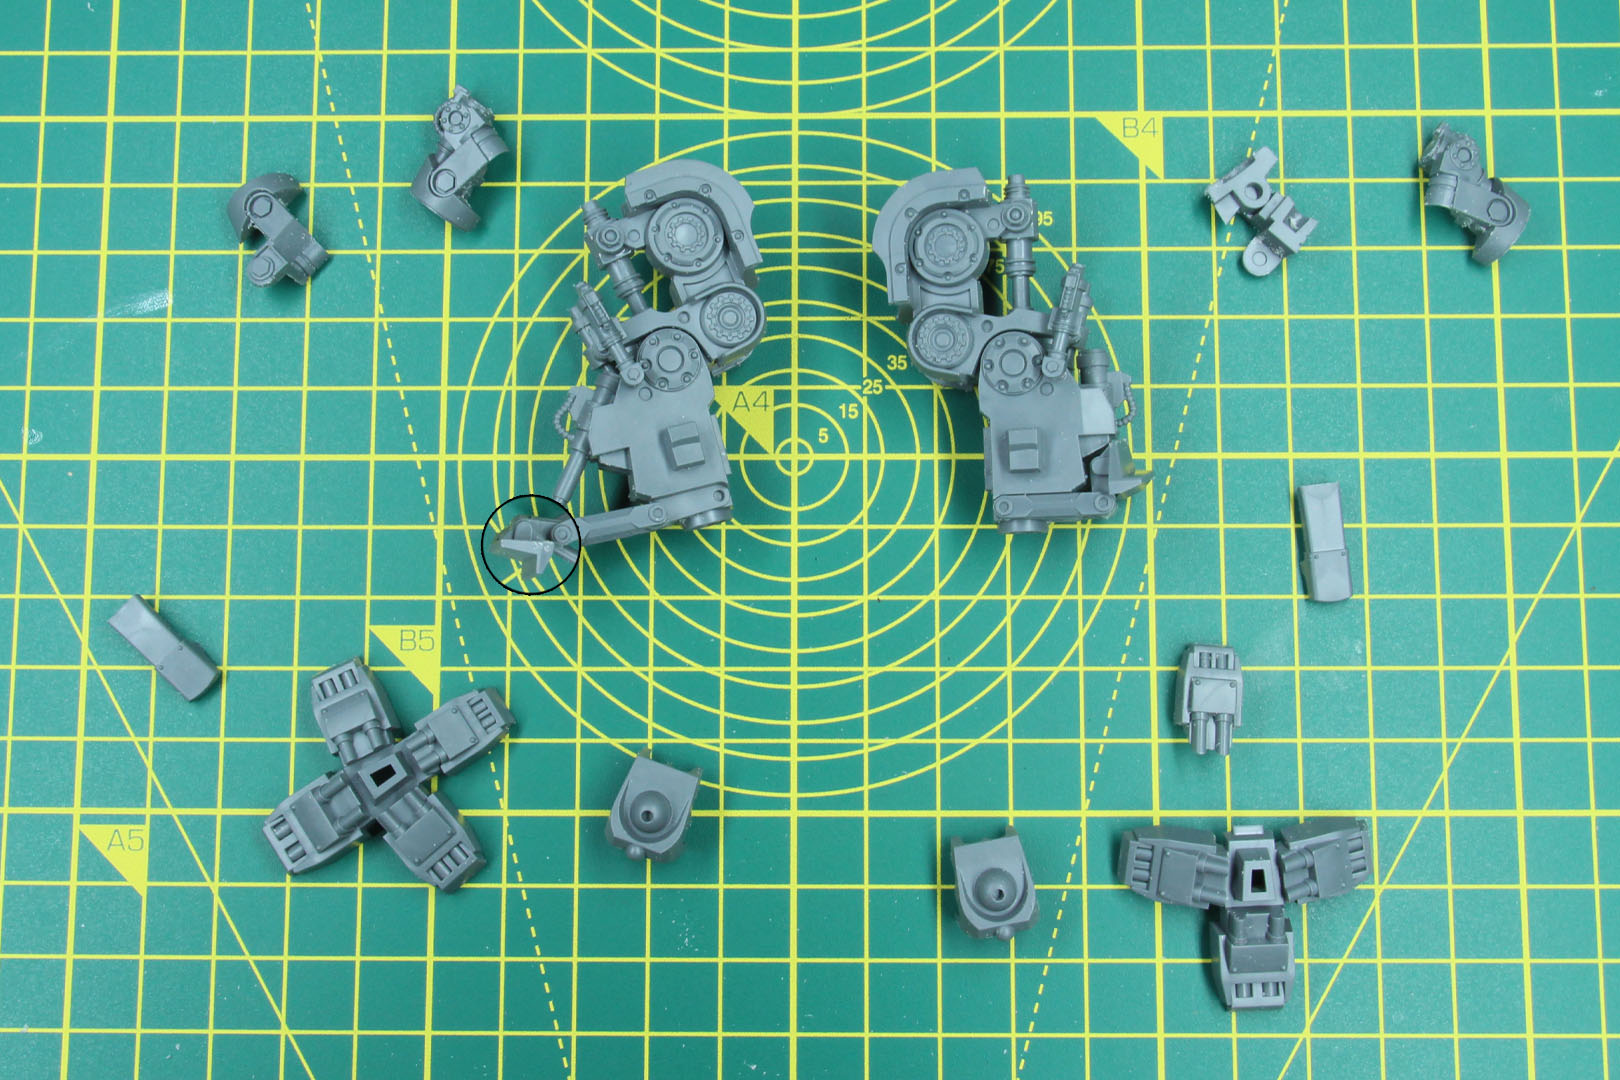
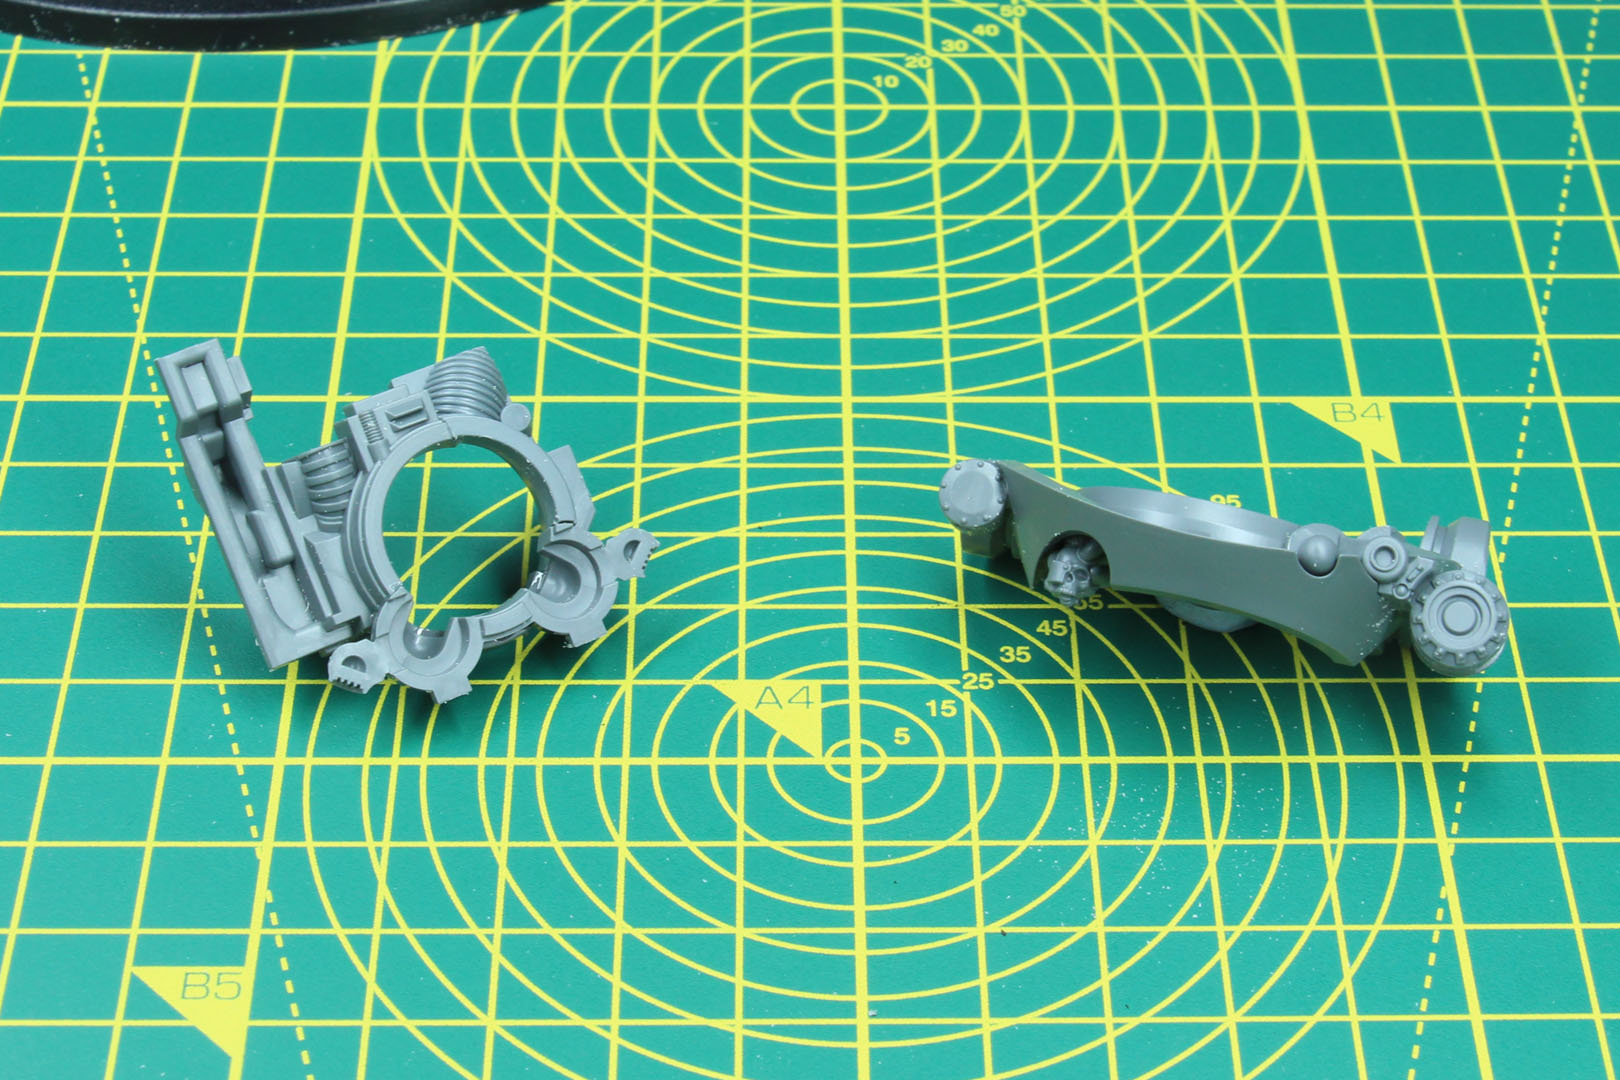
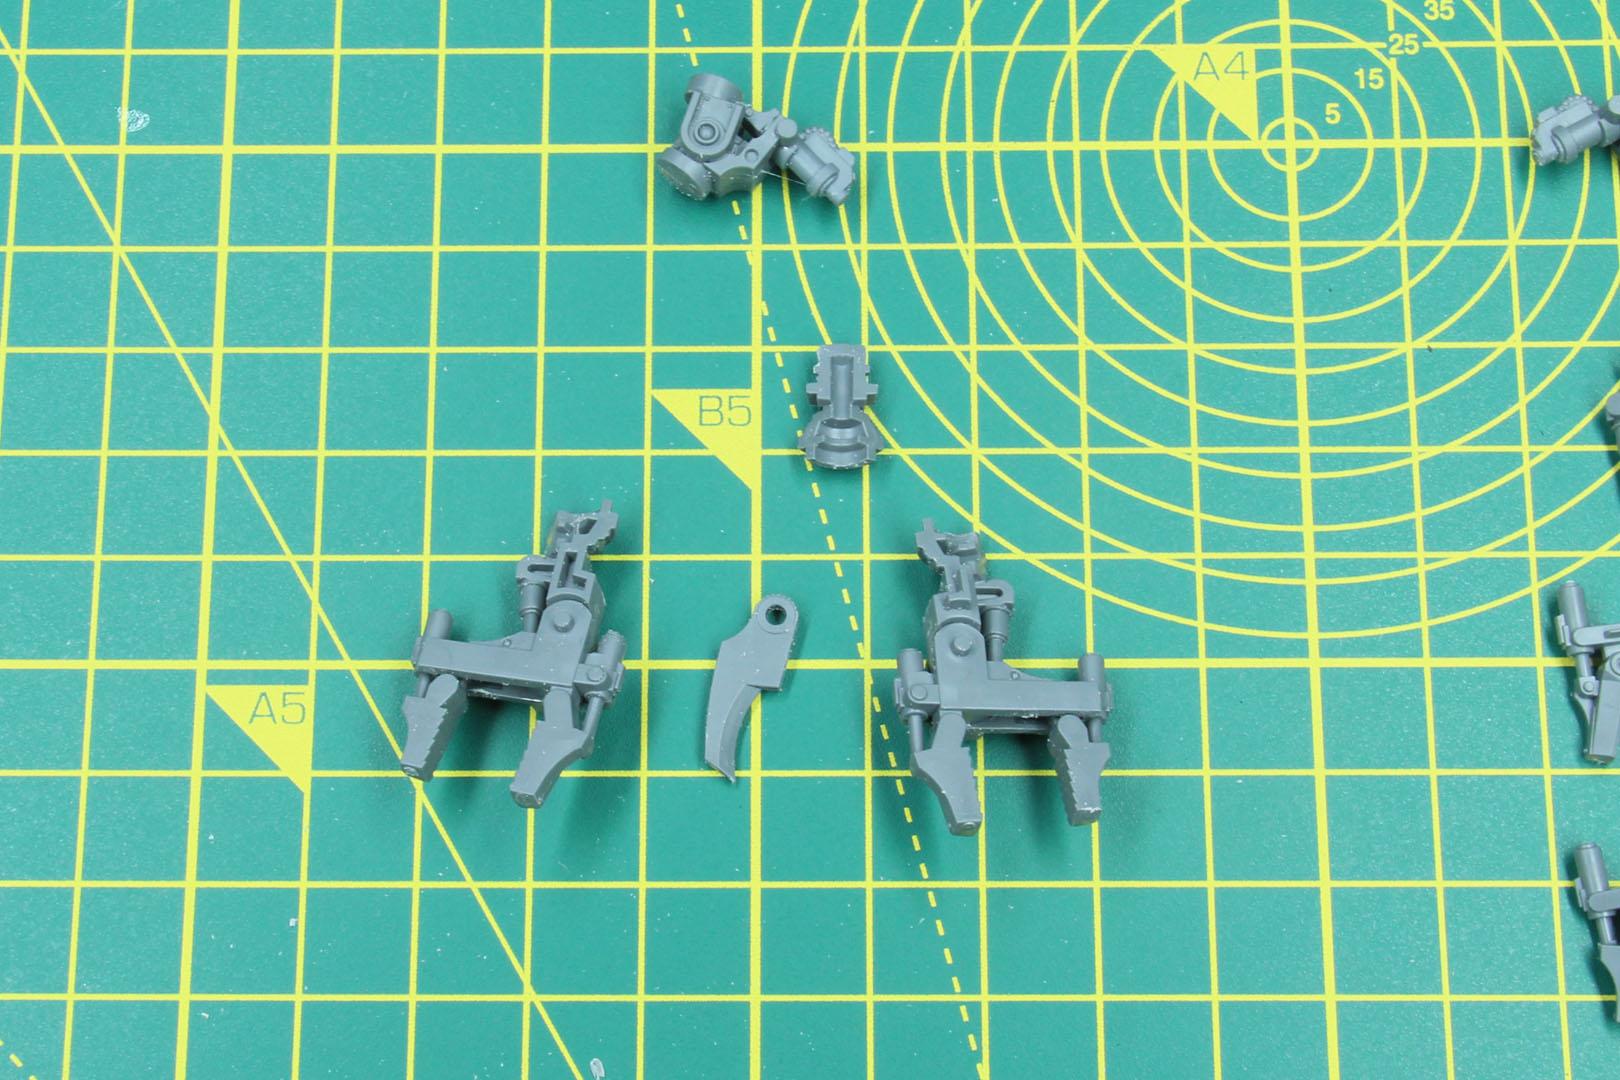
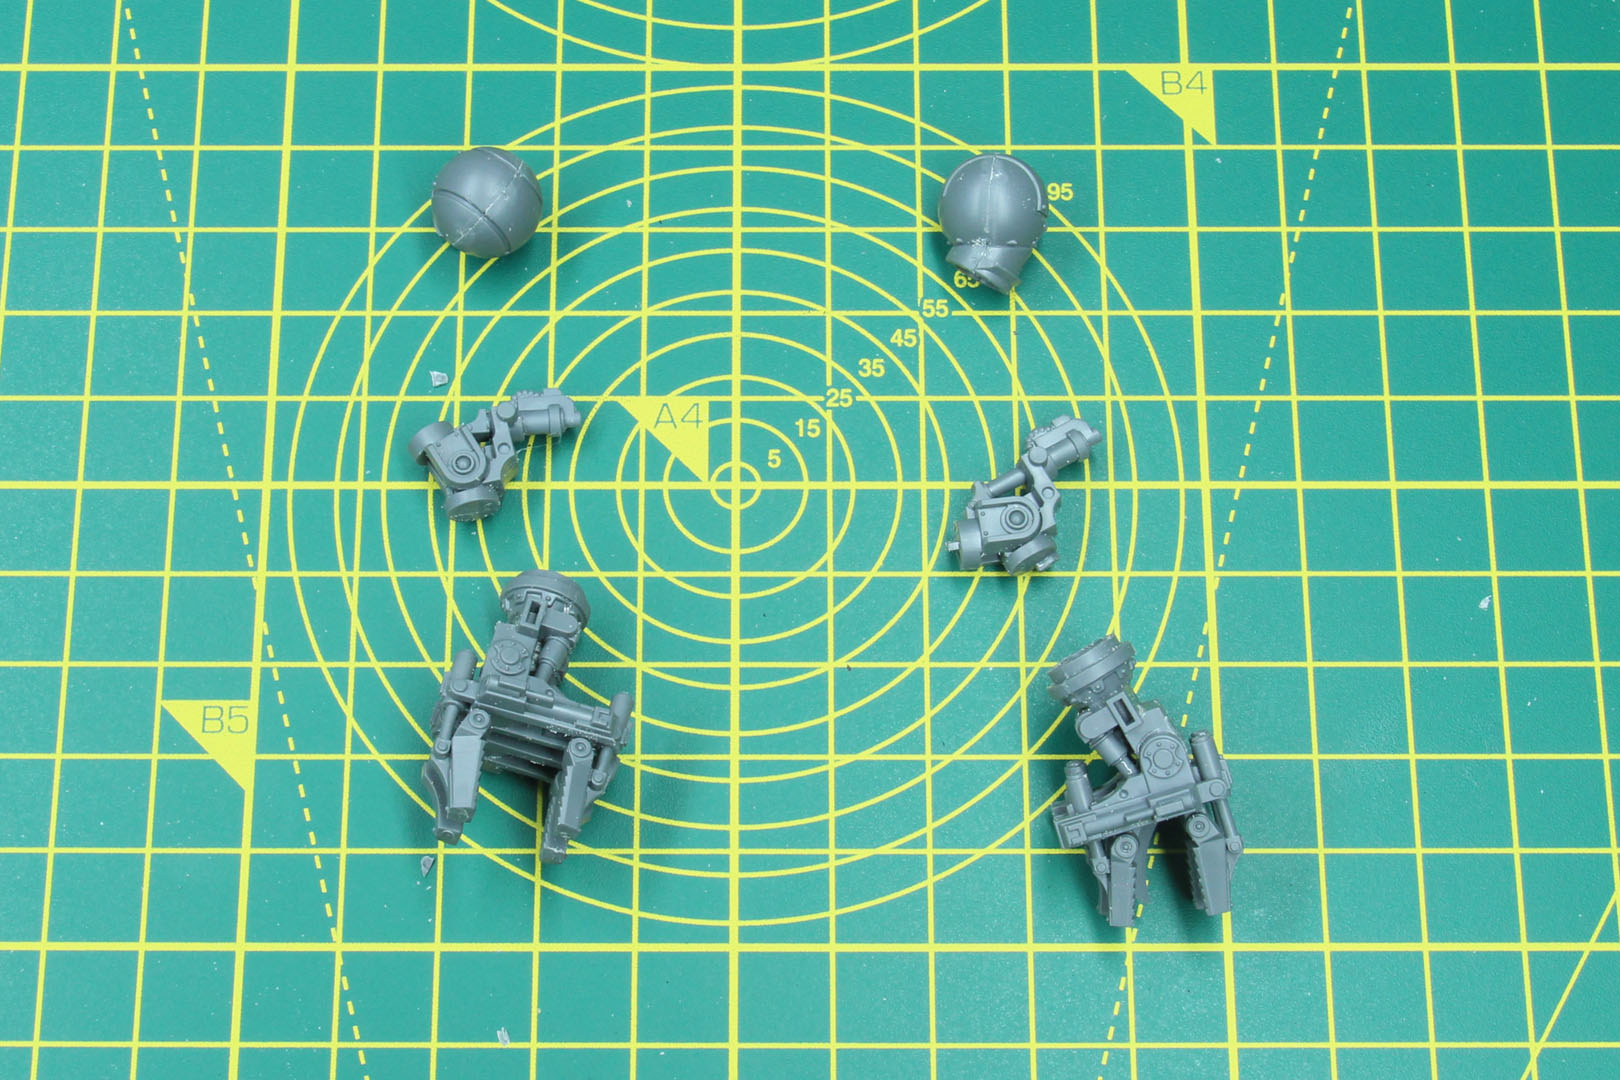
But we move on to the weapon systems. The two arms are armed with shock chargers on both sides, an upscaled variant of the ones we built for the Castellax Battle-Automata. Once again, a step they didn't really document that well. For example, you see in the upper part of the instructions three poses for the right arm and two poses for the left arm, pointing out parts B14, B15 and A83 for the right arm, and 29 and 30 for the left arm. The later ones aren't parts, but built steps that are ahead of you. So, you will have those pieces, once you progress, as you have to sub-assemble them before you can use them. This is shown with the part number not having a letter and the number being inside a small rectangle.
Beyond that, the moving parts of the chargers are quite nice, you could have them grab something (or someone). It is just not that intuitive how the individual position will look like afterwards, so you have to tinker around a bit, and as the elbows are rather fixed, you only have the wrist as a turning point along with the ball joint of the shoulder.
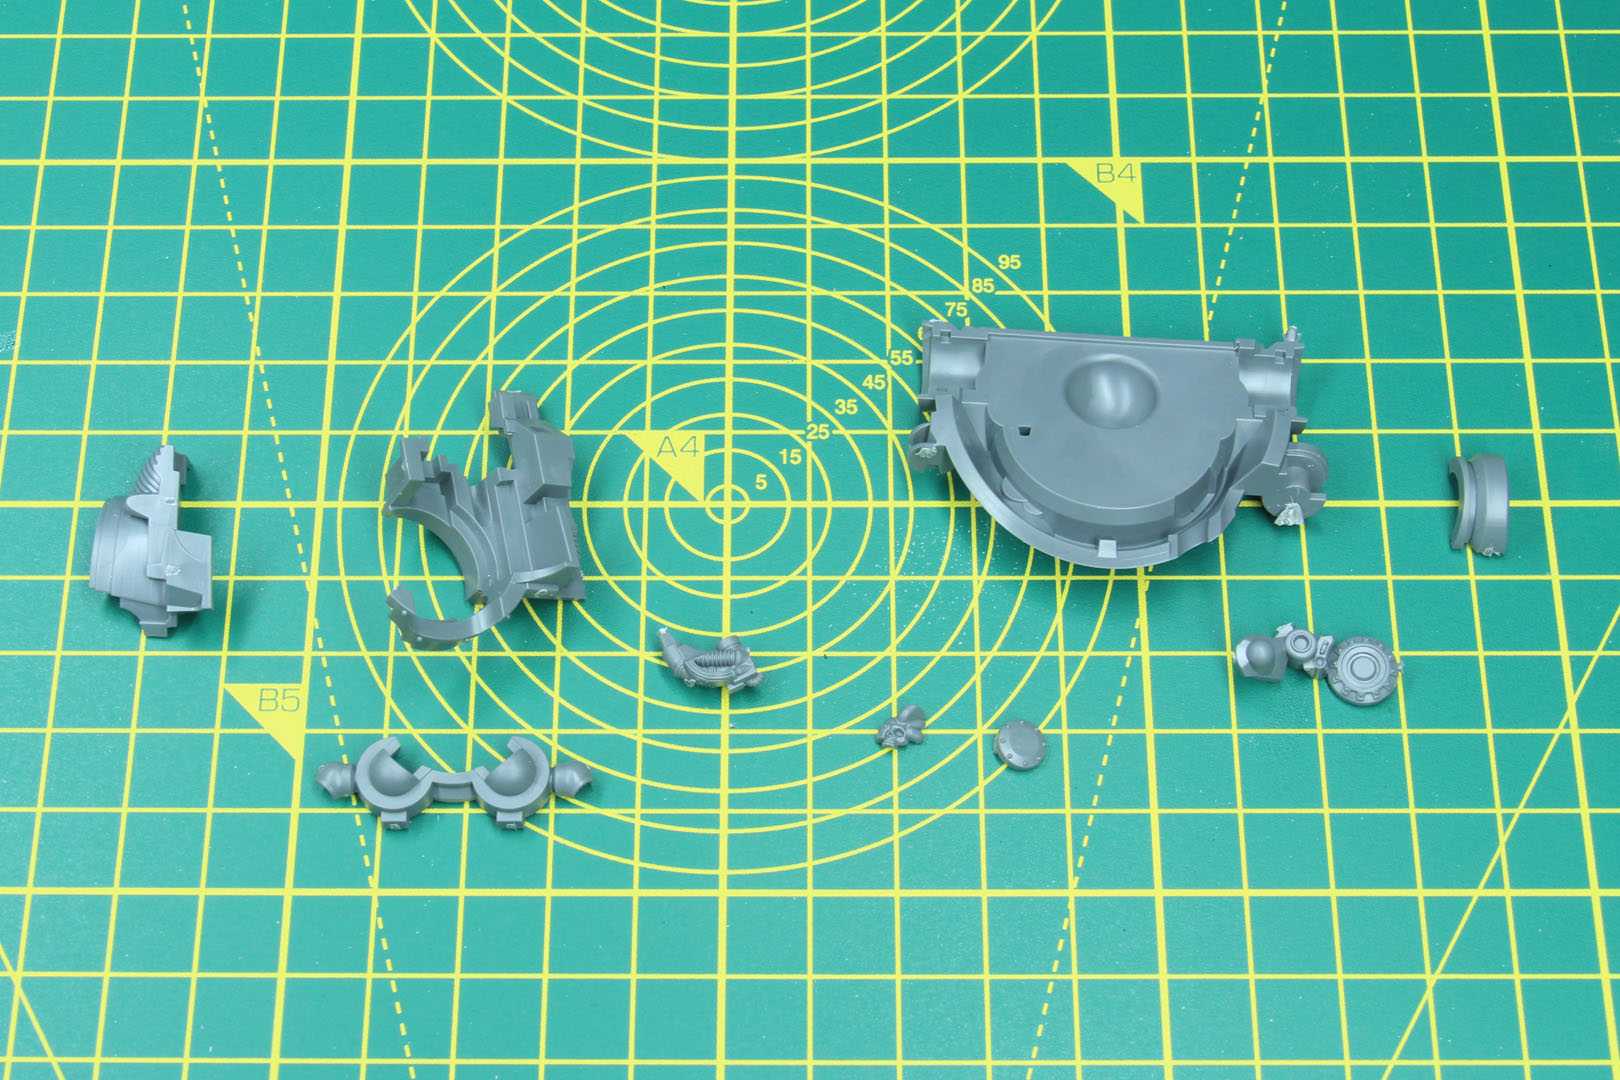
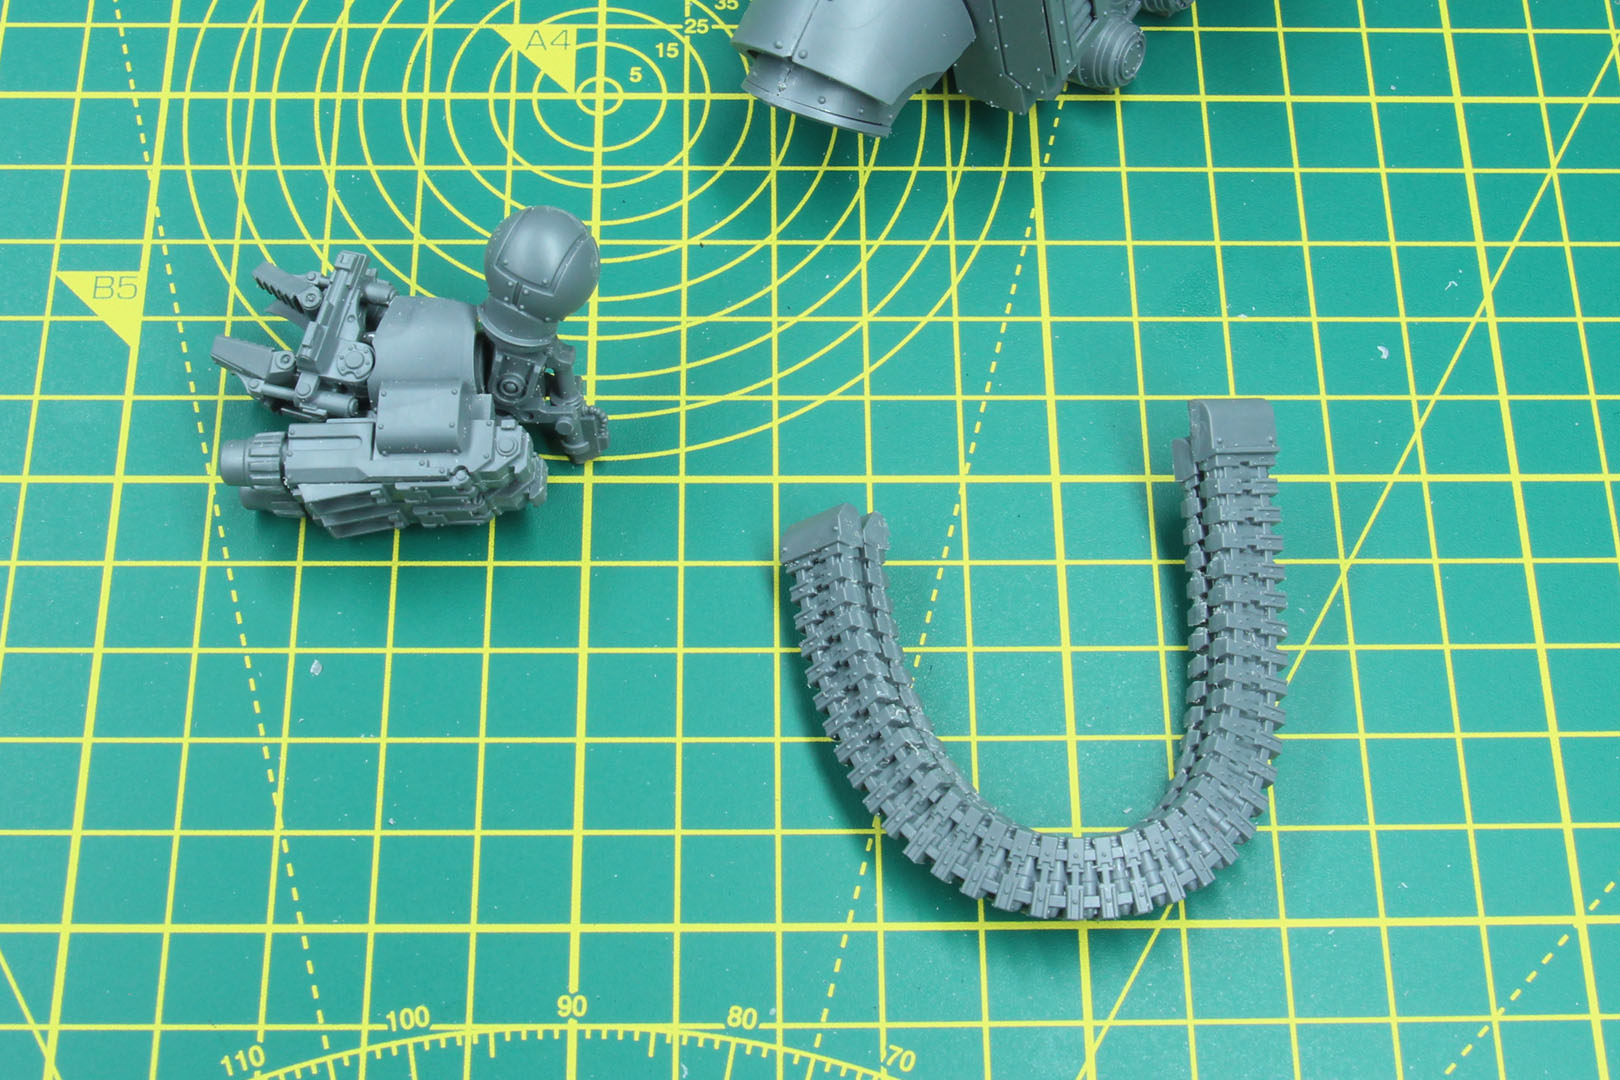
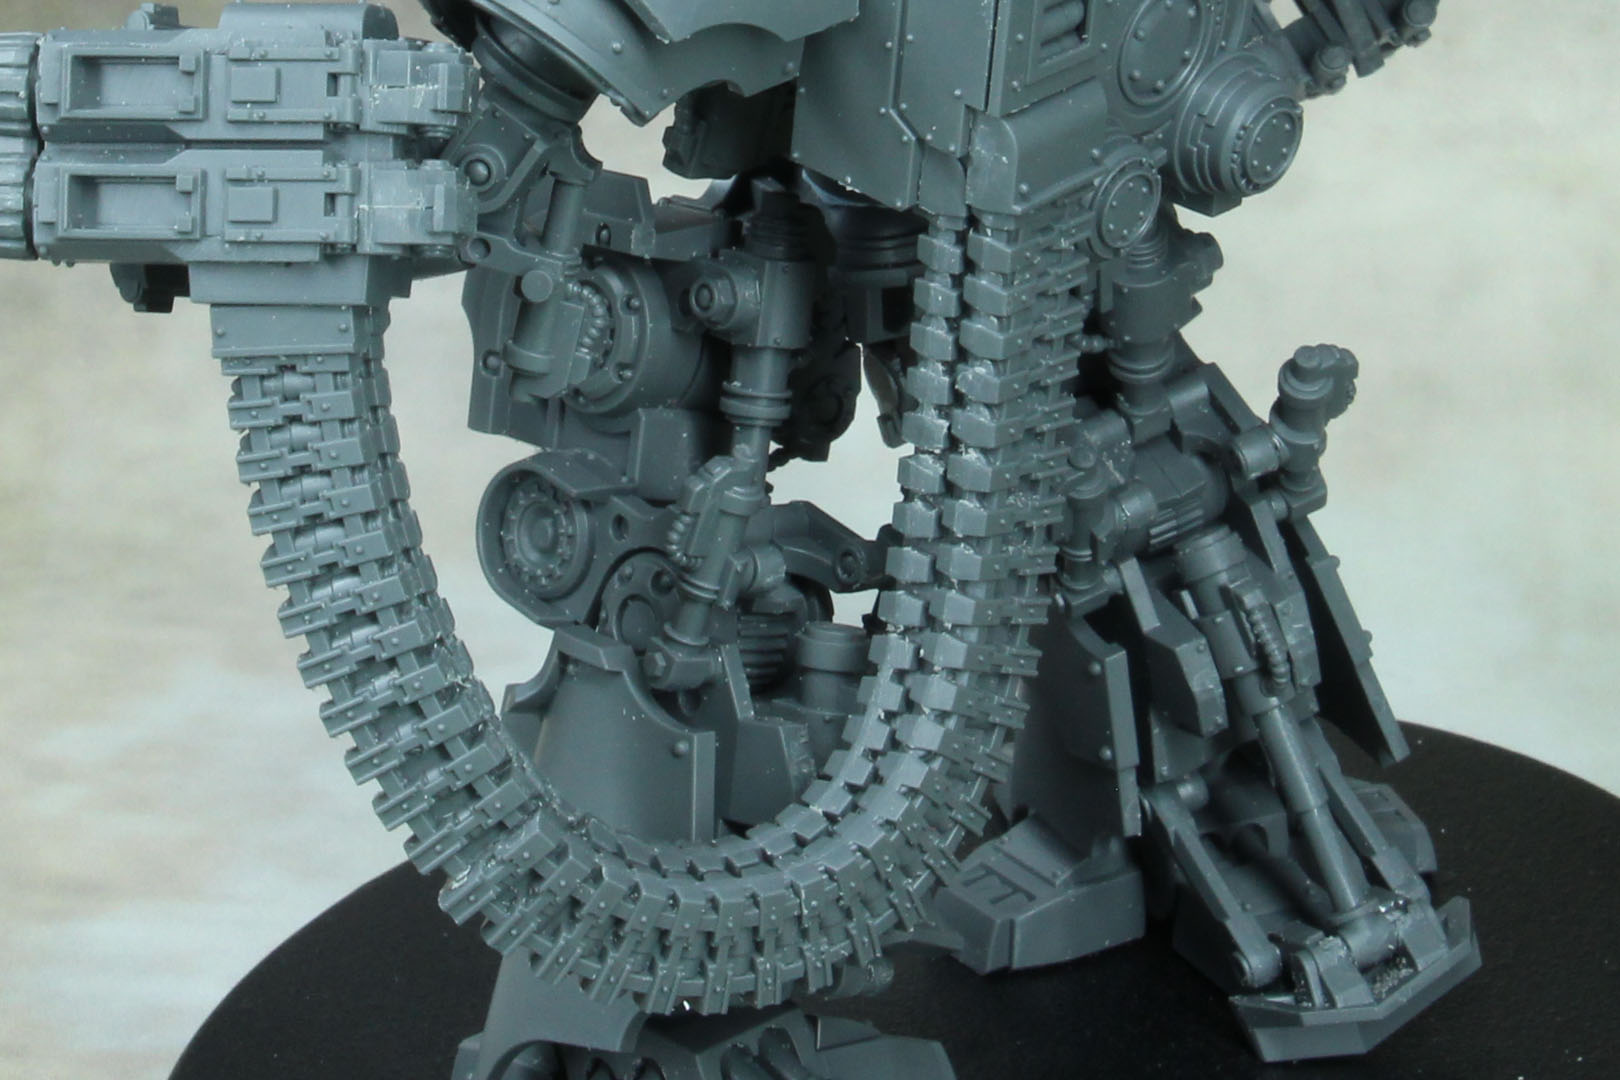
The barrels of the Twin-Linked Mauler Bolt Cannon come pre-drilled, which is nice.


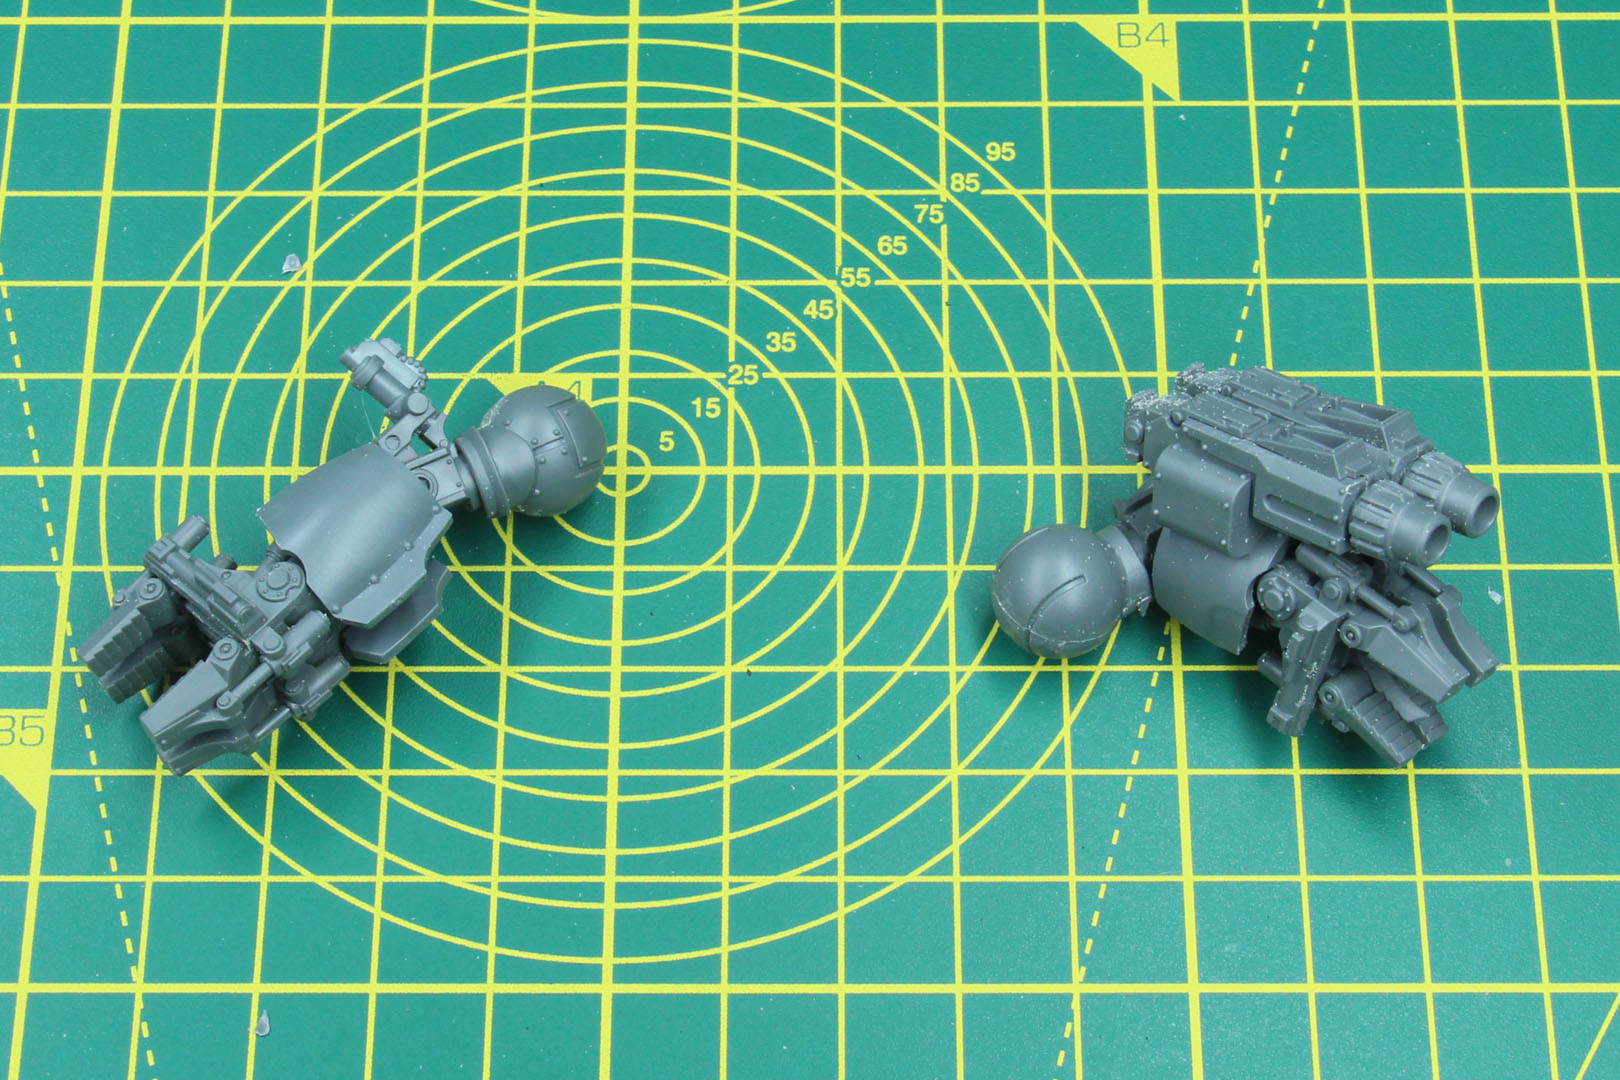
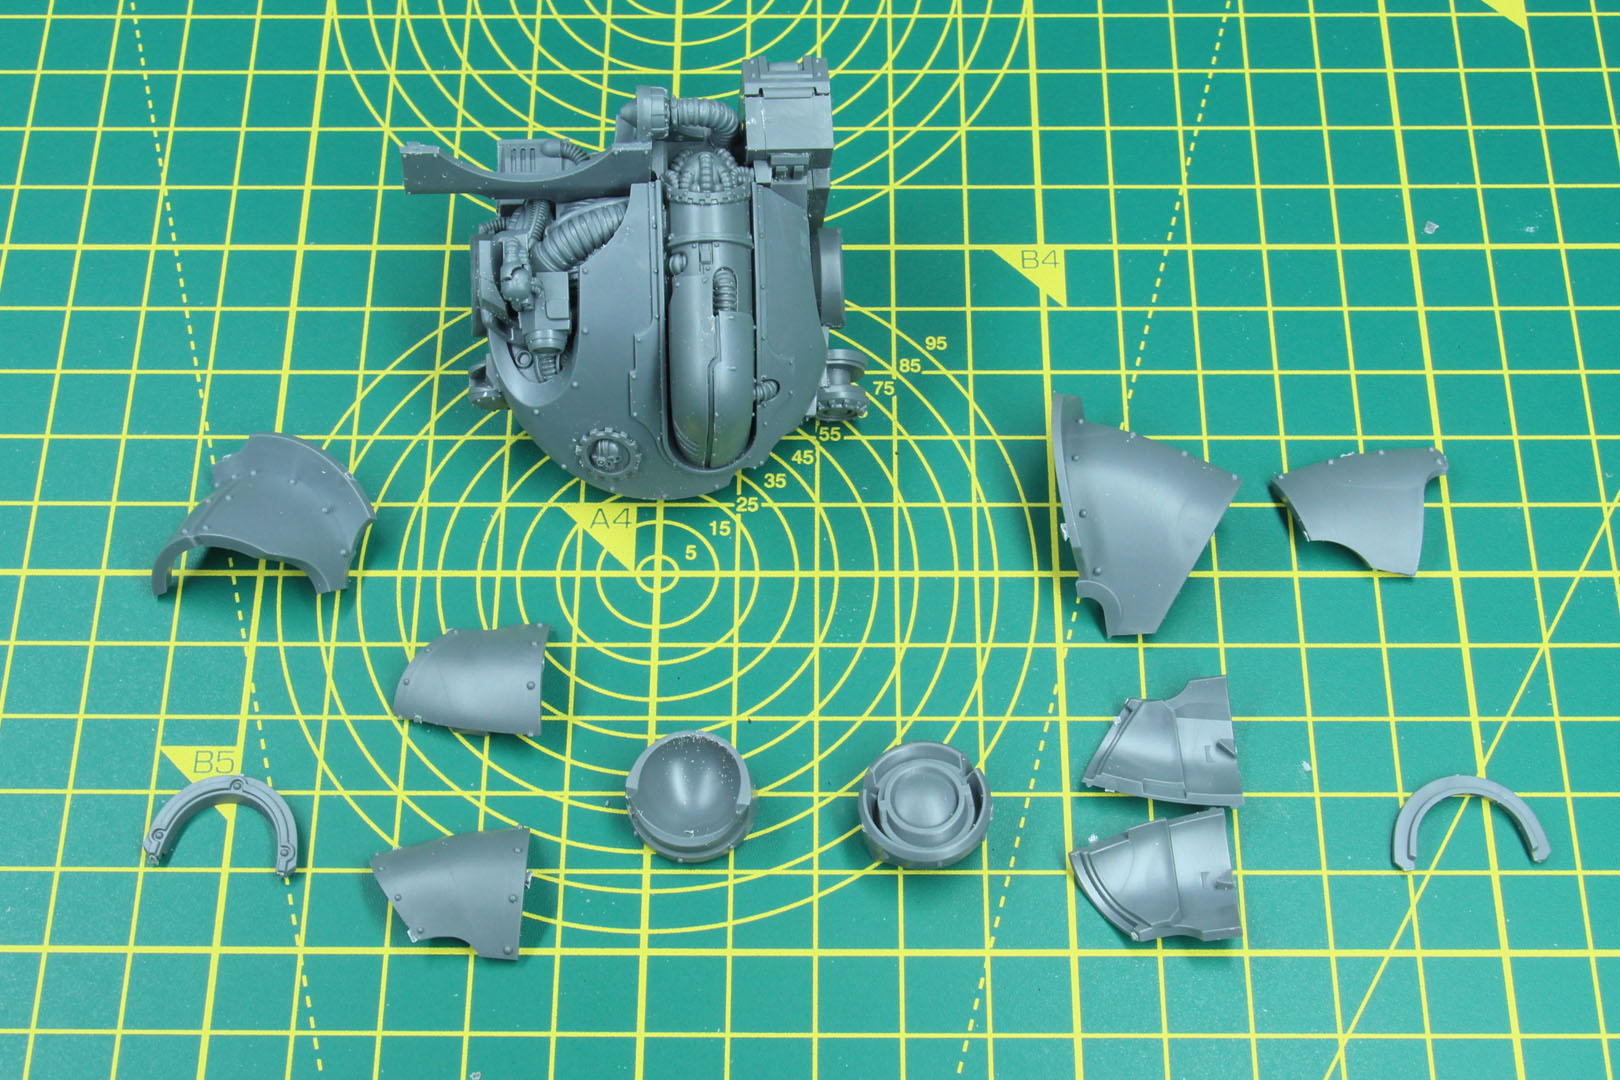
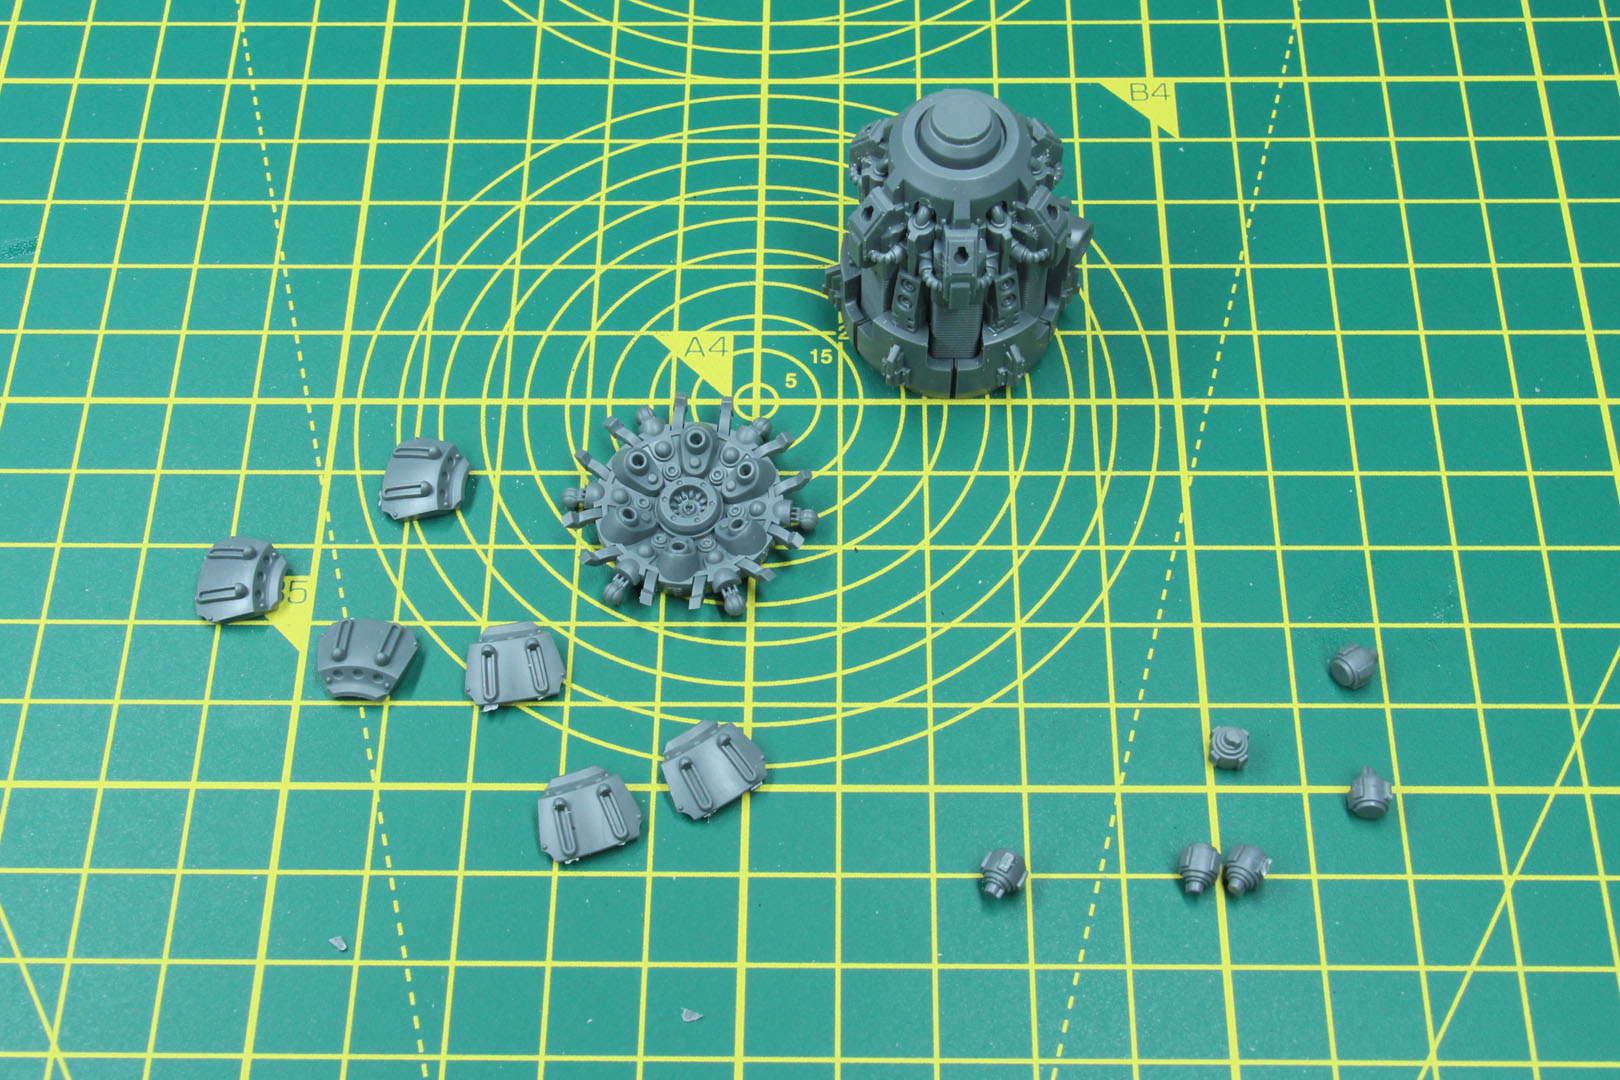
Now we are building the Plasma Mortar and this was another delight of not so proper documentation of the building steps. While the drum itself is easily built, as you add 6x part B6 to a round shape and then add B17 as a bottom to it, they missed to inform you that B17 creates aligned grooves, to ensure that the parts B18 to B20 are added in the right order / position (4 times in the middle, and one each slightly to the left and right for B18 and B19). Unfortunately, they didn't point that out, and I just made sure to keep one B20 between B18 and B19. It is kind of a fool proof, which is nice, but not documented / instructed, ending up with a higher risk of false assembly.


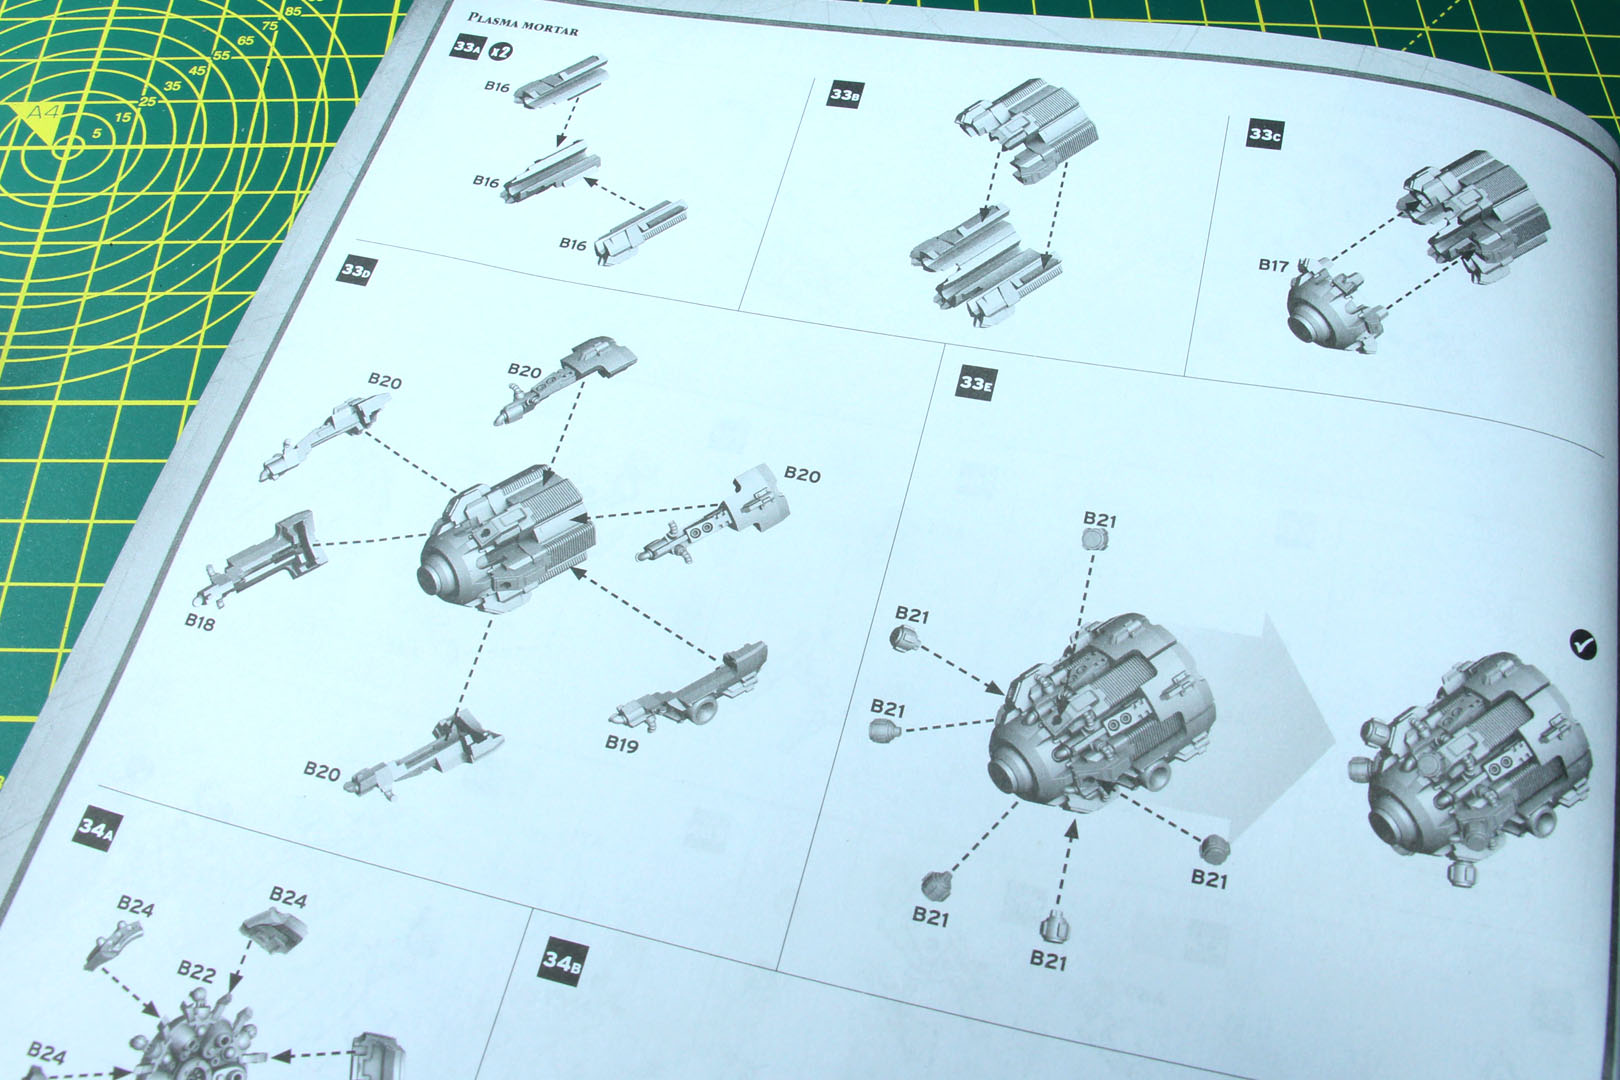
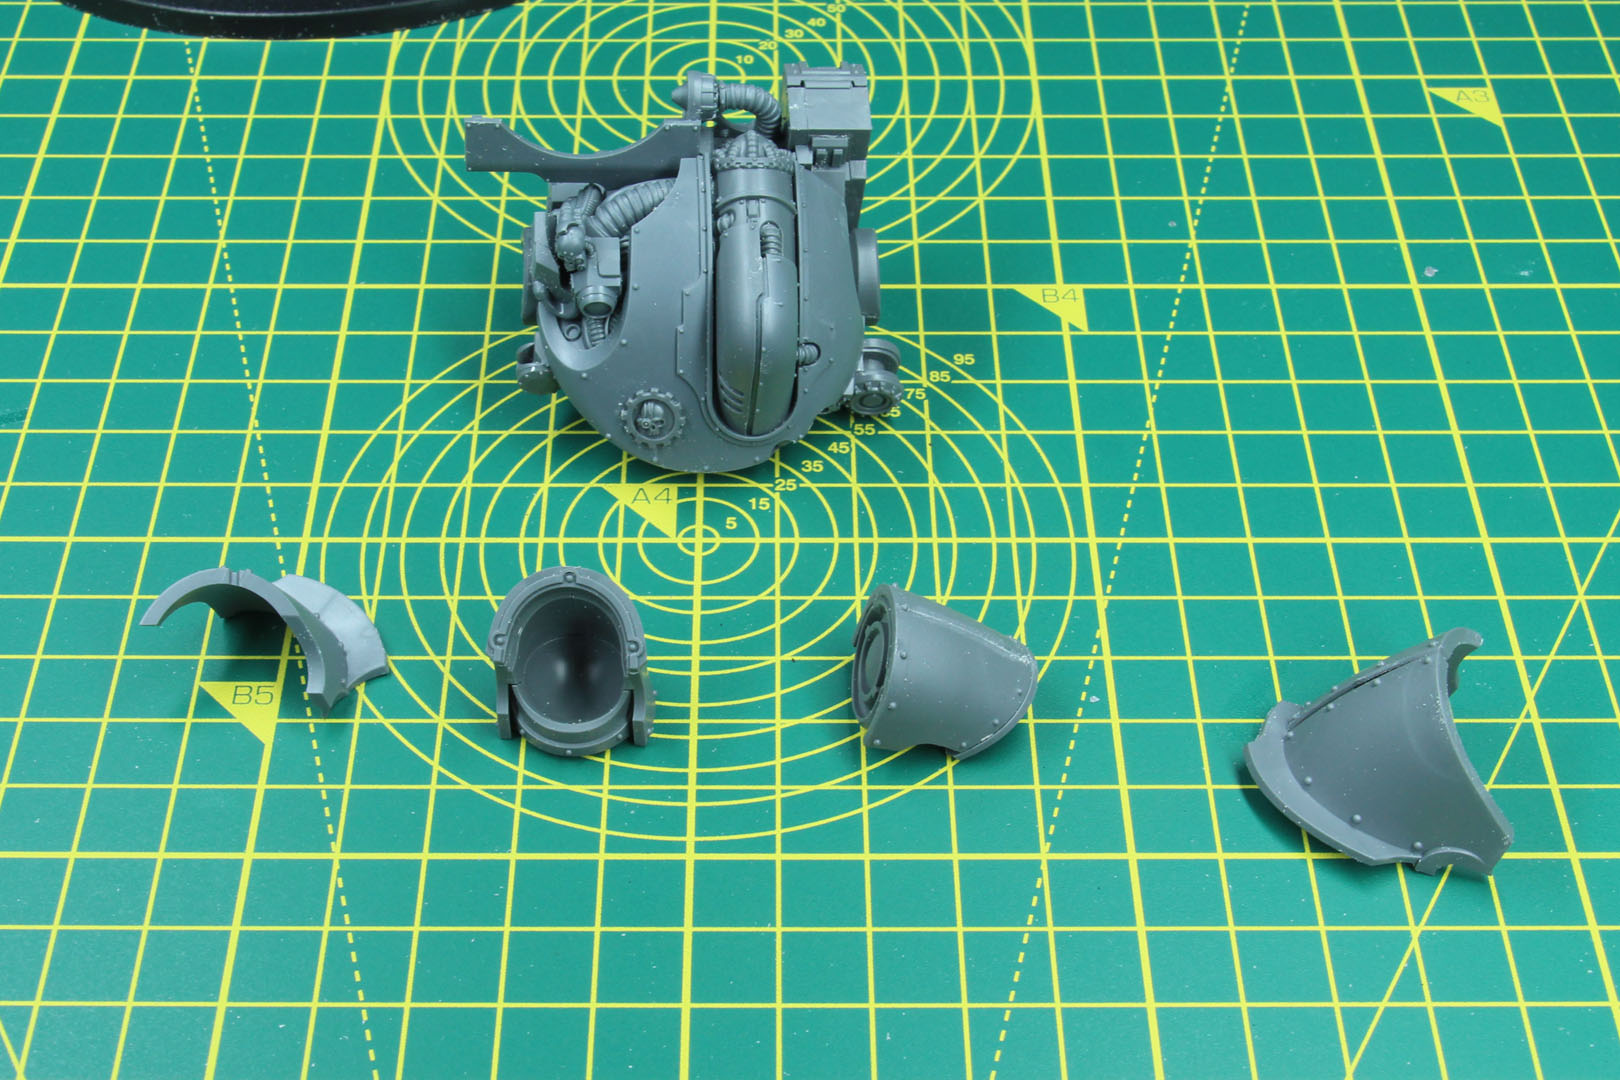
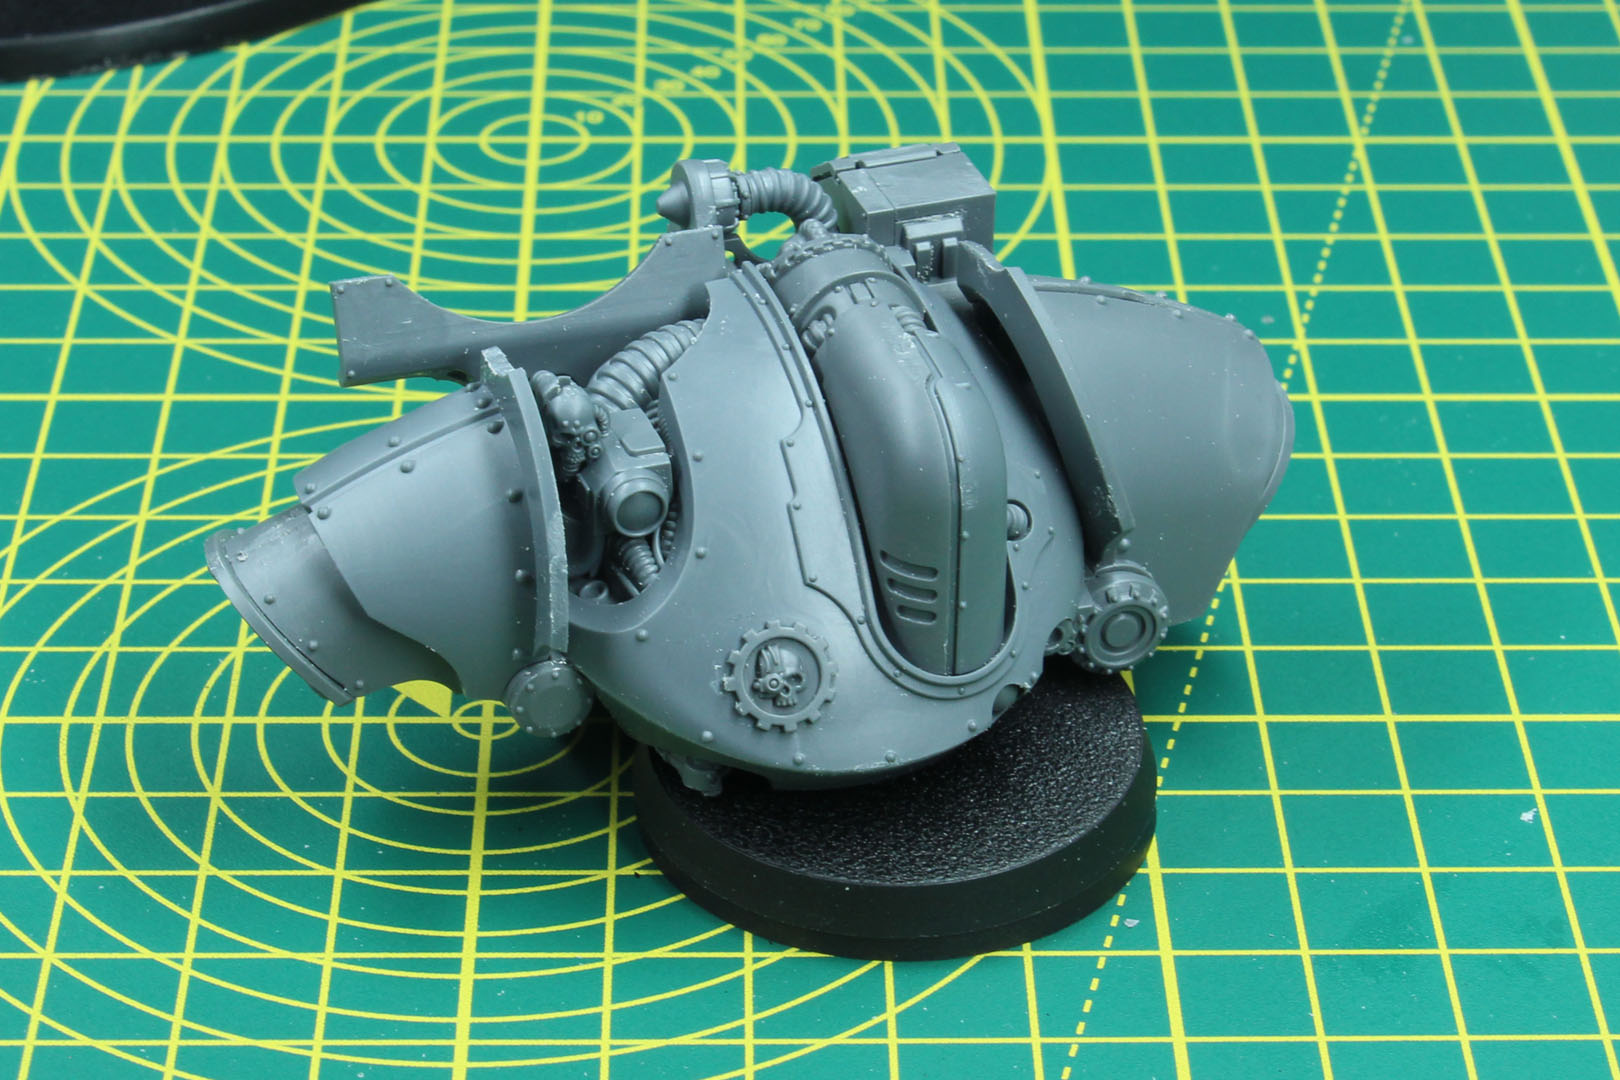
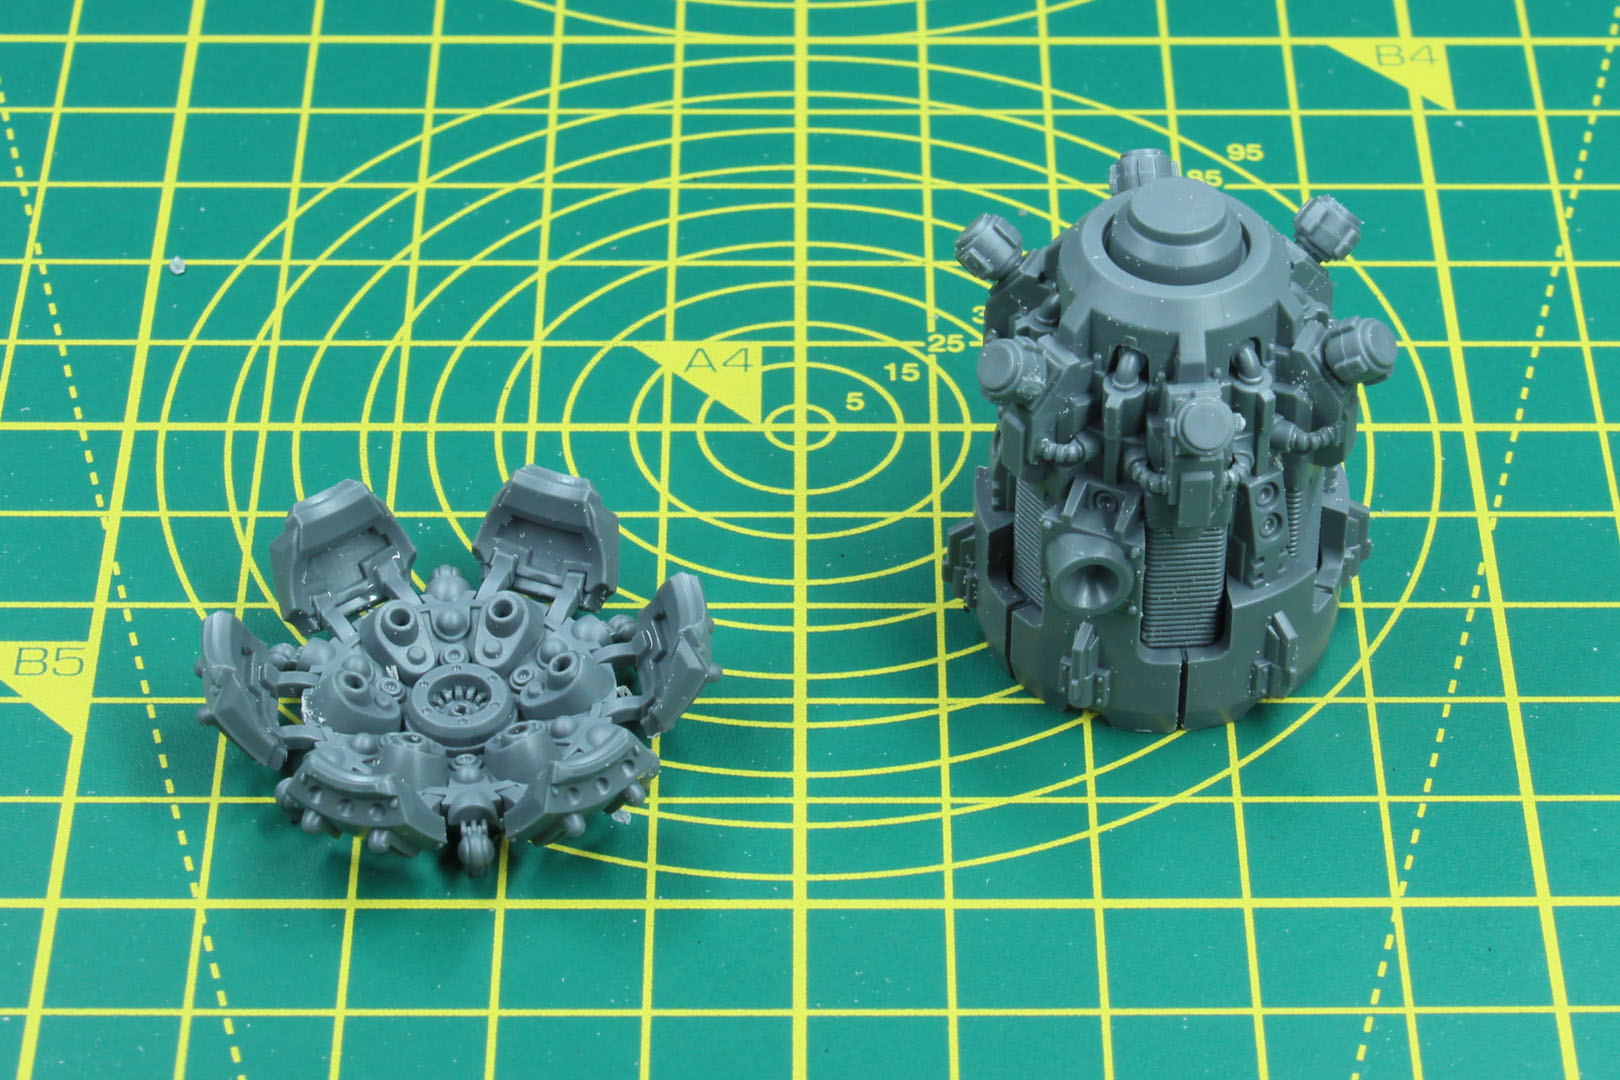
In the next step you have the option to either have the mortar opened or closed, it works like the petals of a flower, and uses the same pieces for both variants (just B22 for open and B23 for the closed variant). I wanted a more aggressive look and went for the opened Mortar. The mortar is added to the shoulder mount and does not need to be glued fix in place, giving it the option to be tilted.


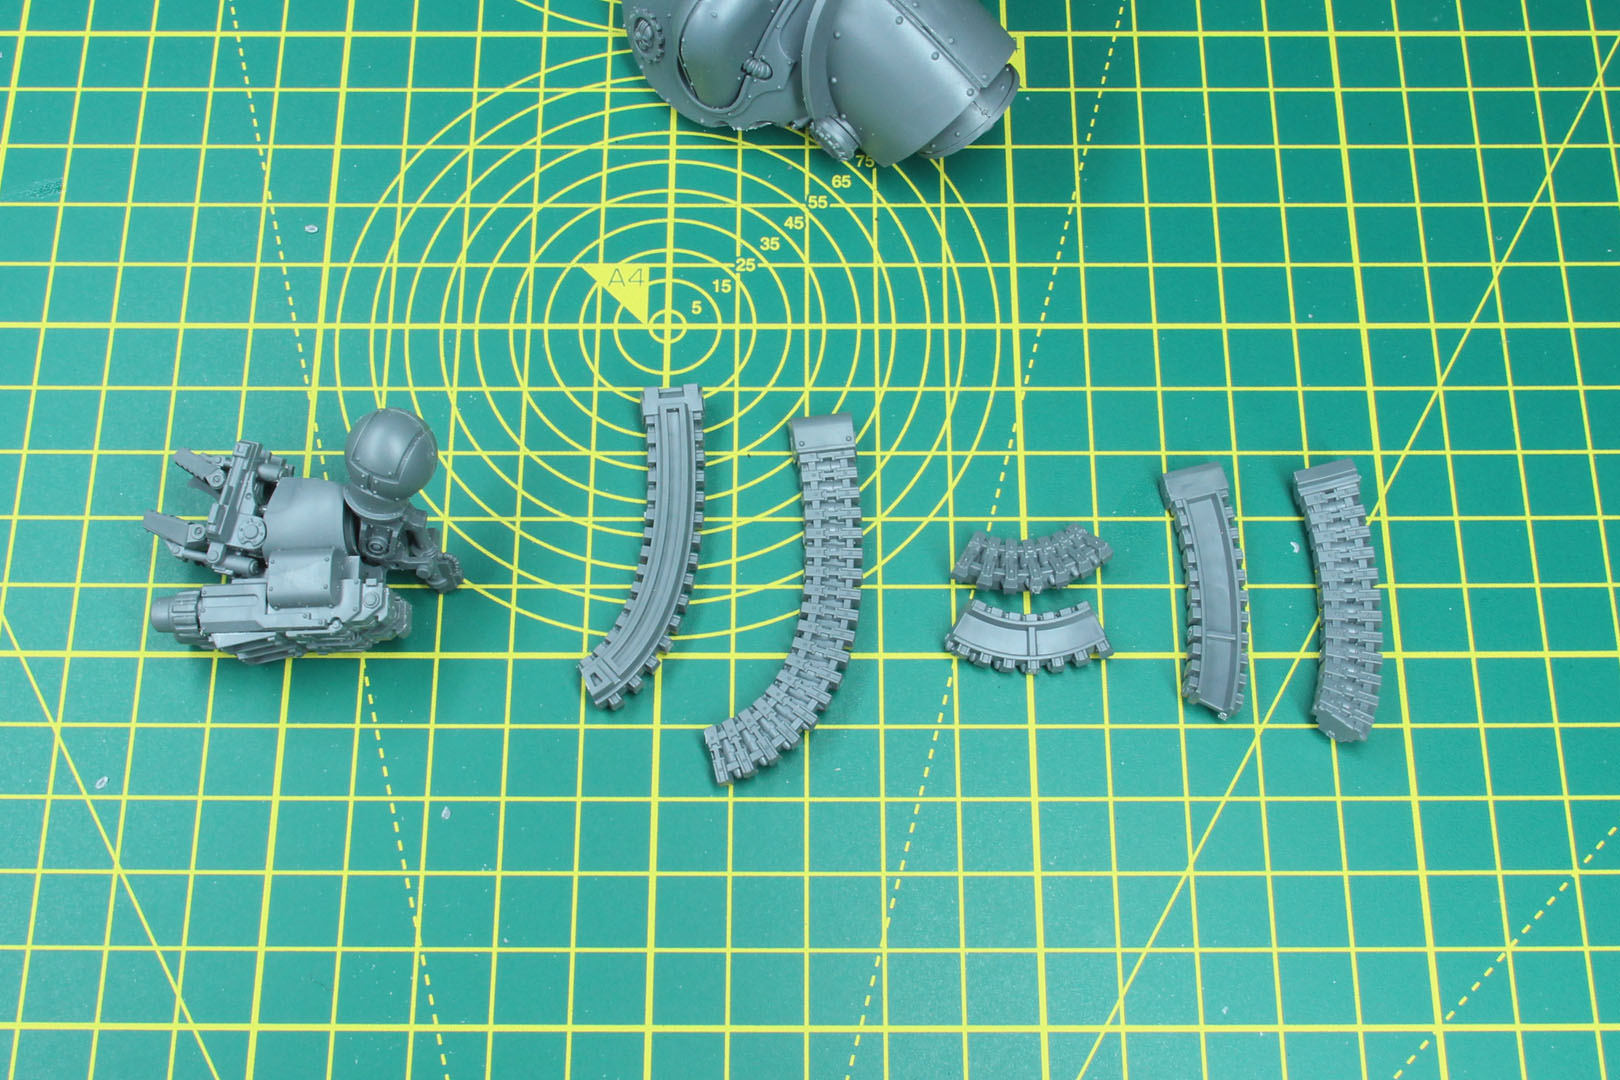
Now for the ammo feed of the Mauler Bolt Cannon. There are two variants of this ammo belt, as depending on pose 1 or pose 2 (which is noted for the first time in step 42 after the introduction page 3), and is built from six pieces each time. This is not flexible as in the Cerastus Castigator kit (oh that would have been so cool). Please not, as the ammo feed is connected to the back of the upper body and the left arm, the later has no variation and has to be glued in that position as it comes (or in the alt pose, depending on which ammo feed you went for).
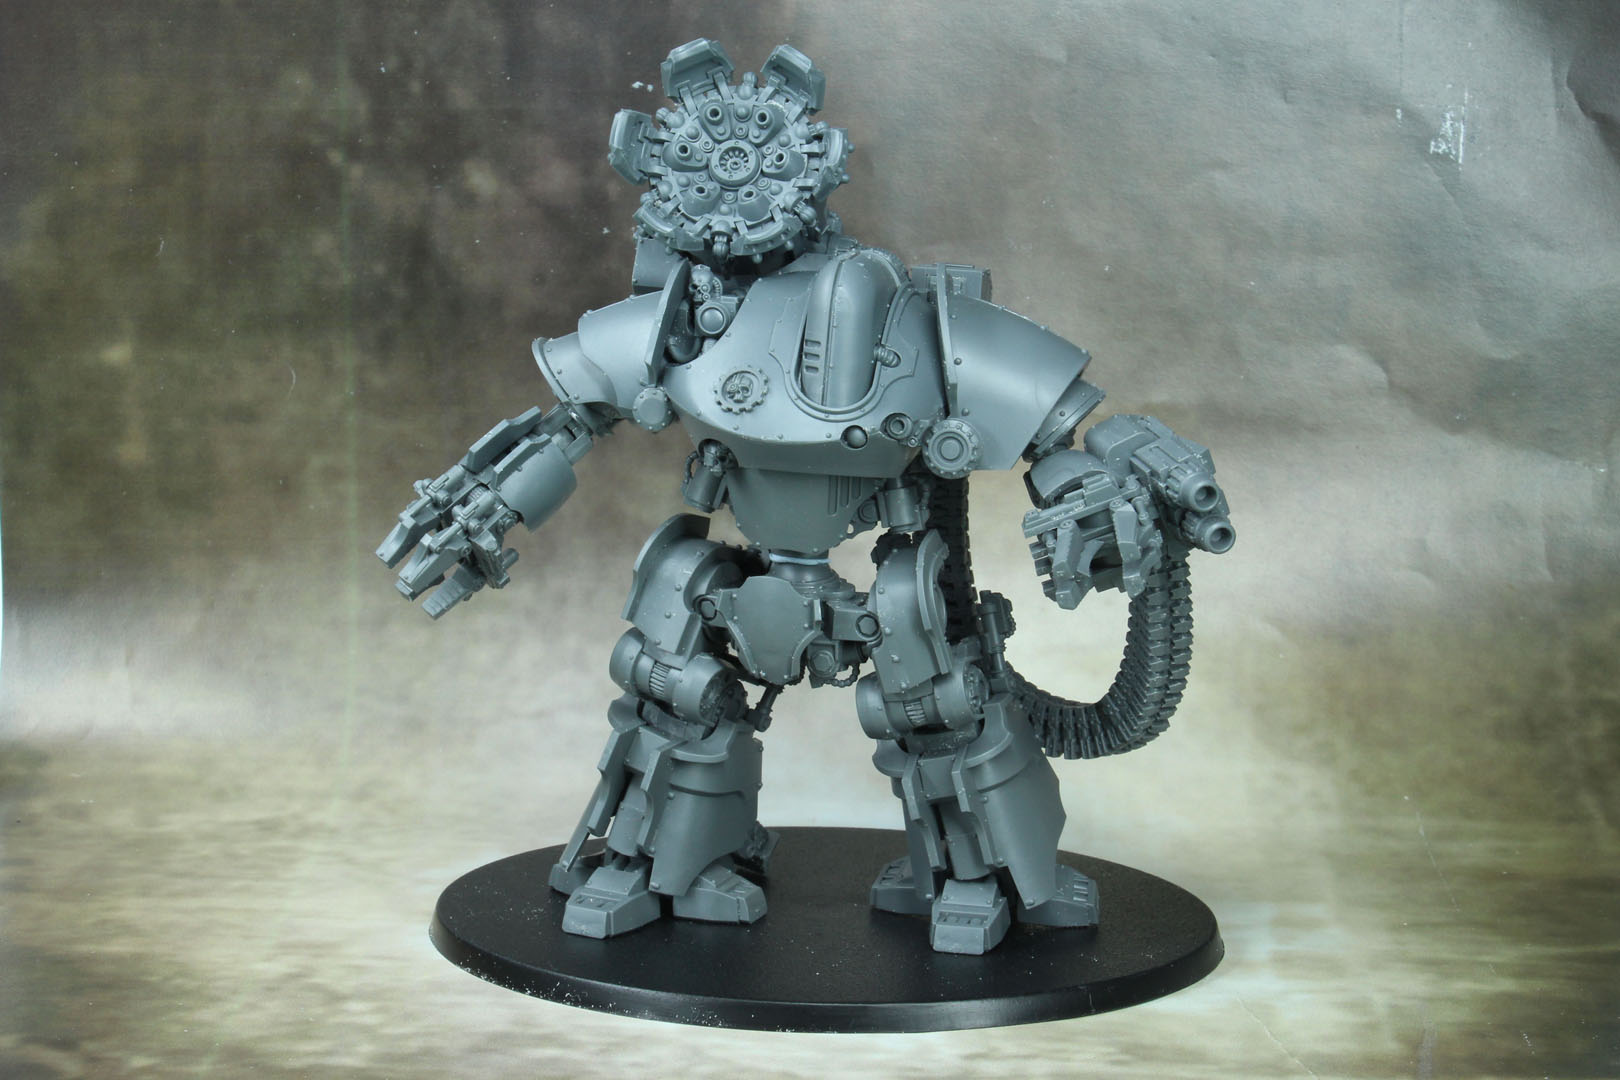
And this is the assembled / built Thanatar Cavas Siege Automata.

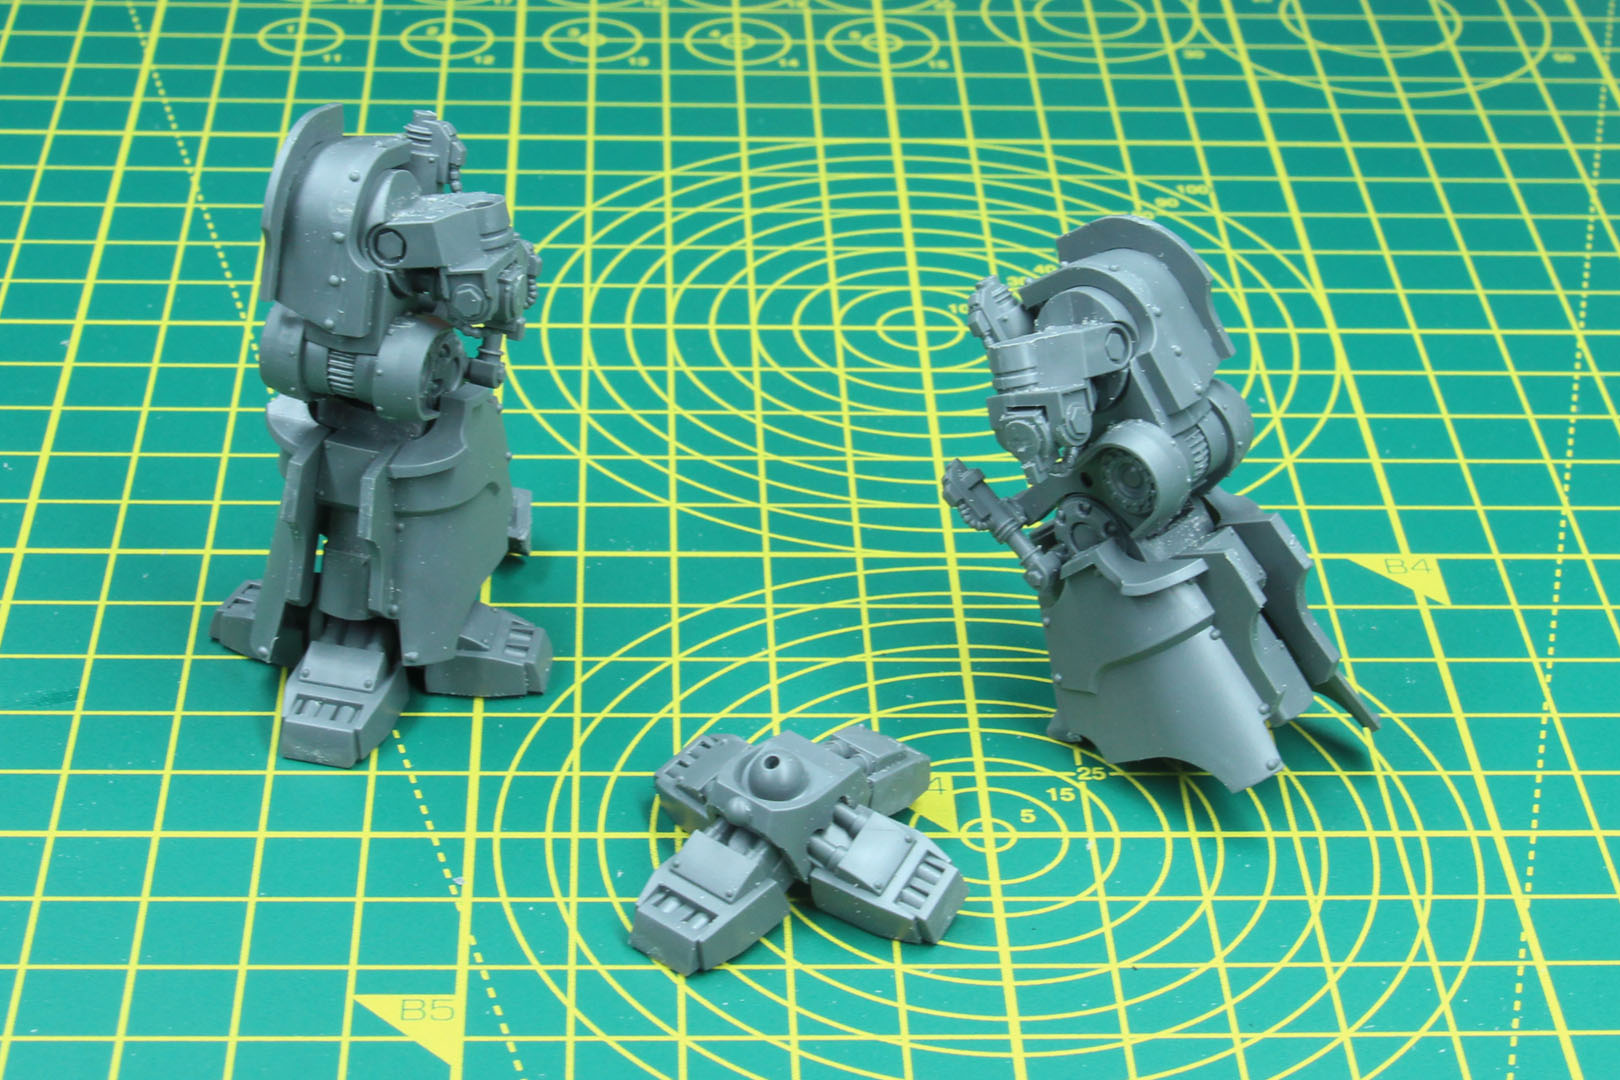
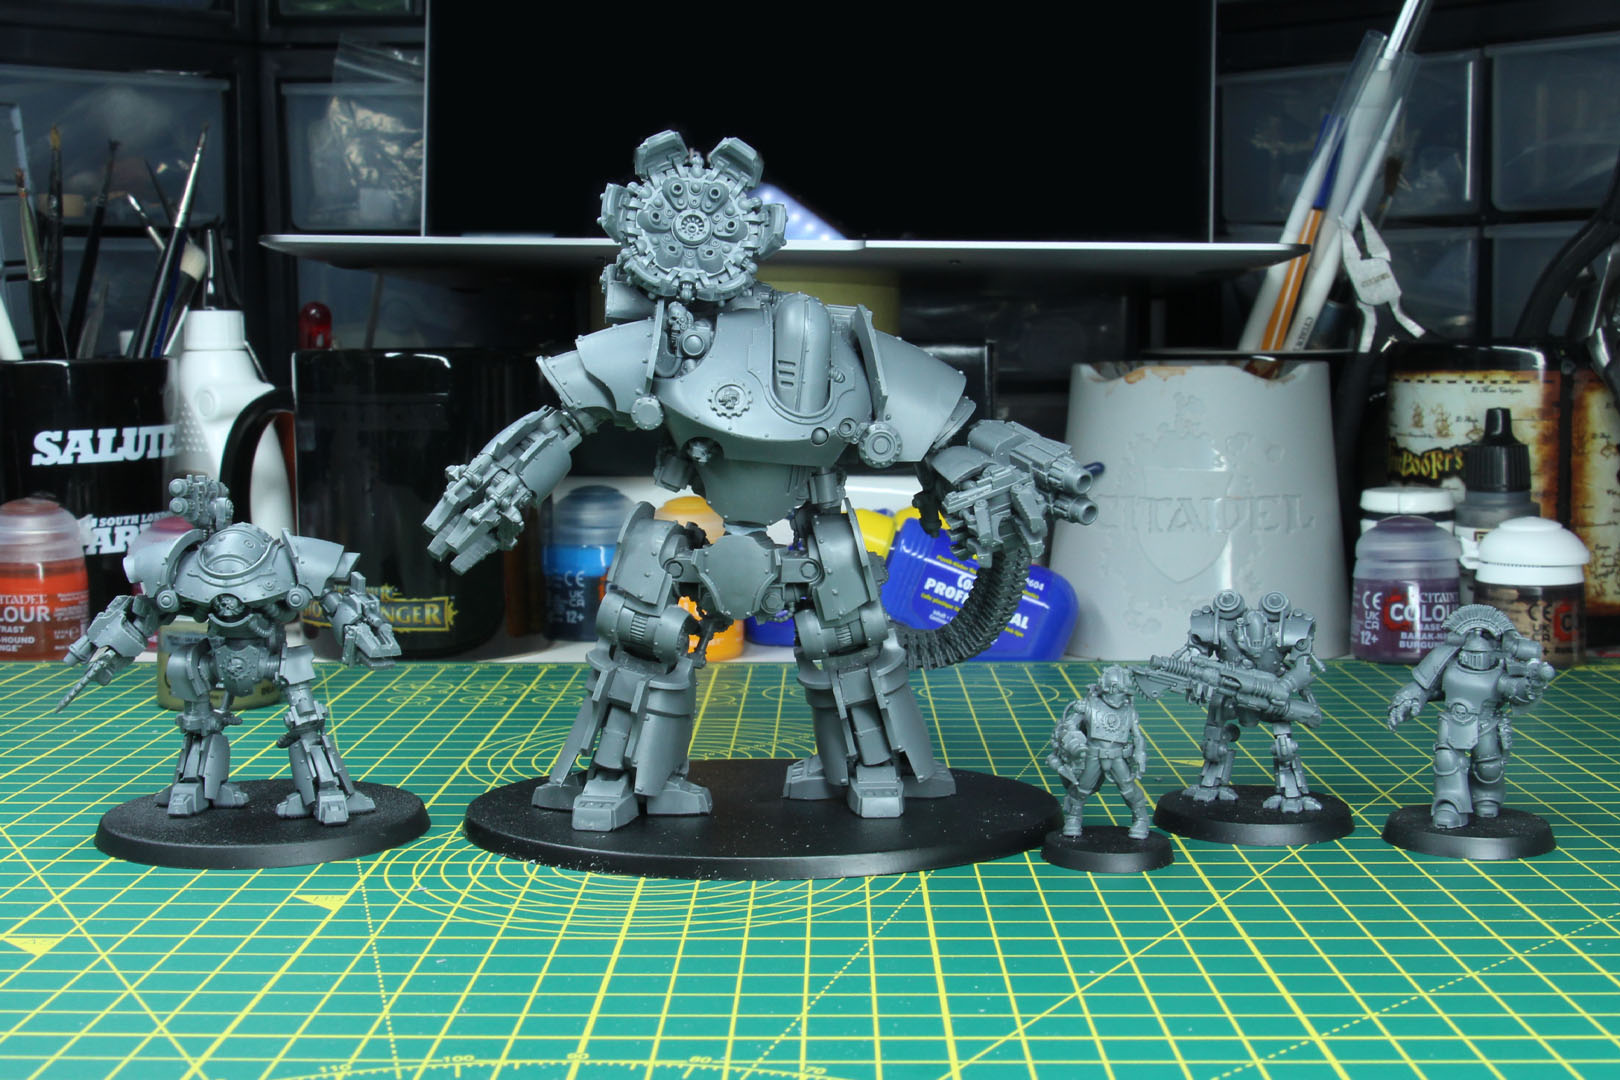
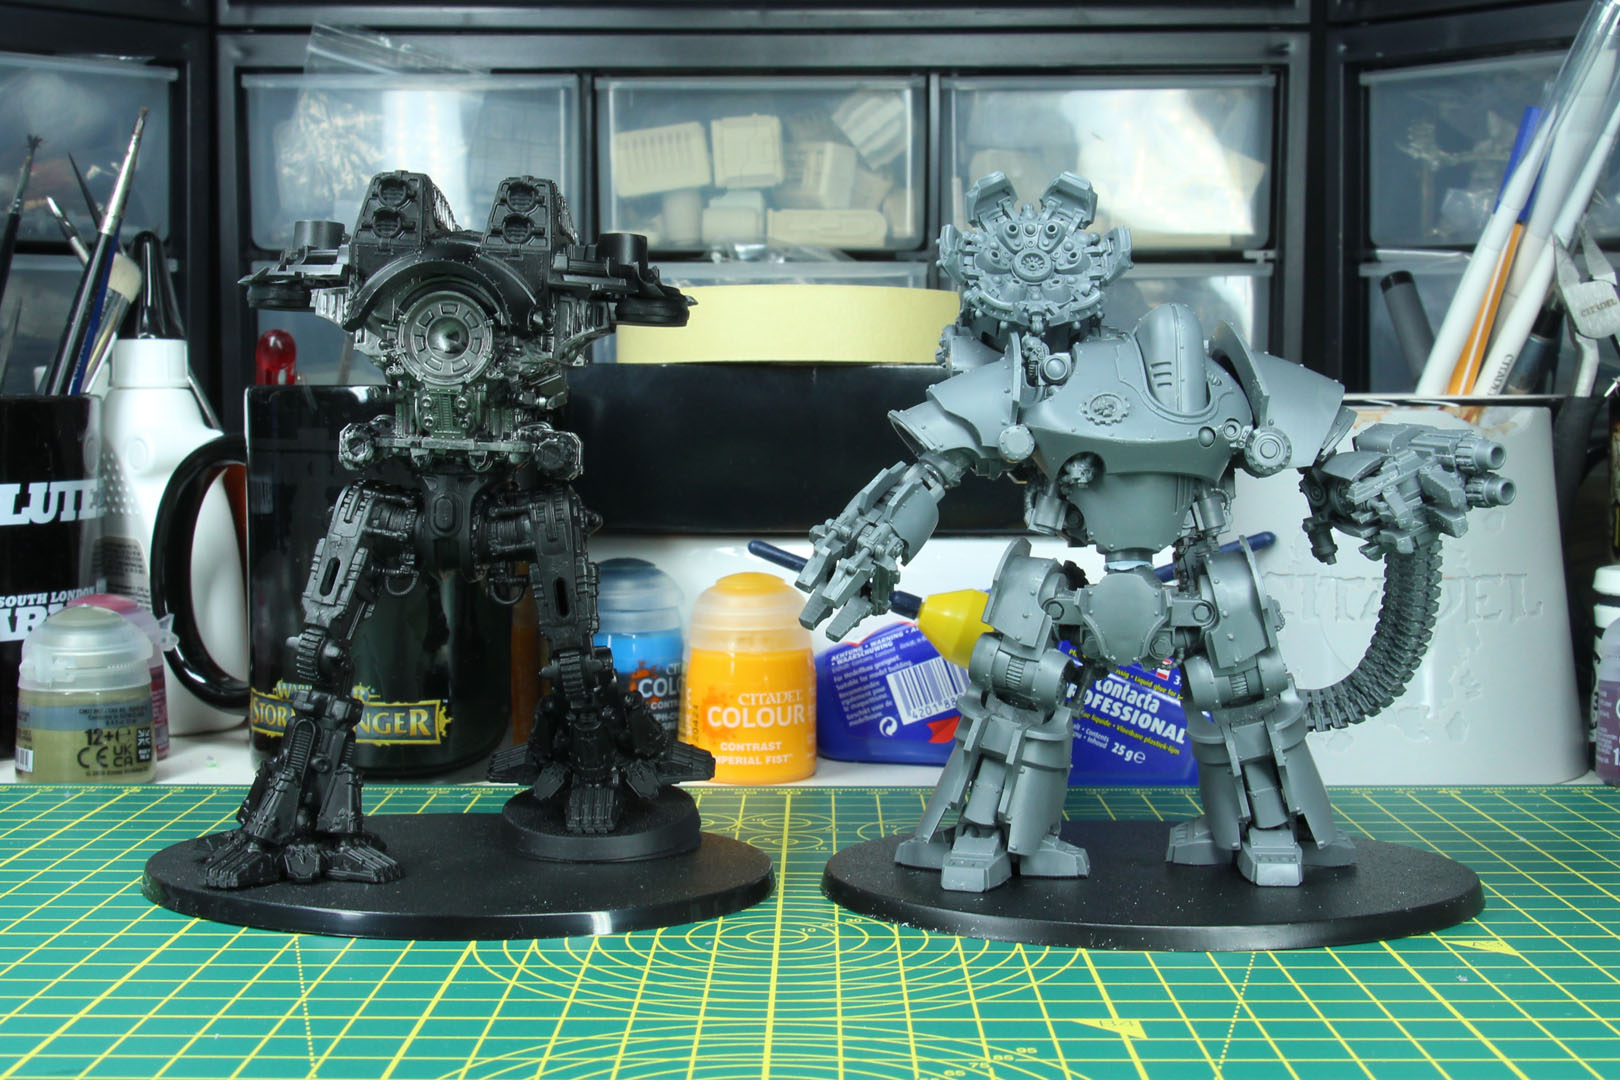
To give you an idea on the size, here the currently tallest non-Knight kit of the Mechanicum range next to the other models from the Mechanicum Battle Group and a brave Astartes in Mark III armour, along with a comparison with the frame of the Warlord Titan for Legiones Imperialis / Adeptus Titanicus (as I was asked if the Plasma Mortar could be used as an interesting conversion).
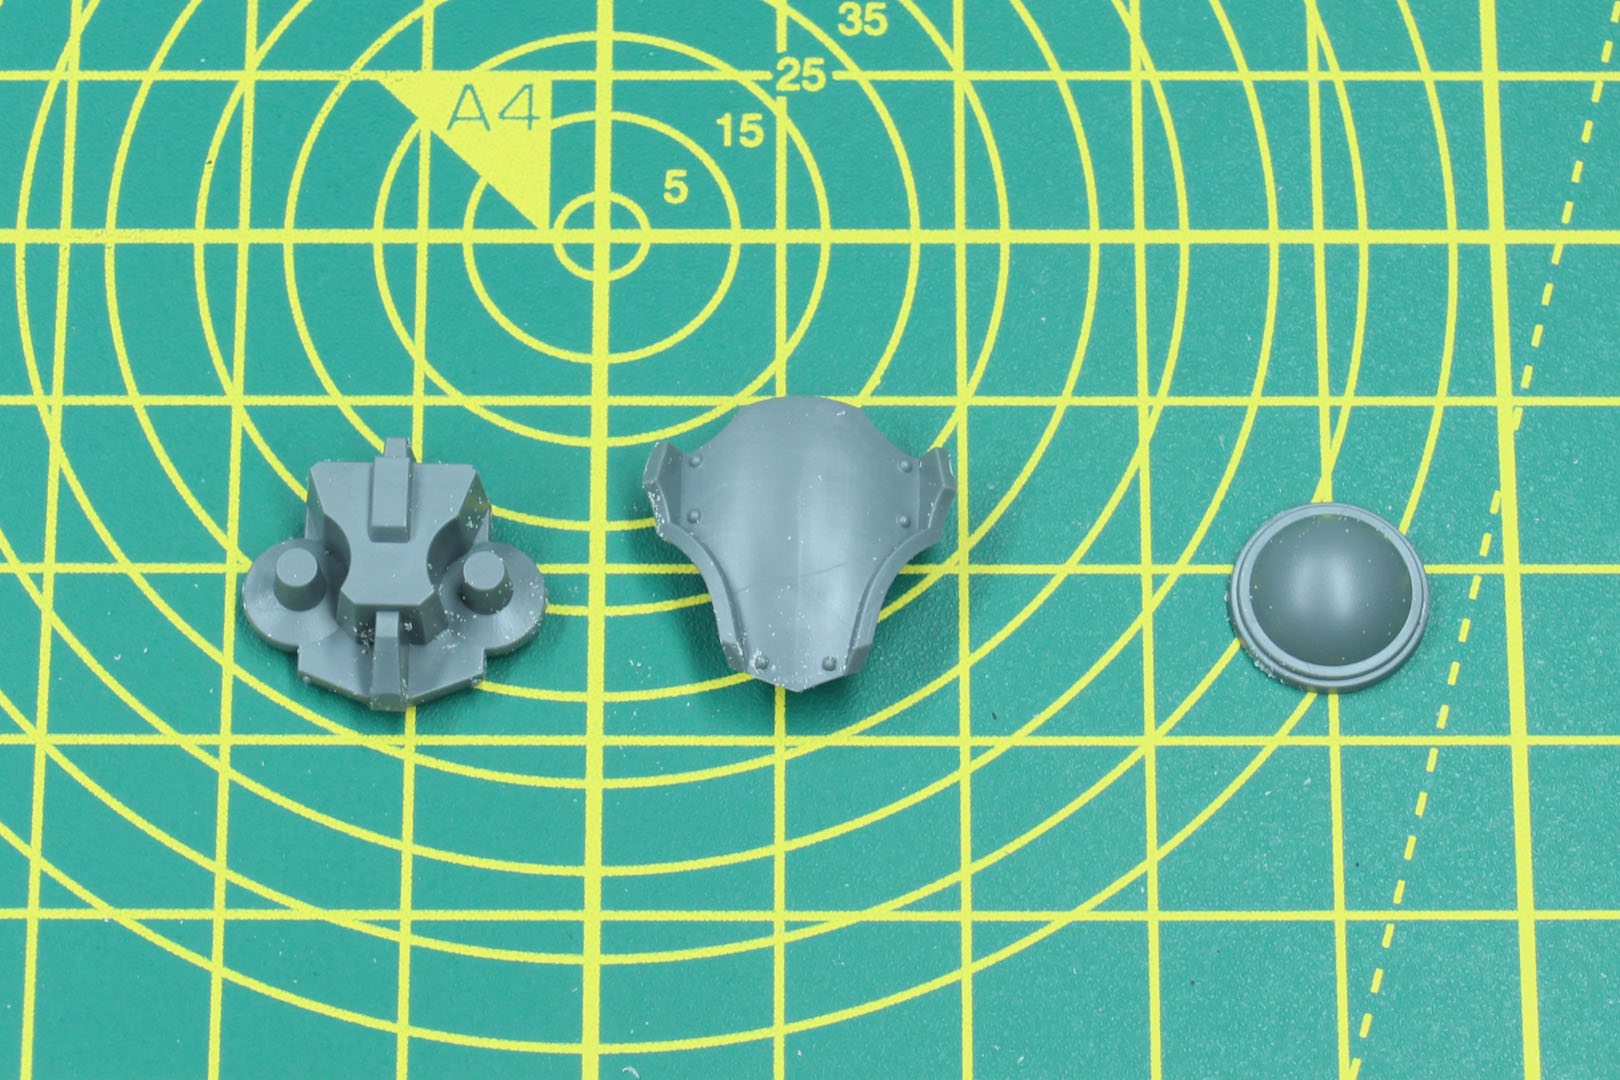
Along with some final shots of the model itself, along with close ups of the weapon systems.


Conclusion
Is this an impressive model? Absolutely. The design, and the way they translated it from resin to plastic is very well made and I had barely issues with the fit or mould lines. My major problem with this kit are multiple steps in the instructions, that weren't clear enough or not properly shown. And that creates an unpleasant experience and at a price of 82,50 EUR I think I can expect more.
The price itself, well it is 10 EUR more than the Triaros Armoured Conveyor, who has double the sprues, and it 10 EUR less than the Warlord Titan, which has a sprue more and far more flexibility for the poses. I don't have problem with the 82,50 EUR price tag itself, just with the value it currently provides, as we certainly will see the Calix-pattern down the line, but as a kit of its own and during the later years of the product life-cycle both kits will be combined into one to save shelf space with a price upgrade. We have seen this with the Imperial Knights and various tanks, like the Baneblade or Leman Russ.
Beyond that, I still have to wrap my head around that the Mechanicum creates standard constructs, a clone-army by purpose, so I have to put the feeling aside that there are bits and pieces missing for individuality (there is no stowage, they are not variations for iconography and such), as this is not a lack of attention to detail but the opposite, it is very true to the lore. And with the roadmap for 2025 for the Age of Darkness and especially Legions Imperialis, I can not wait to have these in epic scale.
Warhammer 40,000 and The Horus Heresy are brands by Games Workshop.
The reviewed product item was provided by the manufacturer.
Enjoy this article?
Like us on Facebook

Follow me on Instagram

Categories
- events (191)
- fantasy (543)
- General (156)
- historical (596)
- Little Big Adventures (4)
- offtopic (5)
- reviews (469)
- science fiction (584)
- showroom (97)
- terrain (103)
- work-in-progress (391)


September 2nd, 2024 - 11:29
Thank you for a wonderfully informative and helpful review.
September 4th, 2024 - 18:31
Die haben echt den alten Resin Thanatar für die Front der Verpackung genommen… zu sehen am Cog Mechanicum (hat mehr Zähne als beim neuem) und die Nieten auf der Hüftpanzerung folgen der Innenkante statt in der mitte der Platte entlang zu laufen…
September 8th, 2024 - 08:54
Dank dir für den Hinweis!
Bei Legions, Aeronautica und Titanicus sind auch die Großmodelle auf der Verpackung anstatt der “Epic” / 8mm Modelle.
March 25th, 2025 - 18:46
Bang on with the directions 👍👍👍