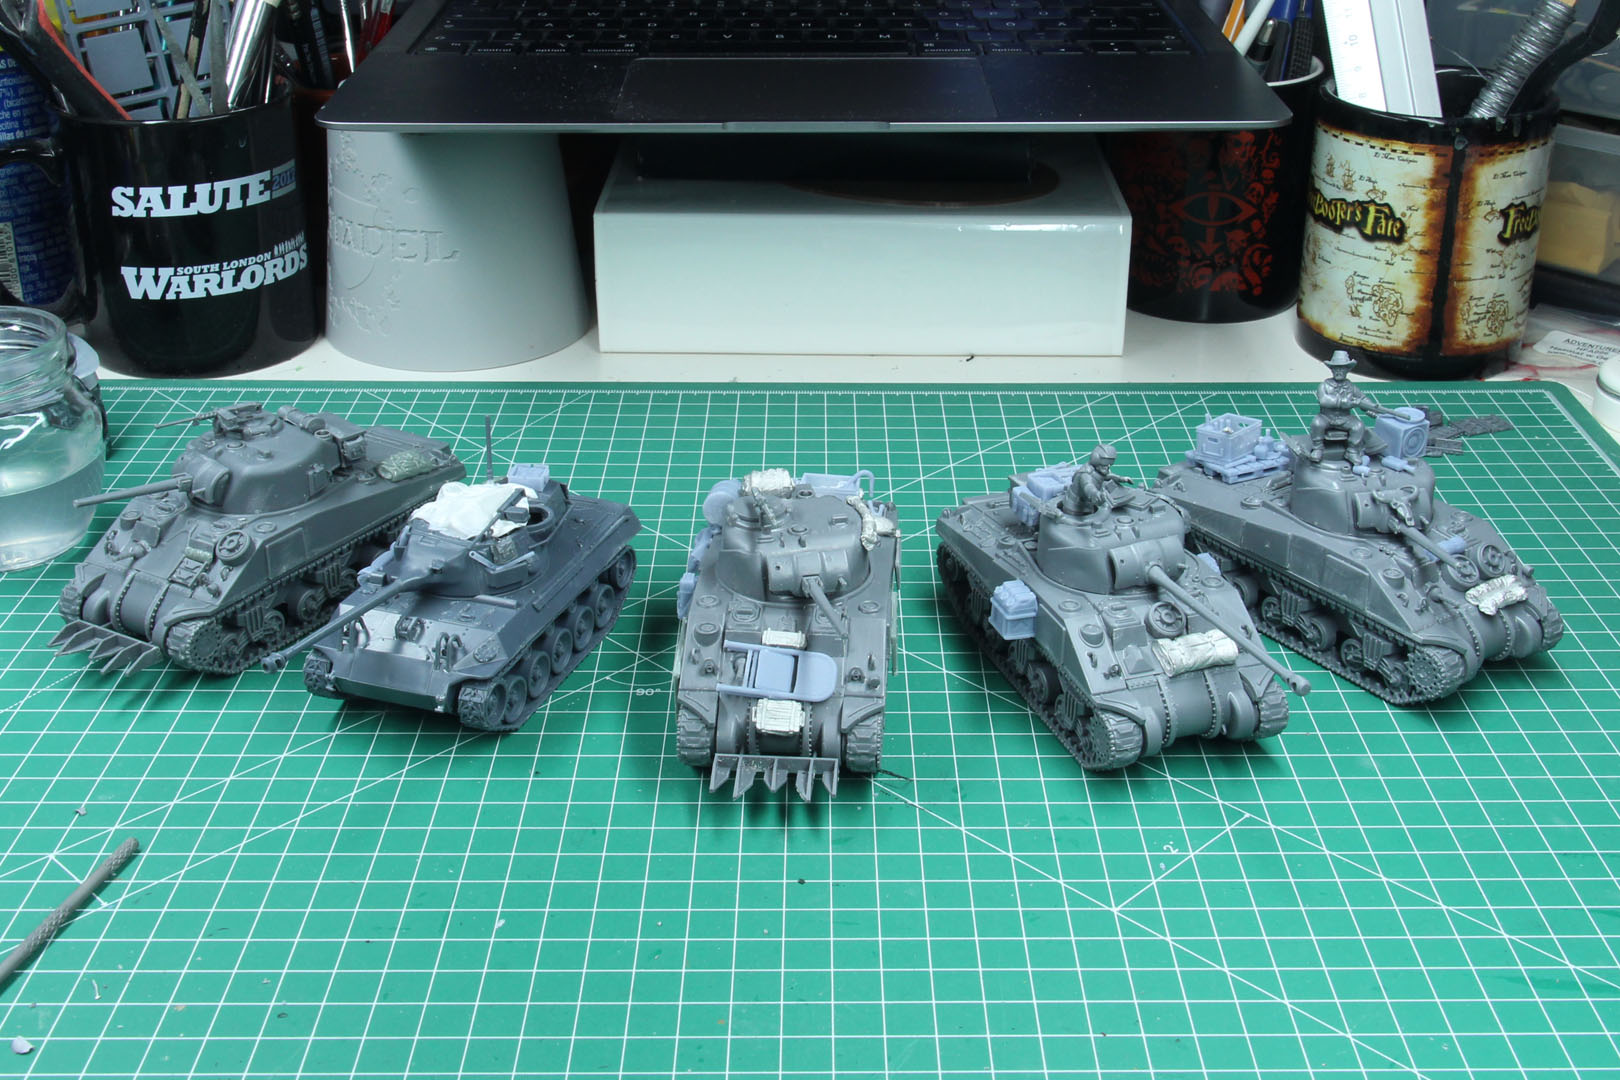
Road to CONflict – Part V
In the last step, we assembled the tanks for our demo table, and are now about to paint five armoured vehicles for our game of tank battles and the Road to CONflict.
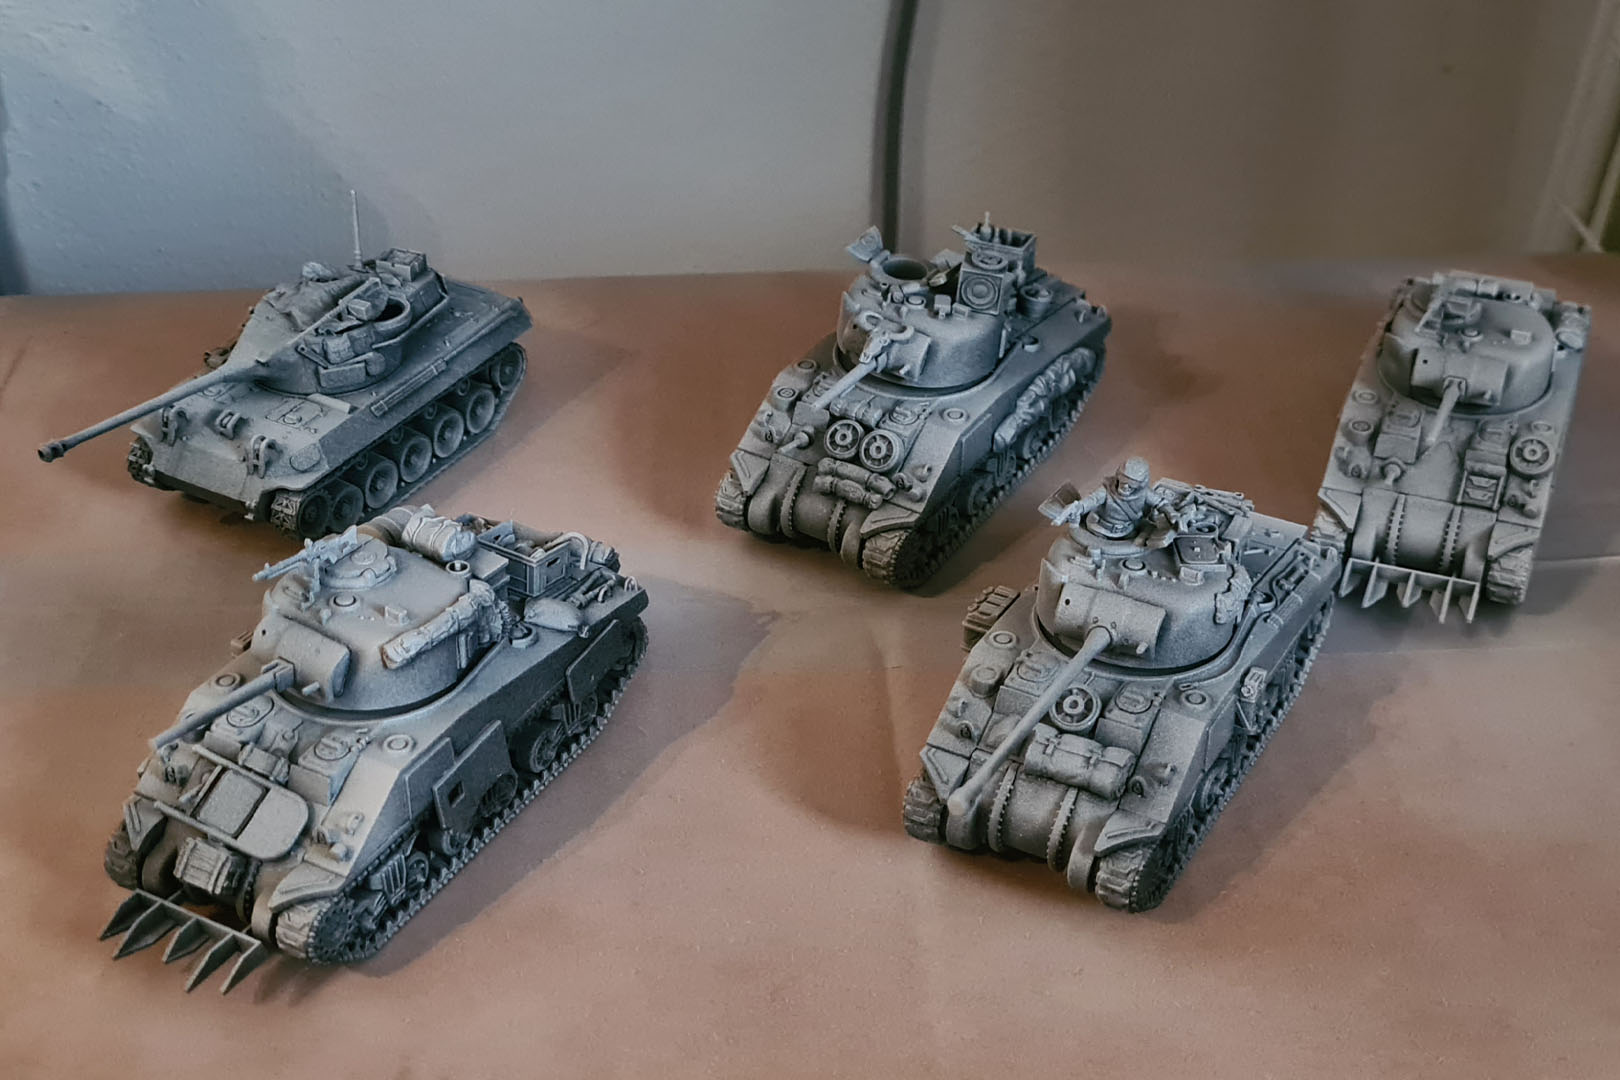
Obviously we start with a primer, and as usual black coat with a with dusting on top. Makes it much easier to see details during painting and the white colour is a bit more coarse, giving you a better grip for your paints.
For the colour palette I needed something to work around the Olive Drab, which would be major colour for most of the vehicles, or at least the base paint of which I would start rust and further weathering.
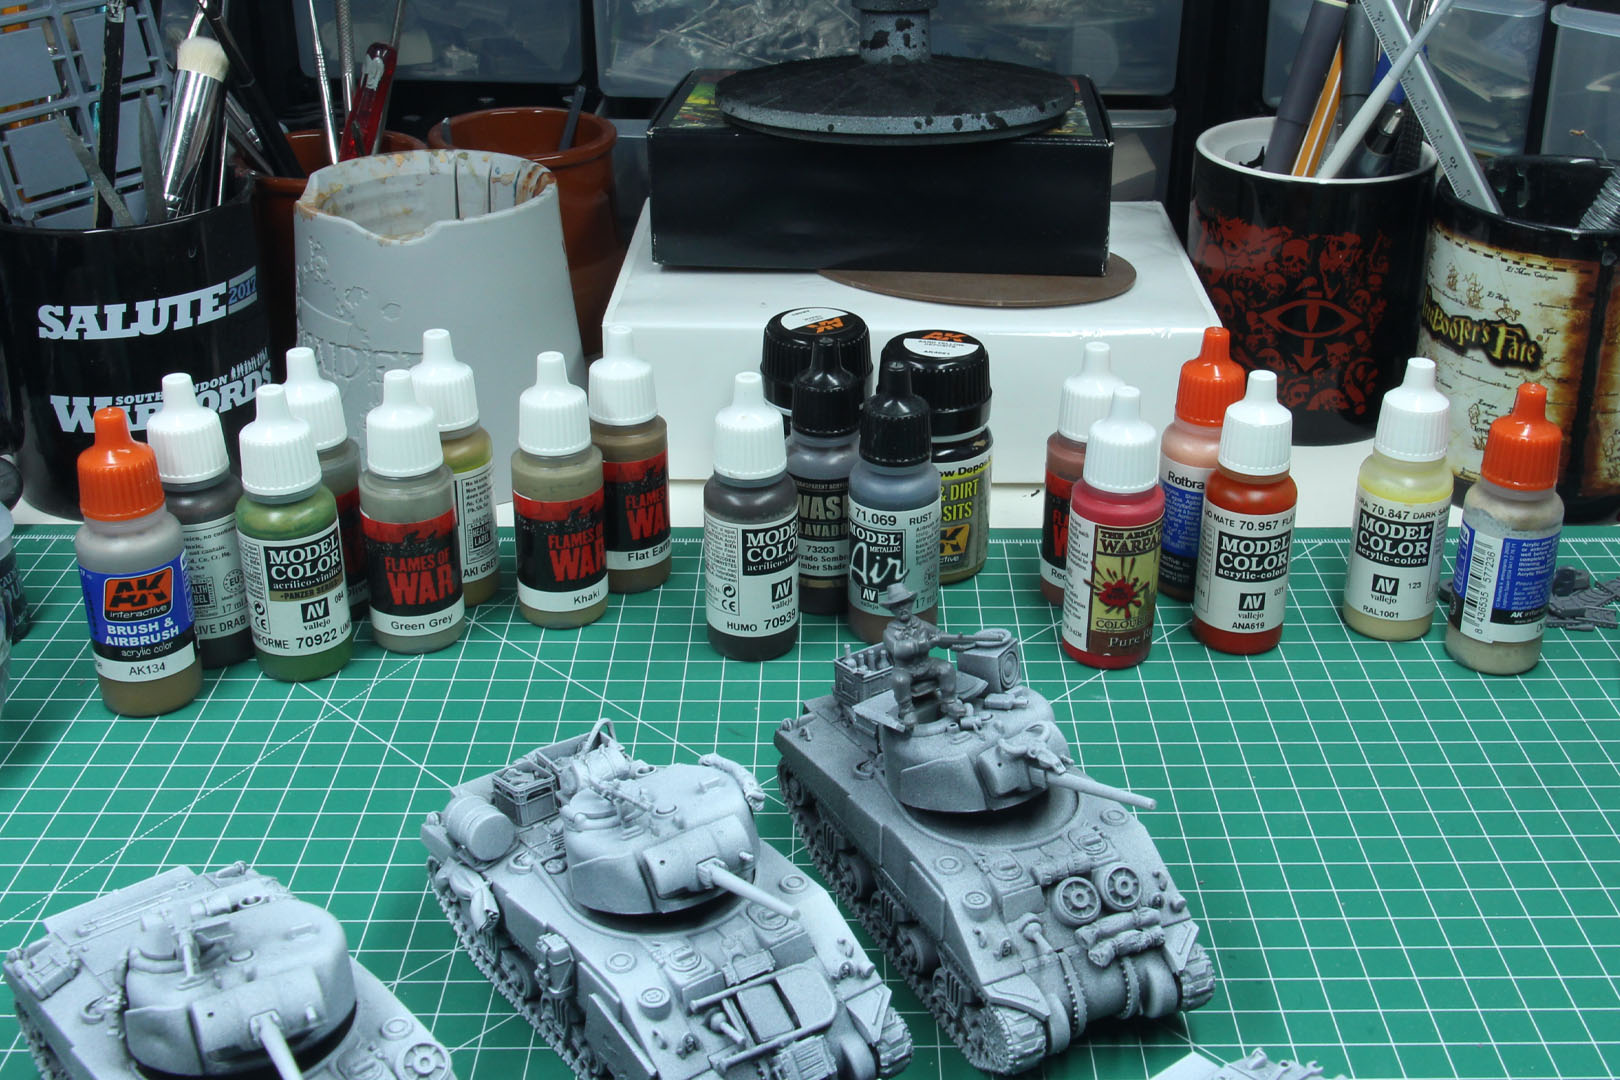
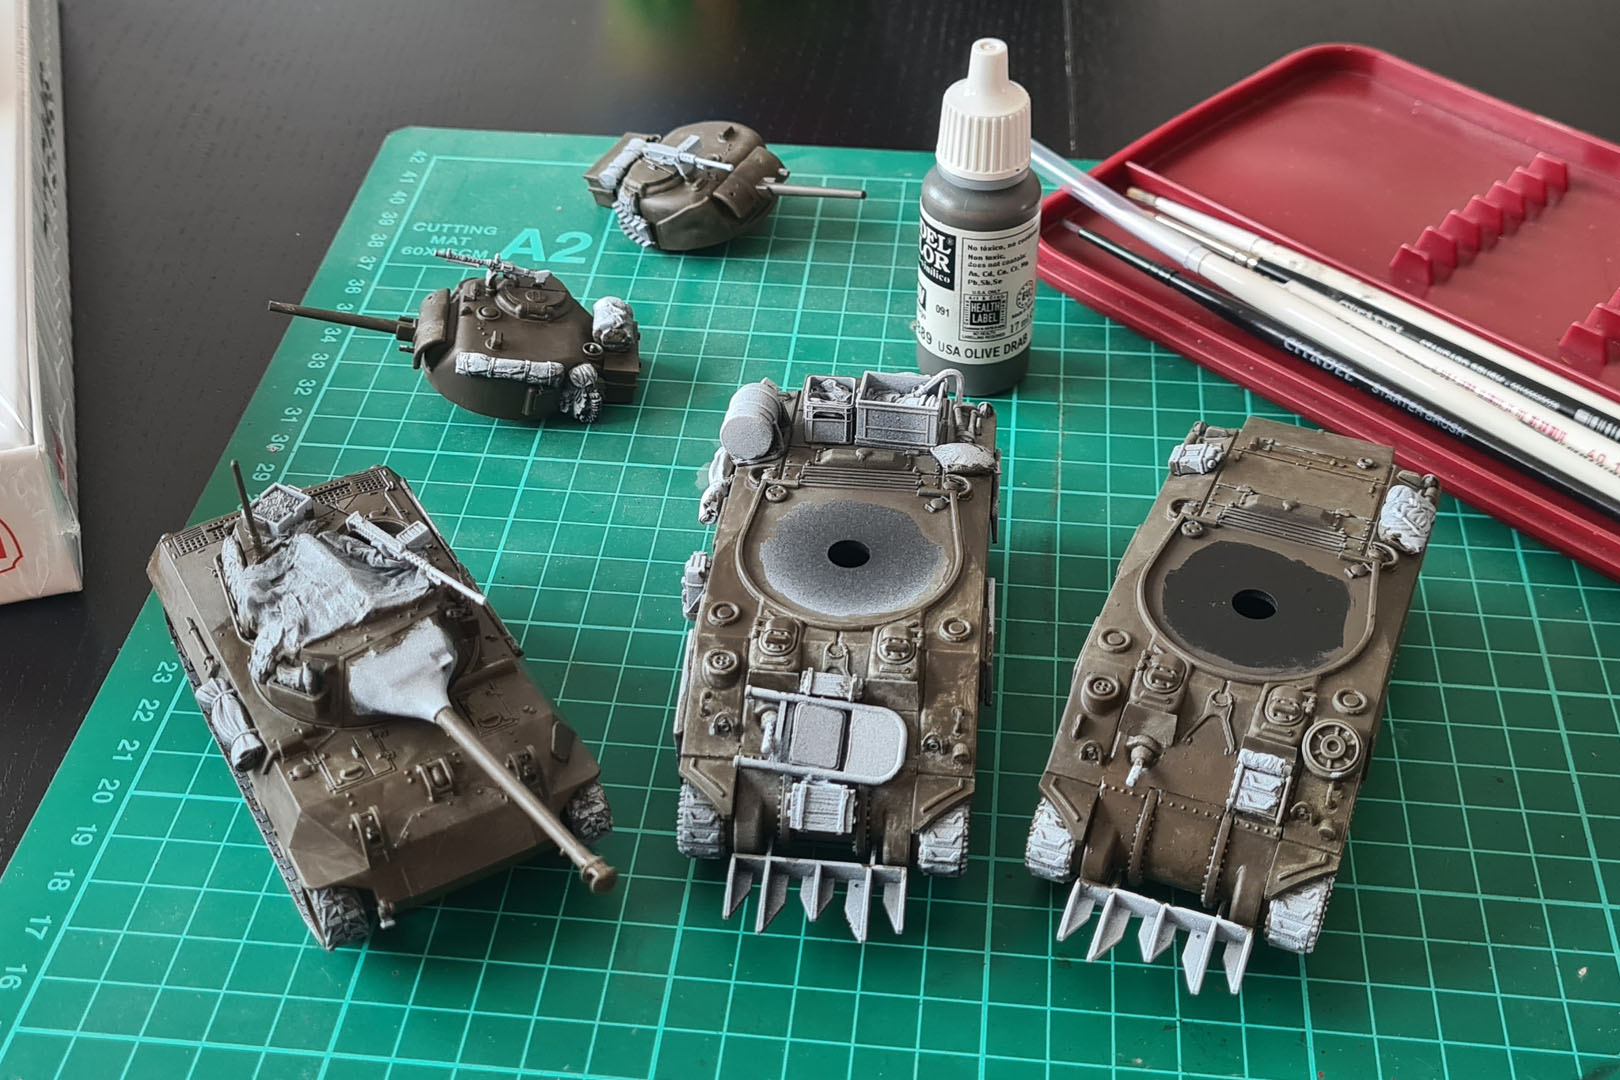
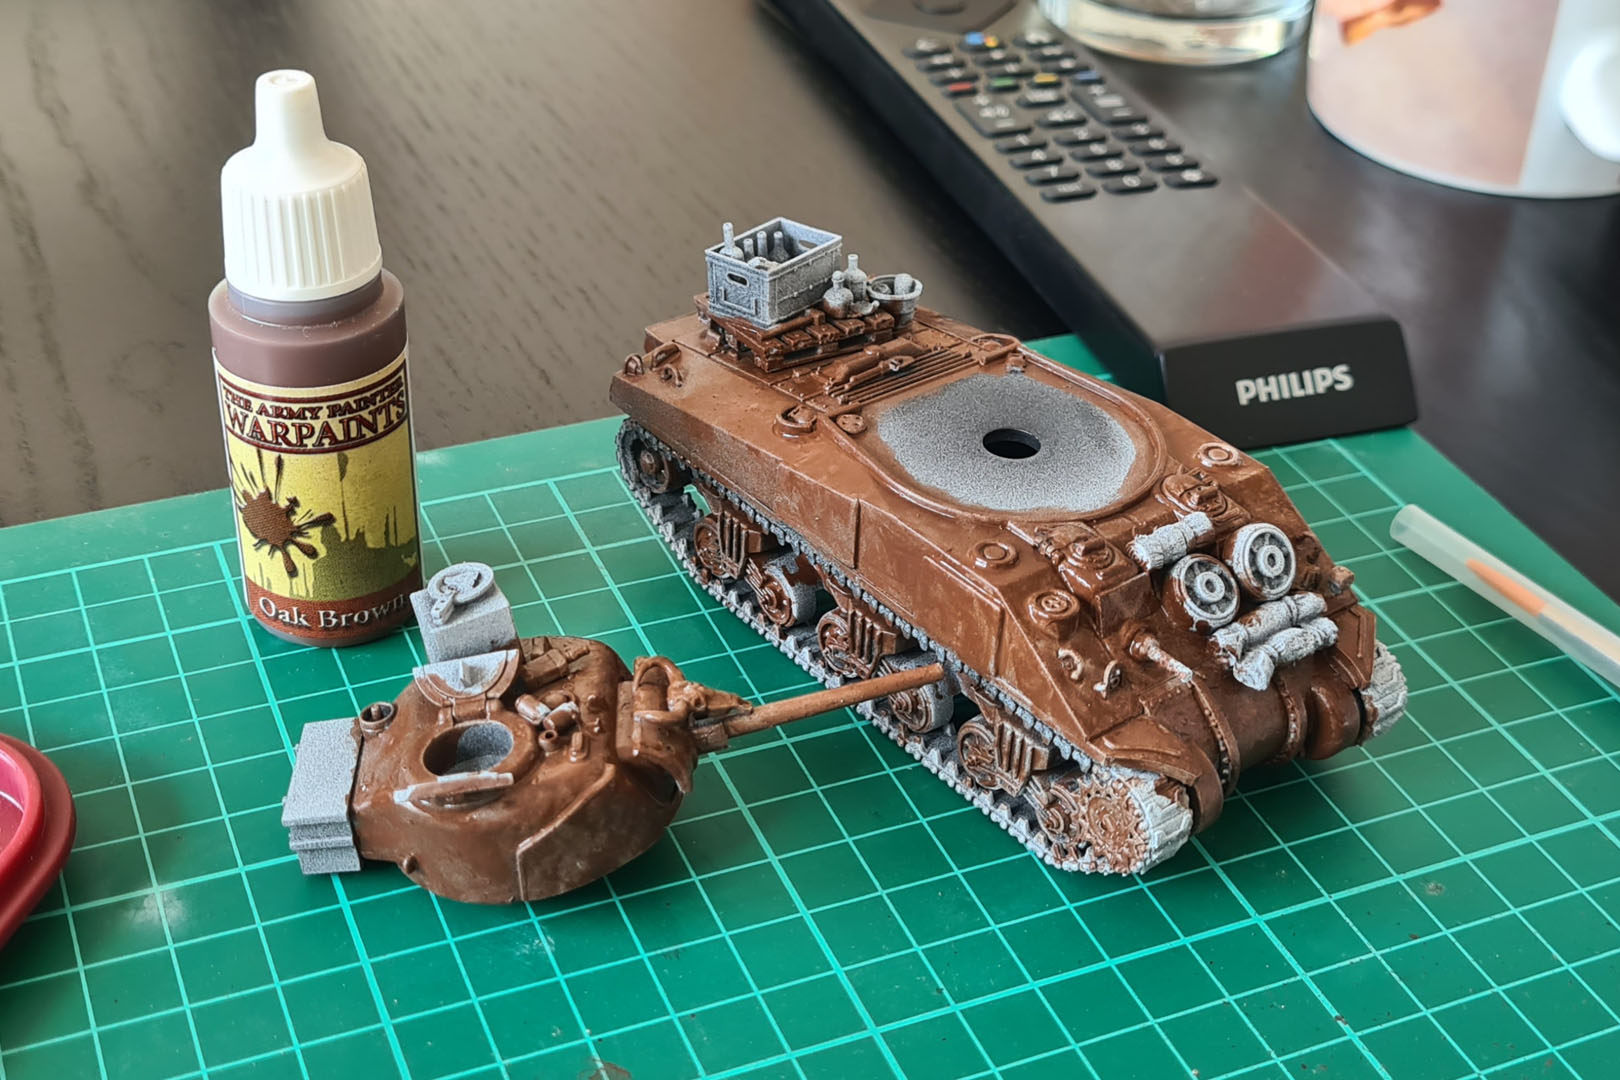
USA Olive Drab by Vallejo Model Colour is more of a brown compared to the British rather green colour. As I did mostly German and primarely winter camo, I didn't noticed that so far. So that is that - learned something new. For the rusty one, I began with a base coat of Oak Brown. And for the one that should look like it just had the rust primer, I went with Vallejo Flat Red.
As usual, two thin coats is a good starting point, as you don't mess up details. And I was surprised how well the Flat Red covered, as red can be a tricky colour to work with.

From there I moved on to the stowage, blocking in further colours. It was an incredibly happy and satisfying moment to see how this project came together, and how vivid the models already looked in that stage.


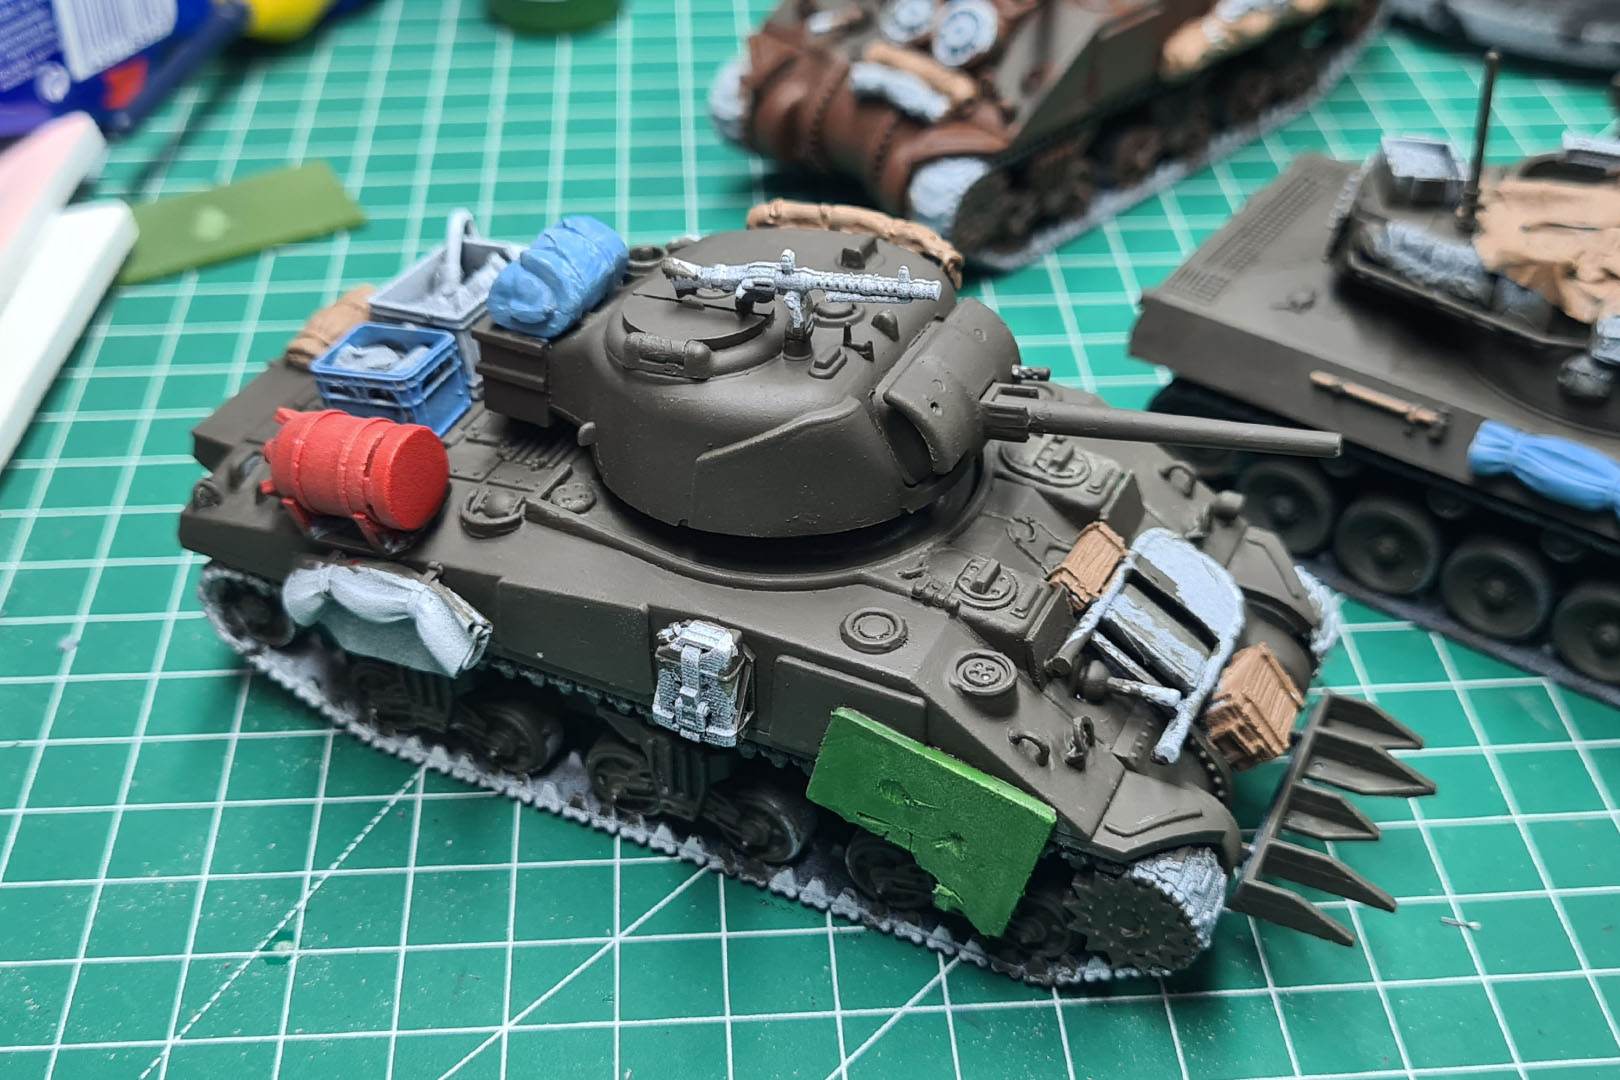

Went on for the second thin coat for the base colours, and surprised how flat and "dull" (but in a positive way) the Olive Drab dried.


And one thing I always forget, how incredibly frustrating painting the tracks, especially the inside of the tracks and wheels is on some tanks. If you have the multi-layer one by Rubicon, you can't reach the details with your brush, and in case of some of the Italeri/Warlord kits, there due to the way these segments are cast, no proper delimitation of the parts and you have to freestyle a few things. Along with the aspect that it is still pain to reach certain areas. It is probably a good idea for mental health, to just put on a base colour and smother it in some kind of texture paint and weathering effects.

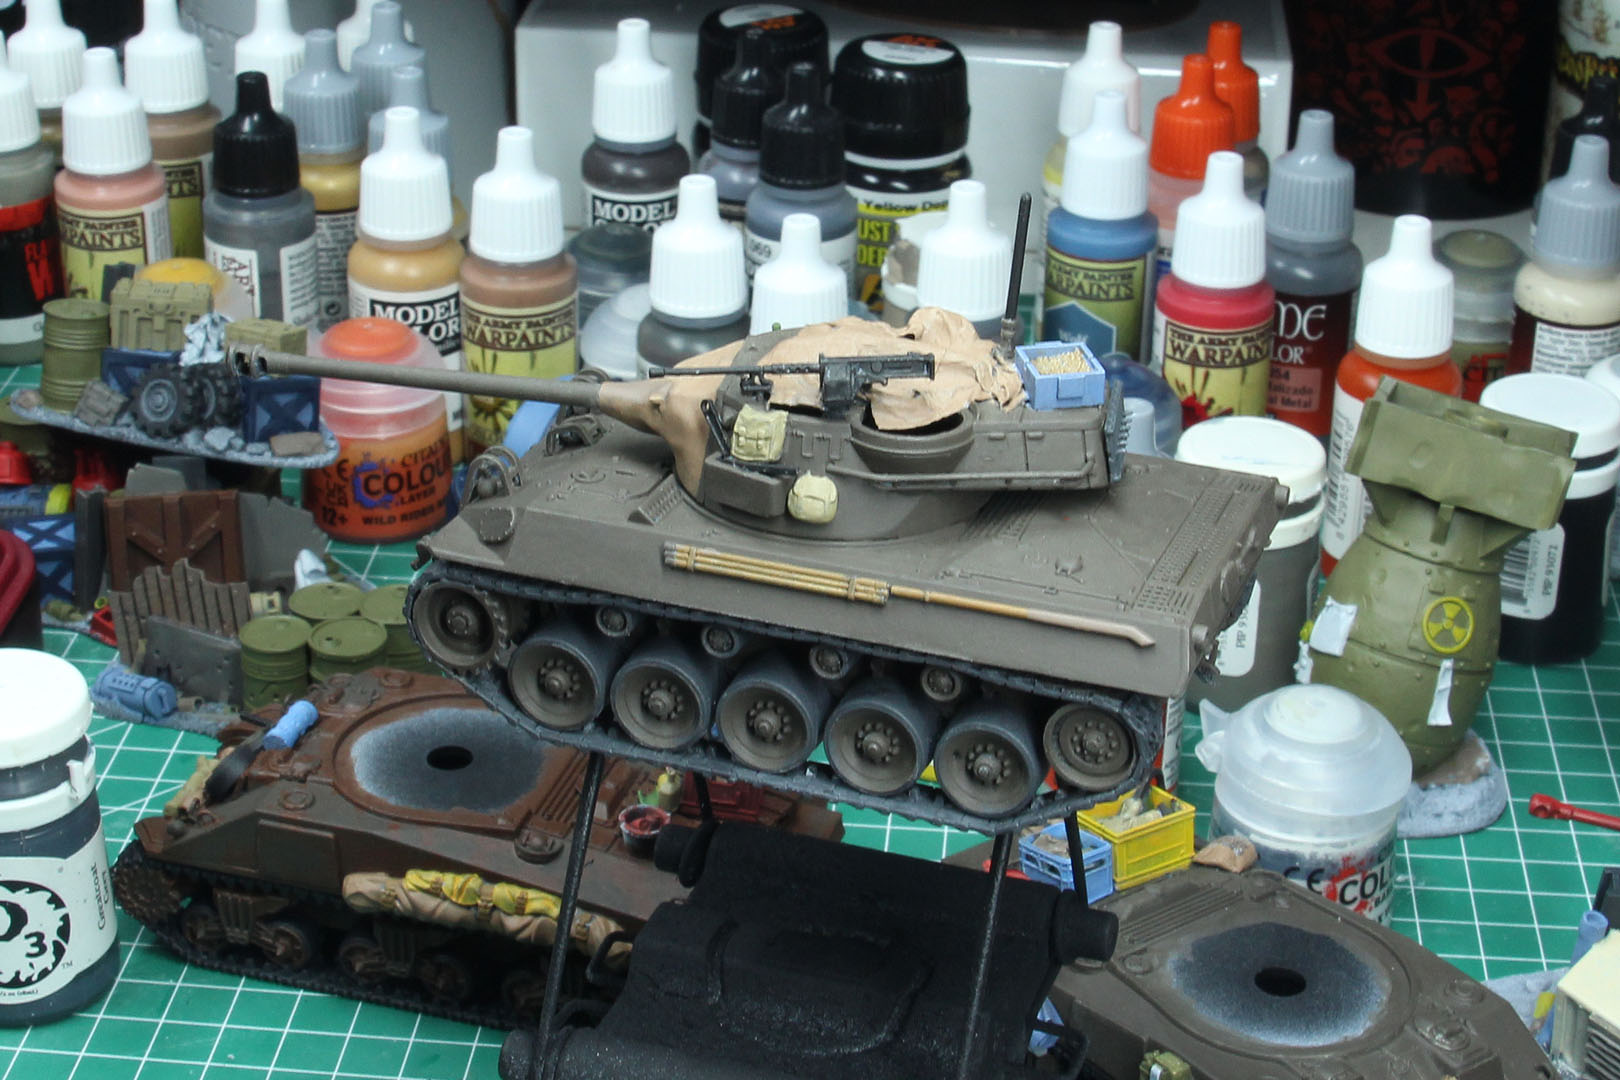
While the base colours went quite rapidly, the finer details, especially the aspect, that we have a lot of stowage on the vehicles, slowed me down a bit, but I was still on track. More in part VI.
Enjoy this article?
Like us on Facebook

Follow me on Instagram

Categories
- events (188)
- fantasy (525)
- General (155)
- historical (591)
- Little Big Adventures (4)
- offtopic (5)
- reviews (461)
- science fiction (570)
- showroom (97)
- work-in-progress (383)


Leave a Reply