Road to CONflict – Part IV
Well, we already printed some items for the stowage of the tanks in the last part of Road to CONflict, and this time we're going for a bit of terrain, scatter terrain and markers to be precisely, and we got ourself some STL files on MyMinifactory from ImitationofLife.
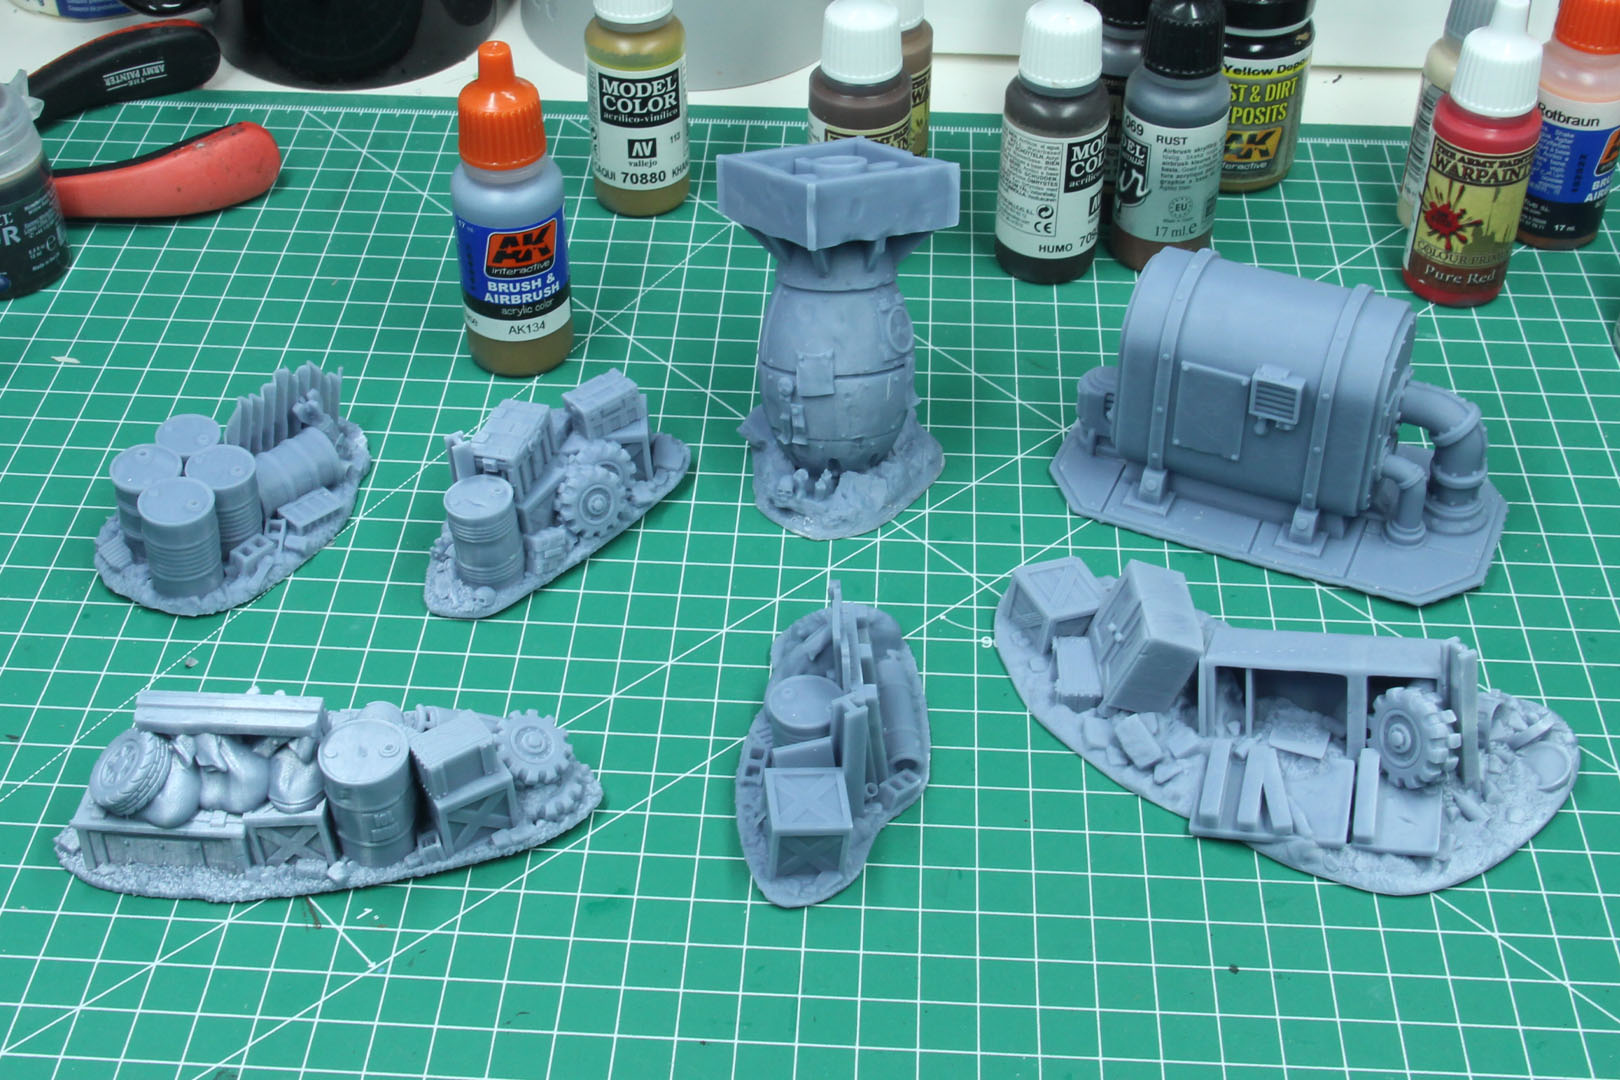
We printed up about half a dozend medium sized scatter and a lot of mines to cover a flexibel area, close parts of the table or create zones to guide the flow of the game, without being fixed to a terrain module in the future. In detail I used the following files:
- Power Generator
- Warhead Shrine
- Wasteland Terrain Samples (FREE)
- Wasteland Junk Barricades
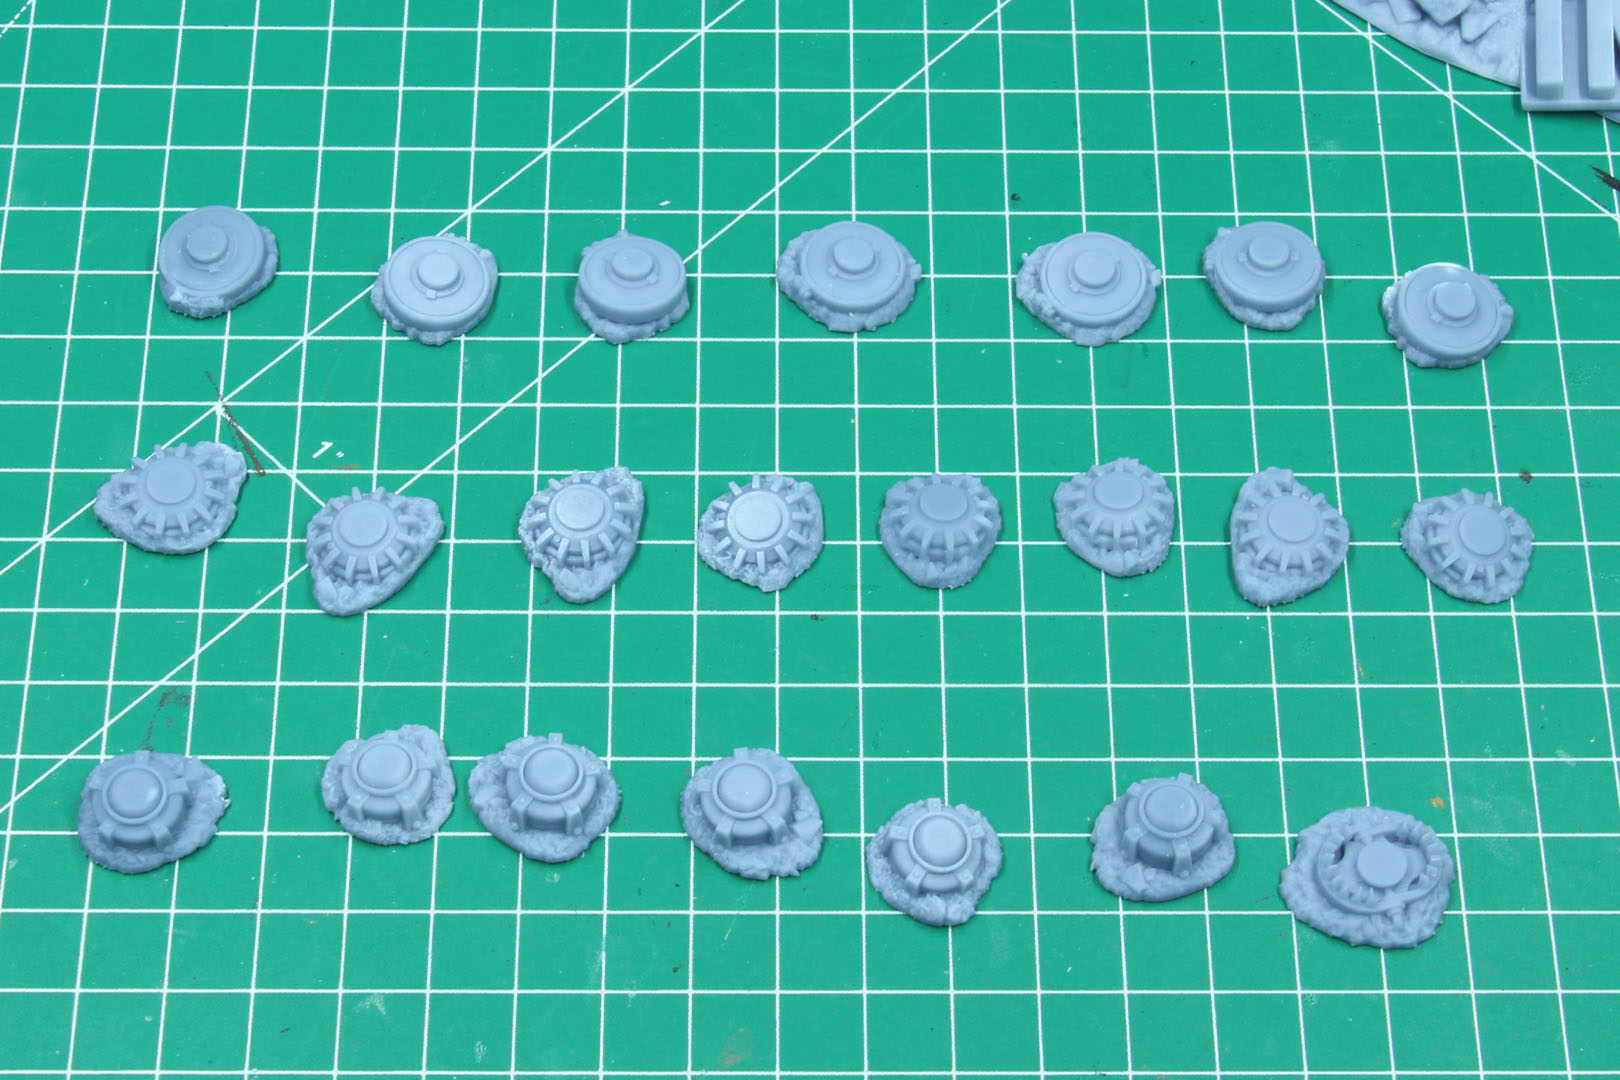
- Booby Traps & Mines
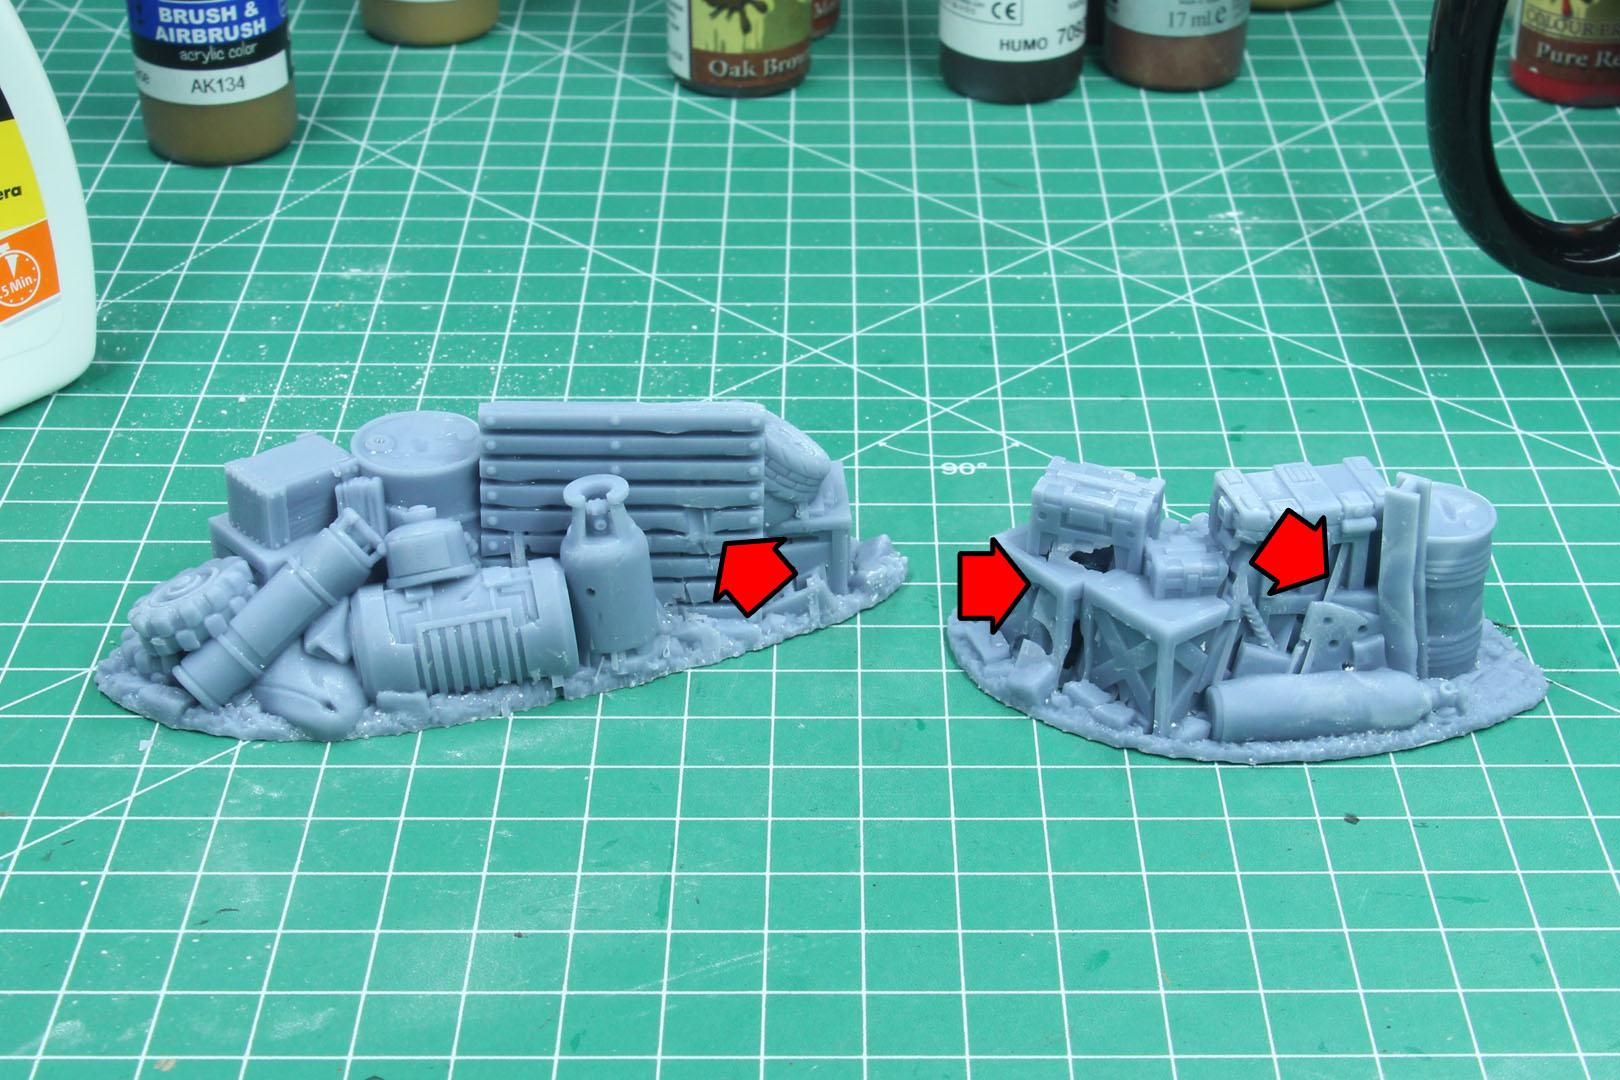
Unless you print the files directly on the plate (not always recommended), you need some clean up. In some cases the structur from the hollow creates problems while slicing, for example due to false information on the orientation of the mesh. Anyhow, the underside is easily fixed and sanded to create a flat surface.

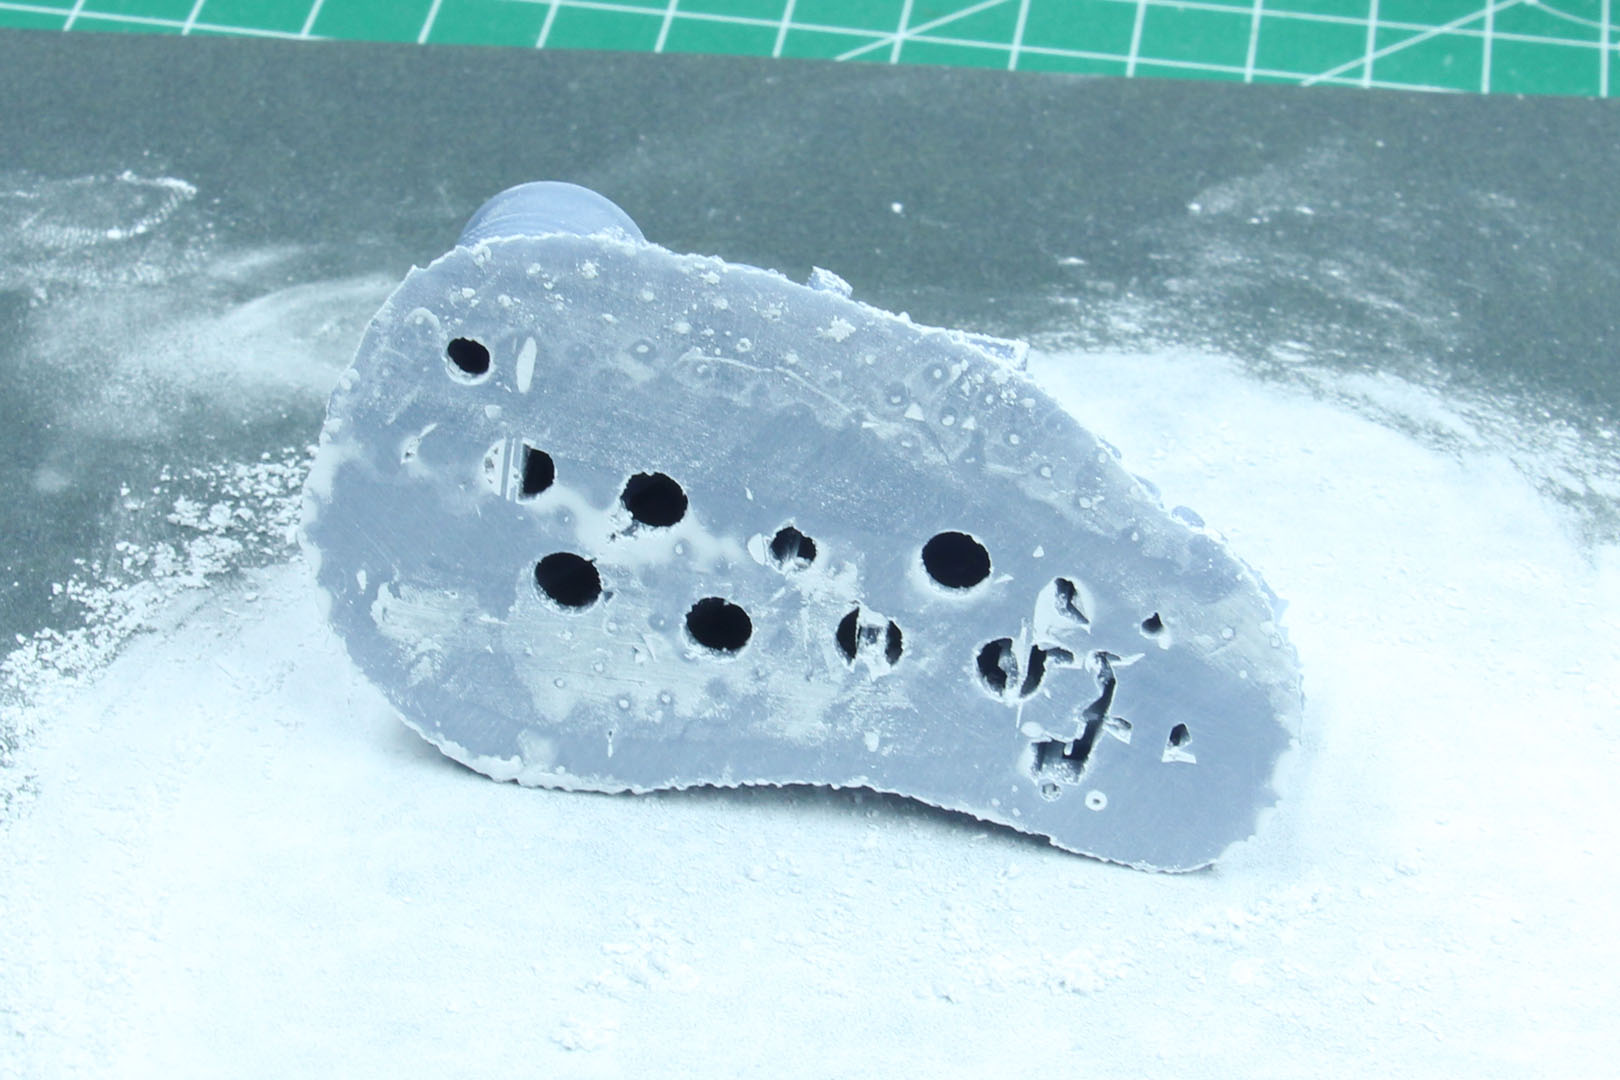
Some of these printing errors could be seen from outside / above, and I needed to fix them. I used a bit of spackle and tissue paper dipped in pva to cover these up.

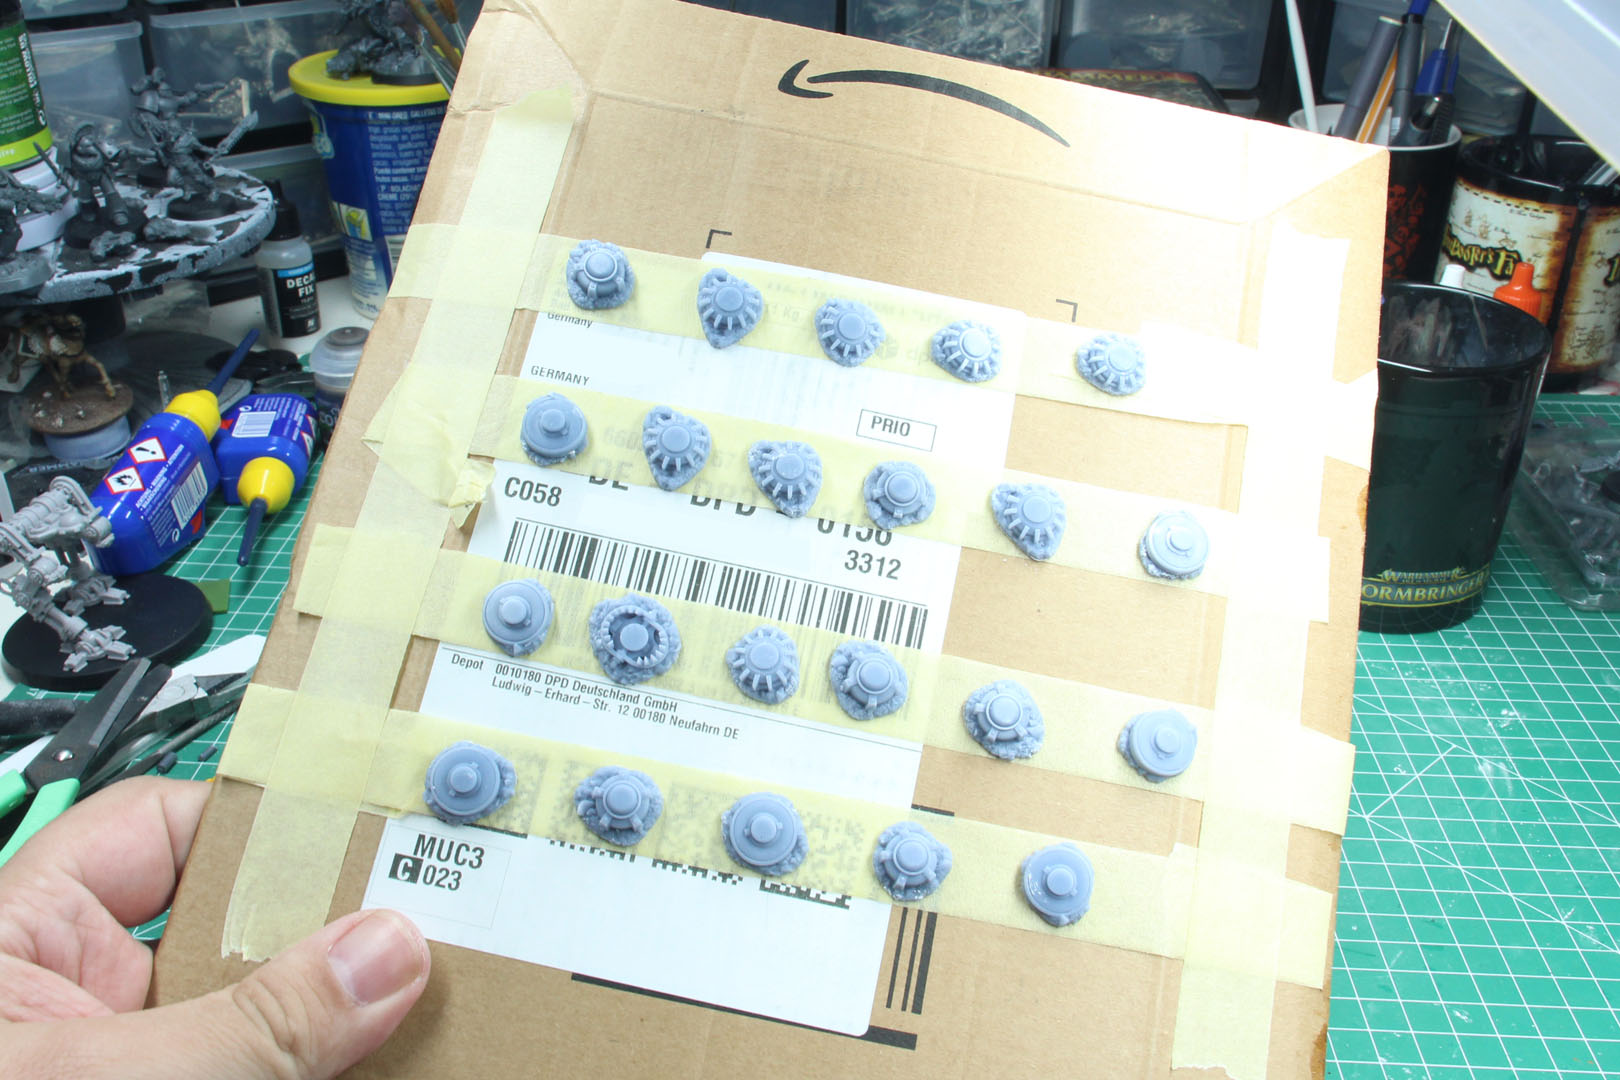
To have it easier painting up all the mines, I stuck them to a sheet of card board, so that I could batch paint them.
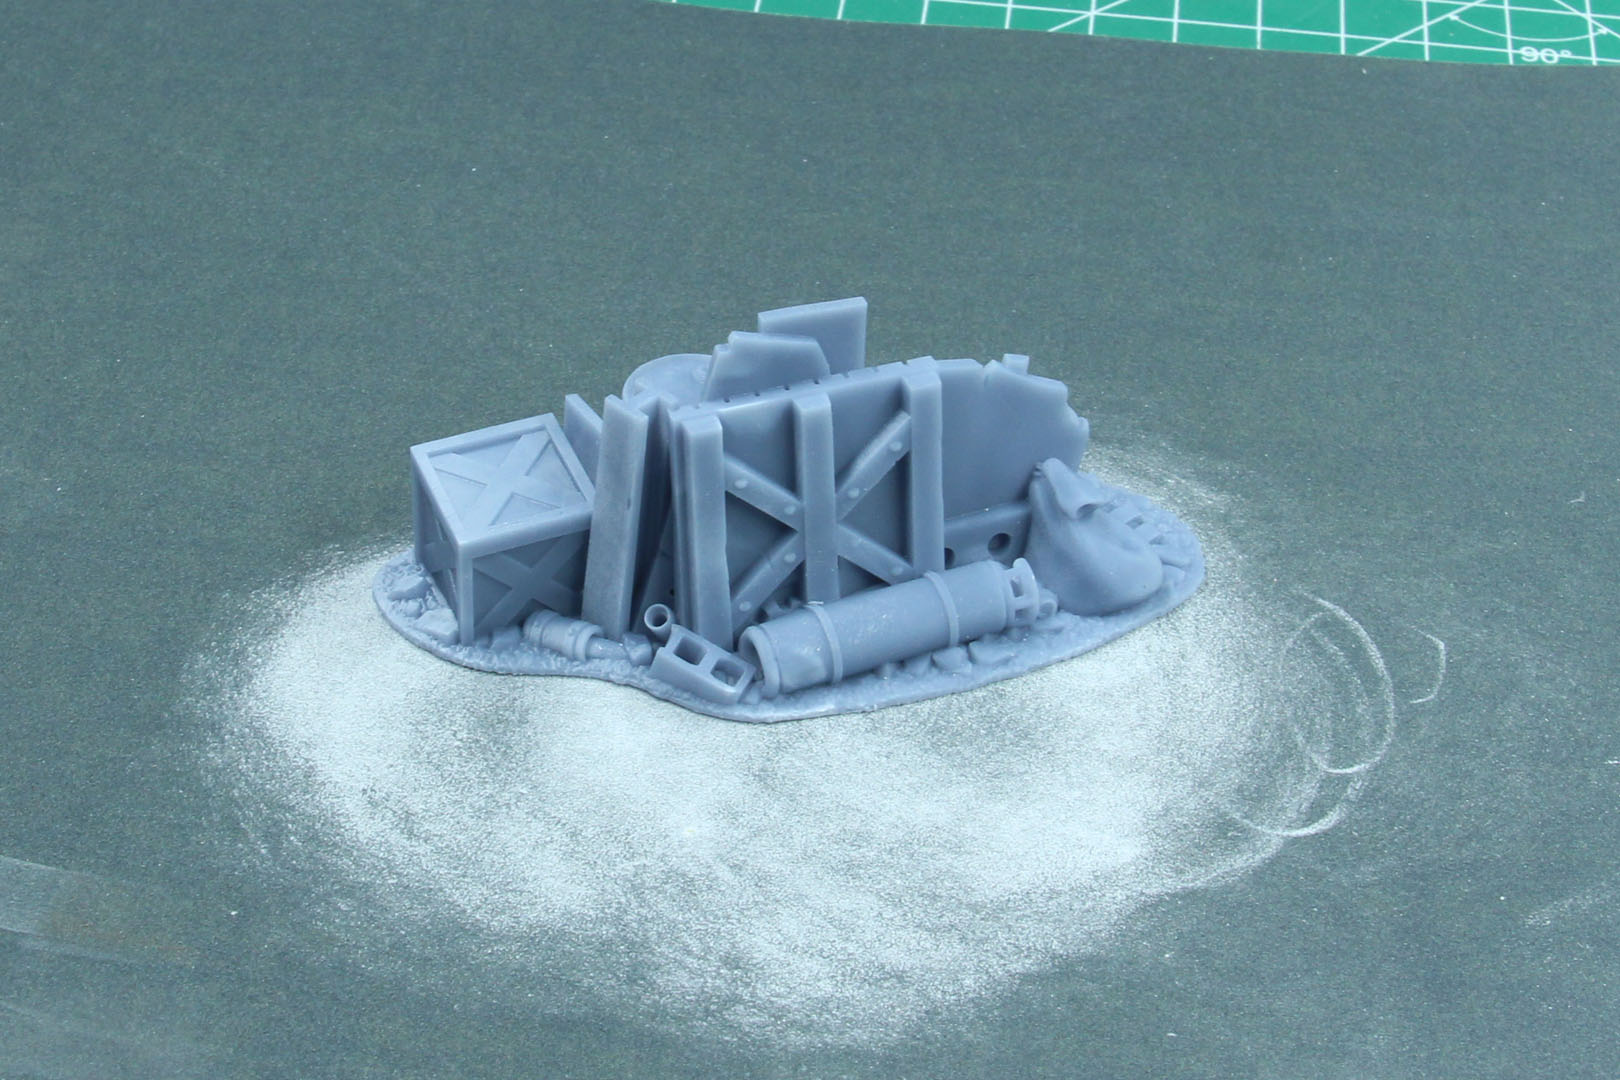
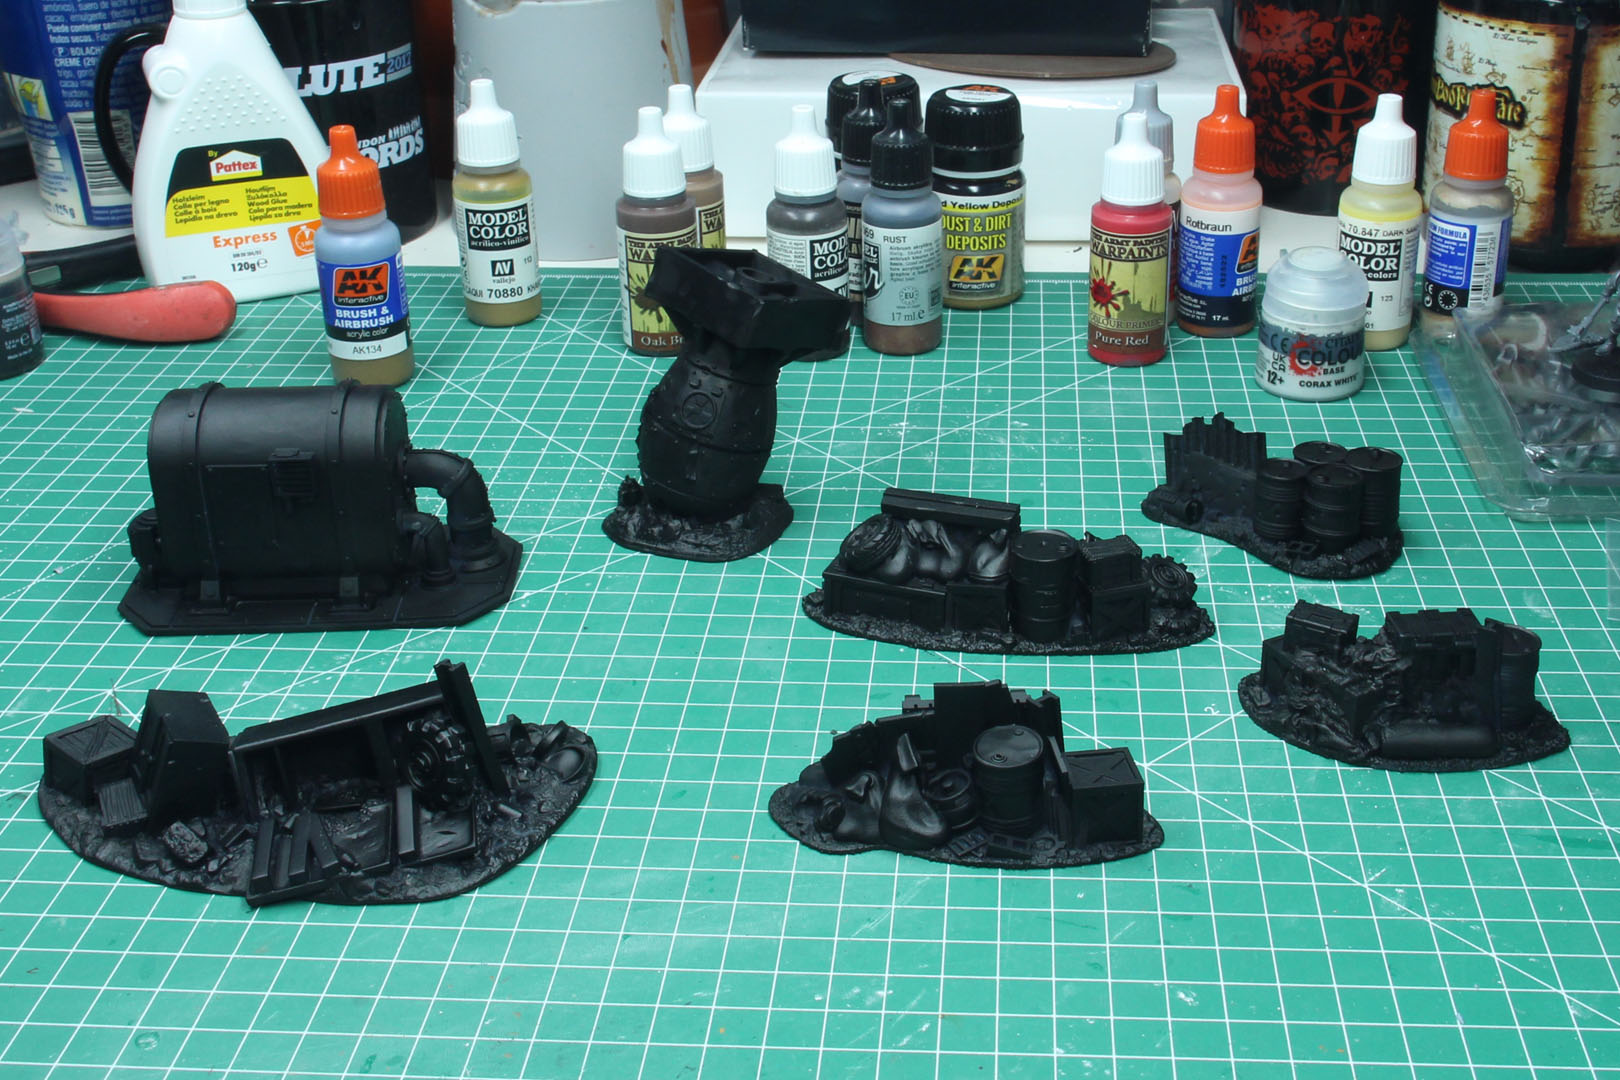
But first of all, priming. As usual I went with a black undercoat and white dusting. Not necessarilly for zenithal lighting, but the white paint is more coarse compared to the black, providing a better grip.
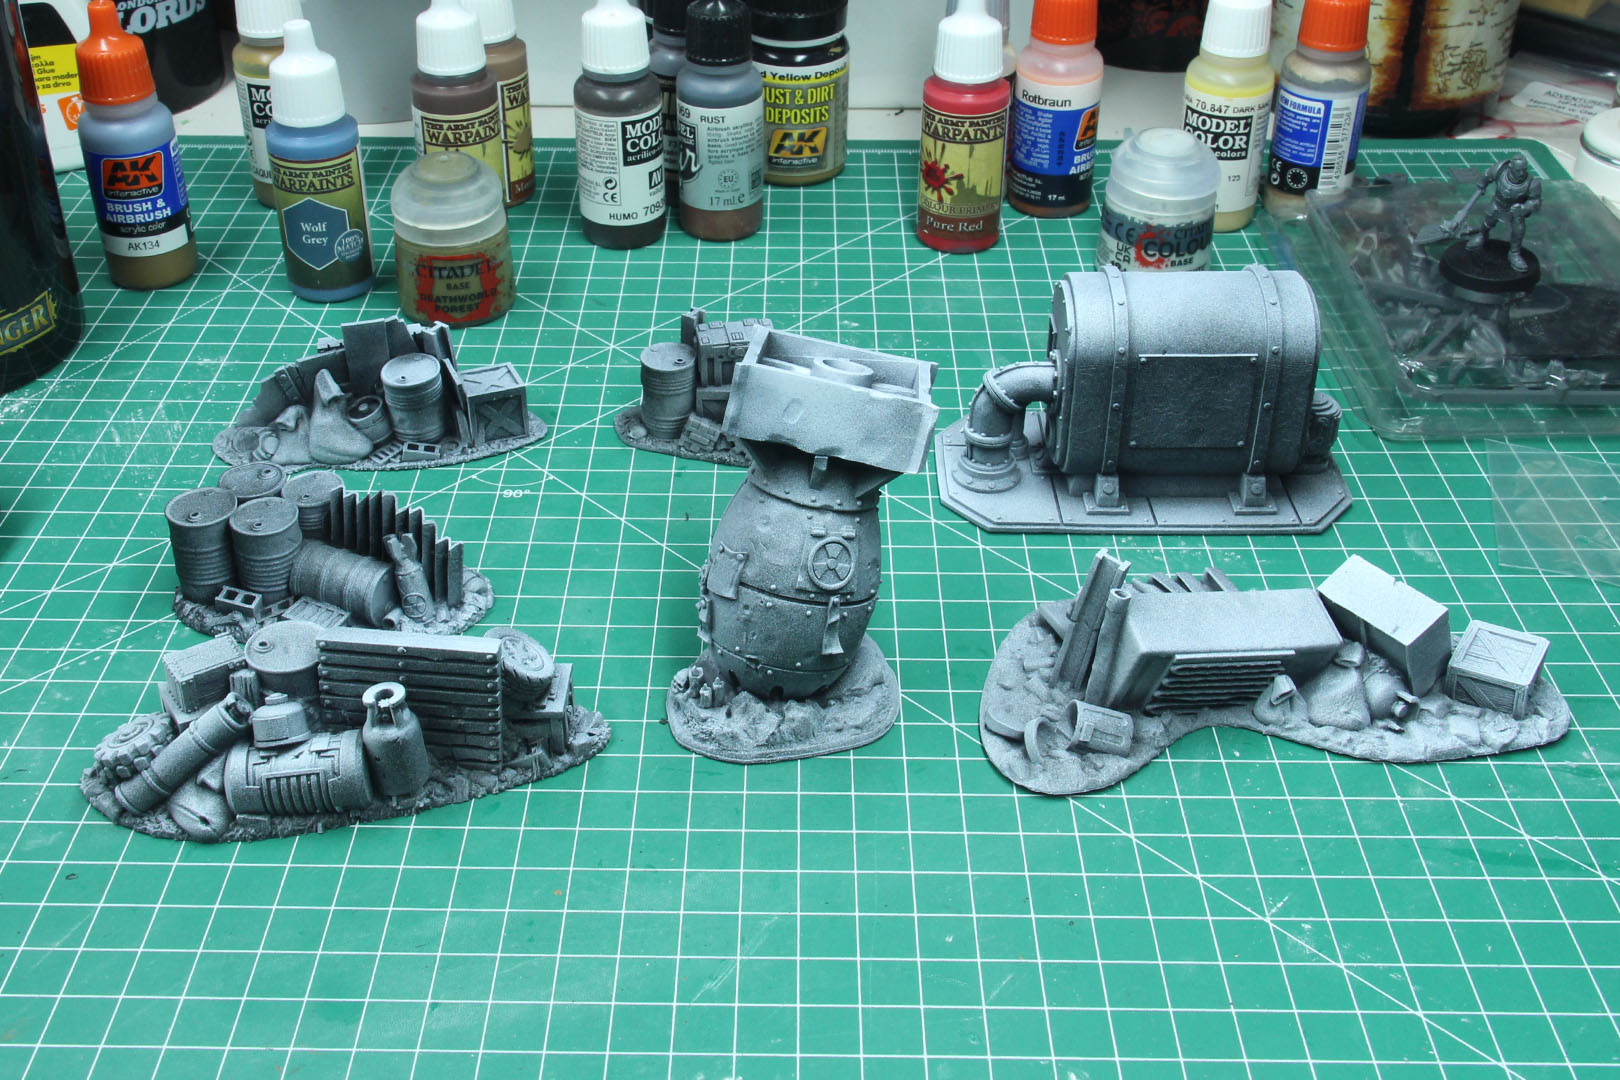
The tanks are build, the scatter terrain and markers are prepared, next up grab some paints and get to the next step - blocking in the base colours.
Enjoy this article?
Like us on Facebook

Follow me on Instagram

Categories
- events (188)
- fantasy (525)
- General (155)
- historical (591)
- Little Big Adventures (4)
- offtopic (5)
- reviews (460)
- science fiction (569)
- showroom (97)
- work-in-progress (383)


Leave a Reply