Bolt Action – Jagdtiger
After covering multiple King Tigers on here, in resin and plastic, it is time to go for the heaviest beasts of the Tiger-Class tanks, the German tank destroyer Sd.Kfz. 186 Jagdpanzer VI - also known as Jagdtiger.
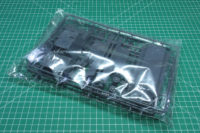
This beast is available in 28mm by multiple companies as a resin kit, but now comes for the first time in plastic, by the joint production of Warlord Games and Italeri. The kit I got, was a pre-release provided by the Dutch wargaming shop Tabletopper.nl. As such it didn't come in a cardboard box, it was simply the sprues in a plastic bag. The final product of course comes with instructions, decals and so on.
The Jagdpanzer VI was another tank destroyer, based upon the chassis of a regular tank. The Germans did this multiple times, as we've seen with the Jagdpanther, the Sturmgeschütz III, Jagdpanzer 38(t) Hetzer or Marder III (both based upon the Panzer 38(t)). But in this case, building upon the already pretty heavy Tiger II tank, the Jagdtiger became with around 70t the heaviest tank produced in series in history.
Due to the demand of a super heavy tank destroyer that should be armed with the 12,8cm gun, the Jagdtiger was ordered by the high command. Development started in early 1943, with the first prototypes having different suspension systems, one by Porsche and one by Henschel. The Porsche suspension used eight roadwheels with a 700 mm diameter, the Henschel used nine 800mm roadwheels. As the Porsche was easier and cheaper to produce, and totalled almost 2t less in weight, but was less durable, to only eleven vehicles were built with this suspension before the Jagdtiger went in serial production in autumn of 1944 with the Henschel suspension system.
When the Jagdtiger came into service, it was able to penetrate the armour of a M4 Sherman from more than three kilometres on any angle. Its own front armour of 250 mm was basically impenetrable. Yet, the Jagdtiger had to deal with a variety of mechanical and technical problems, mostly due to its high weight and under-powered engine. Therefore, most Jagdtigers were lost due to mechanical problems (breakdowns, engine and transmission failure) or lack of fuel than to enemy action.
A total number of 88 vehicles, incl. prototypes (serial number 305001 and 305002), were manufactured, yet it is uncertain if the final production runs ever saw action / were put into service. About the first dozen vehicles were coated with Zimmerit in the factory, after that due to rumours of the coating being prone to catching fire, the use was stopped. Due to lack of material, there was a variant of the Jagdtiger planned with the 8.8 cm Pak 43 instead of the 12.8 cm Pak 44. But that idea never left the drawing board.
The heavy anti-tank battalions 512 and 653 were equipped with Jagdtigers and fought at the Westfront, in reserve during the battle of the bulge and around Saarbrücken. The battalion 653 was part of Operation Nordwind, and on April 1945 only 23 Jagdtiger were in service, all of them probably destroyed or captured. Three of these can be seen in museums around the globe, with an early Jagdtiger covering the Porsche suspension at Bovington, and two later variants at the US Army Ordnance museum in Aberdeen (Maryland) and the Russian tank museum Kubinka.
The new plastic kit for Bolt Action of the Jagdtiger is produced by Italeri for Warlord Games. It costs 32,50 EUR and includes the plastic tank, unit stat card, vehicle damage markers and waterslide decal sheet. The decal sheet even covers the symbols of famous Panzer ace Otto Carius company. The multipage instructions cover a brief overview on the tank, explanation for the decal sheet and two painted examples of the Jagdtiger, one covering classic late war Dunkelgelb and the other one the ambush camouflage / Hinterhalttarnung.
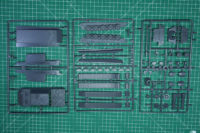
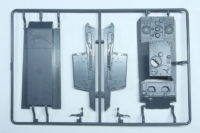
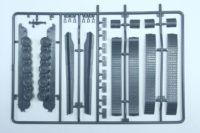
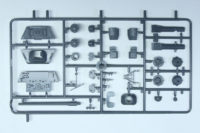
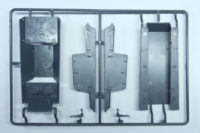
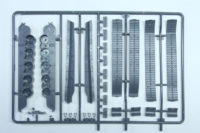
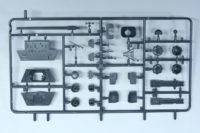
As often, the tank is split across three sprues. None of those are re-purposed from the Tiger tank kit (that might be the case for the designs / parts within the sprues, but not the sprues itself). Casting is good, mould lines aren't the issue here, more occasional flash. As Italeri is a model kit company, some of the smaller bits, especially with the softer plastic, should be handled with care to avoid damaging them.
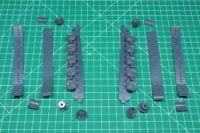
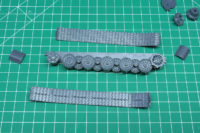
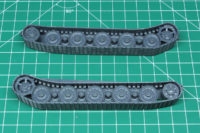
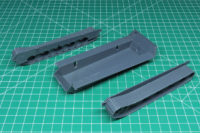
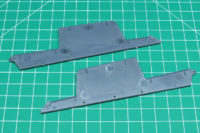
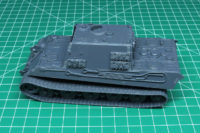
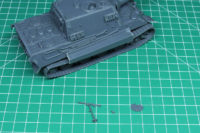
As usual with these kits, we build them bottom up, starting with the tracks. Compared to for example Rubicon kits, these go for a different approach in terms of details. But due to its size, you don't really see that it is not a multi-layered roadwheel suspension. Just make sure that you don't mix up the curved front and back parts of the tracks, as that will create gaps and make it harder for a proper finish of the tracks themself.
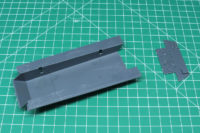
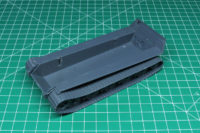
The lower chassis is basically identical with the Tiger II kit, you have a lower hull, that is aligned with the built track sections and a back armour panel. This is a great moment to add lead weights to the hull, to increase the weight and feel of the kit. Especially with a 70t Jagdtiger this is more than appropriate, more of a must have.
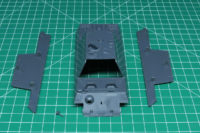
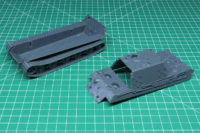
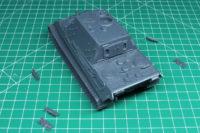
Next build unit is the upper hull. Due to the "limitations" of plastic injection cast, mostly no undercuts and less options for details on angled surfaces, this piece is split. You have flat angled sides to which the detailed side armour is glued. This covers the hooks for the spare tracks as well as the slots for the side skirts. In case you want to use the side skirts, you need to drill open the holes for the connection pins now. As these side skirts often were damaged and got lost during service, you might not want to drill open all holes. But more on that later.
The main part of the tank is now finished and upper and lower hull can be joined. No problem to this point, just make sure that the front lips of the angled armour align.
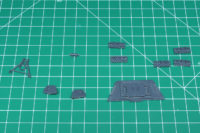
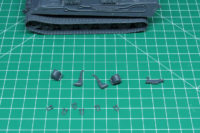
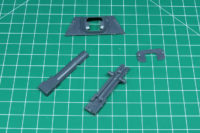
For more detailing a few smaller and partially optional parts are included. Hatches and tools are added to the hull, along with spare tracks. The later have for some reason minor casting errors, with holes in them that are not part of the hook design. But beside that, as I want to build a Jagdtiger that is in service during the Battle of the Bulge, I'm not going to use all of the tracks, to show a few were already used.
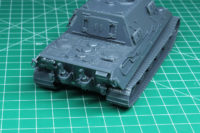
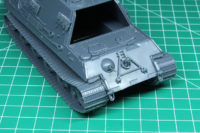
On the lower back more smaller parts are added. The car jack had another casting error in this kit, making it impossible to add it to the hull (it was missing one of the pins), so I closed the pins with putty and just added the hooks and exhaust pipes along with its covers.
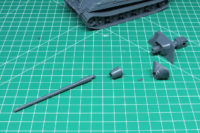
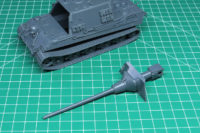
The main attraction of the Jagdtiger, the 12,8 cm gun is next. Fitted in the front in a casemate, the gun can be slightly elevated.
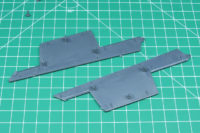
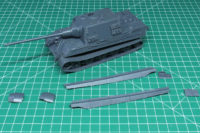
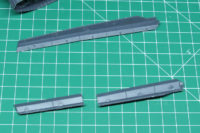
Now for the side skirts. These consist out of multiple parts, you have the front, sides and back covers. Both for the left and right side of the tank. The side panels have cut lines on the inside, so you can modify them to your needs. Remember, that you need to drill the holes for them beforehand. This is something they improved compared to the plastic Tiger II, with more pins and holes. I think it creates a more realistic fit, if you shorten / modify the front and back covers as well, to go along with lost or damaged side strips of the skirts.
Last but not least, in the late war, especially on the Western front, the Allied had vast air superiority, that made the use of AA guns on tanks much more necessary. Large and slow units like the Jagdtiger were especially prone to such attacks. And the commanders hatch that can be build either closed or open.
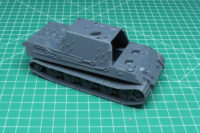
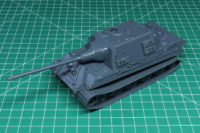
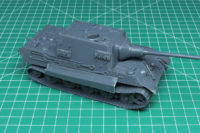
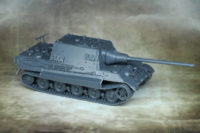
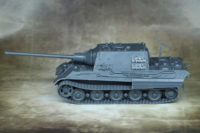
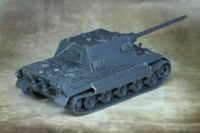
And the final stage of the built Jagdtiger. So many ideas for stowage and further details.
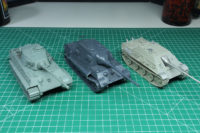
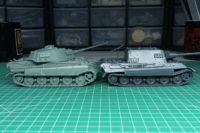
To give you an idea of the size of this kit, it's right there with the regular Tiger II and the not that smaller Jagdpanther (just half a meter in length and a few inches to the sides and height, but just 45t instead of 70t). In the second picture you can see the side of the Rubicon Tiger II next to the Italeri/Warlord Jagdtiger. You don't really recognise the monopart suspension vs. the layered one by Rubicon. But the Rubicon kit has the finer details on the parts itself, on the tools, the rivets and such are a bit sharper.
Conclusion
The quality is good on this kit. The pieces fit well together. The casting errors on the spare tracks and the car jack were unnecessary, but far from ruining the overall experience. I would prefer sharper details, especially after building the Rubicon kit not so long ago.
As for options on this kit. Beside stowage there is not much you could add to this. It has the optional spare tracks and side skirts. Both give you quite a bit to individualise your Jagdtiger. At a price of 32,50 EUR, it is 8% cheaper than the massive resin kit, and I think that pricing is moderate. The Jagdtiger is not available as a troop box (where Warlord offers 3 tanks in a box at a discount rate), as the tank is already stretching what would be a reasonable unit choice for Bolt Action as it is rated at around 500 points. It is simply something you have for the sake of it, as it is well made design and impressive tank.
The Jagdtiger is the perfect base for some late-war shenanigans. So, if you want to do some Panzer 1946, Weird War or Konflikt '47 ideas, this heavy beast would be a great base to start with, especially with it now being available as a plastic kit. With a spare 8.8 cm gun (from the Tiger II kit for example), you could scratch build the paper tank of the Jagdtiger 8.8.
Bolt Action is a brand of Warlord Games.
The reviewed product item was provided by Tabletopper.nl.


August 25th, 2021 - 12:47
Hi do you have a scan of instruction?