The Hobbit – Lake Town Kitbash Part 1
Keith Robertson did a great kit bash of the Lake Town kit, that was shown a few years back on Warhammer Community.
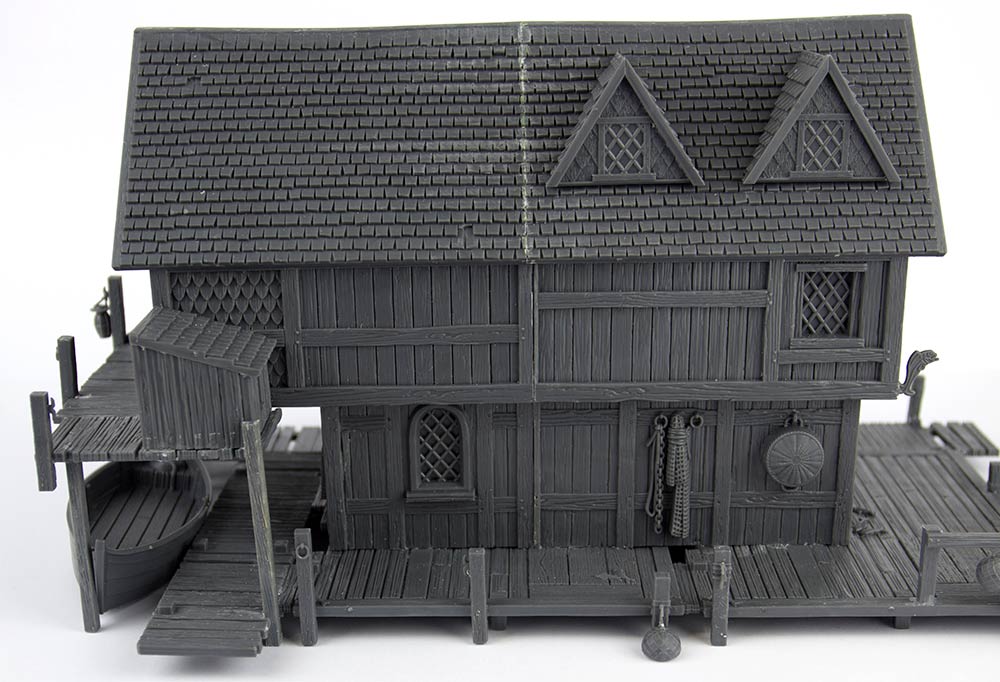
He combined two of the The Hobbit - Lake Town kits and converted them into something, that was heavily inspired by Bard's house. I really like what he has done and would like to recreate it. Unfortunately, the only pictures we have to do so, are these, giving a proper idea but especially the converted parts as the part below the upper walkways and modified wall section is only partly seen. So let us try to reverse engineer this.

So what do we need to begin with this project? First of all, two boxes of the Lake Town kit, and a proper set of tools. Some sturdy rulers, ideally metal, a cutters with fresh blades and for the larger parts a hobby saw will be benefical. And of course a cutting mat.
As for tools, you want convenient priced tools, not cheap ones. The later you buy twice. Depending on how often you need them and what materials you want to work on, investing in better tools makes sense. Citadel tools are usually well made, but very pricy, so if you're looking for a moderate priced tool range, I'd suggest The Army Painter or your local DIY store.
Some advice on safety;
- If the material is thick, it is better to have multiple goes with a blade at a moderate force, instead of trying to cut it in one go. That way you'll have a cleaner cut and be more able to control your tool.
- Replace blades if they get dull. A dull tool is more dangerous.
- Cut away from you.
- make sure you work on a stable surface.
- Measure twice, cut once.
- While working (cutting, grinding) with some materials like resin, it is strongly suggested to wear protective gear for eyes and airways.


The base plate is two base plates next to eachother, with an L-shape of walkways on the upper and left sides to it. We've gathered the pieces and can put them aside until we assemble them.


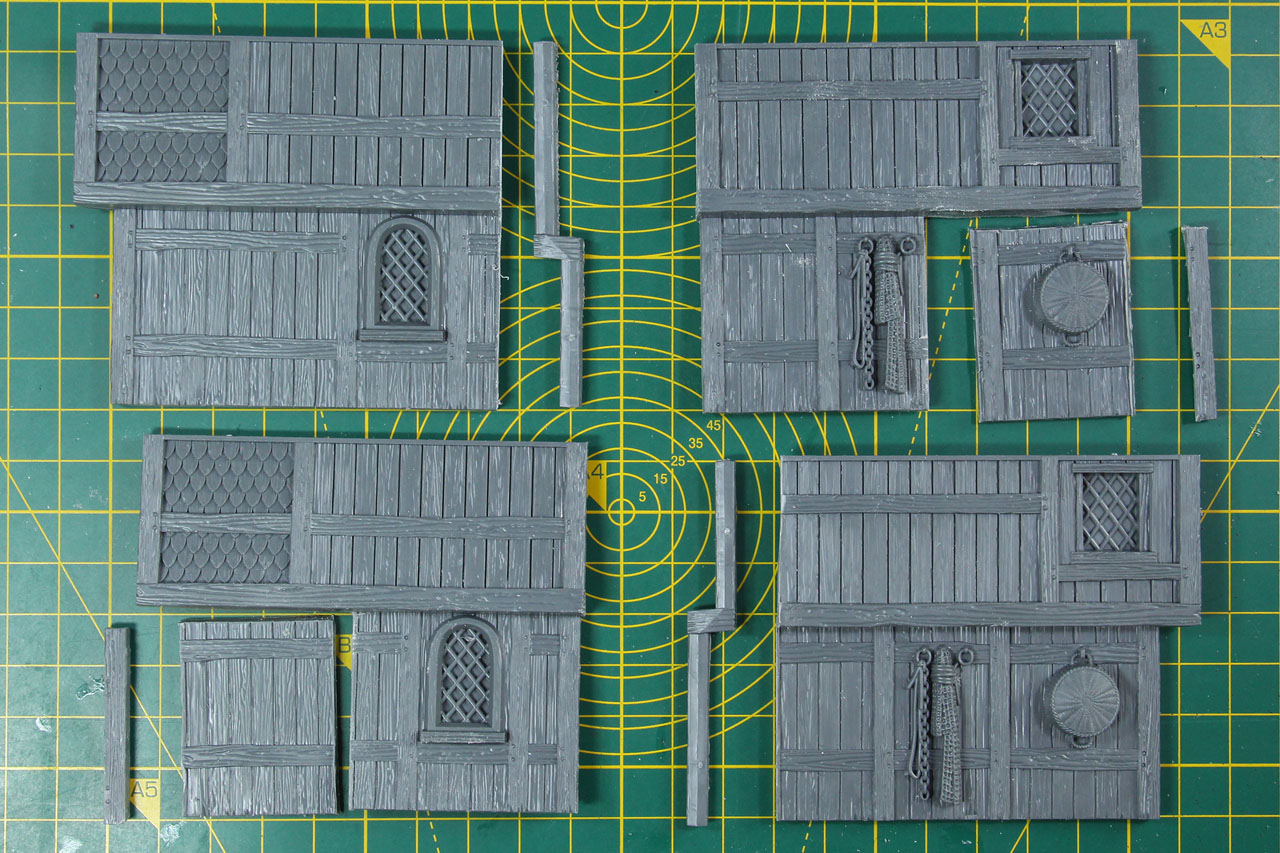
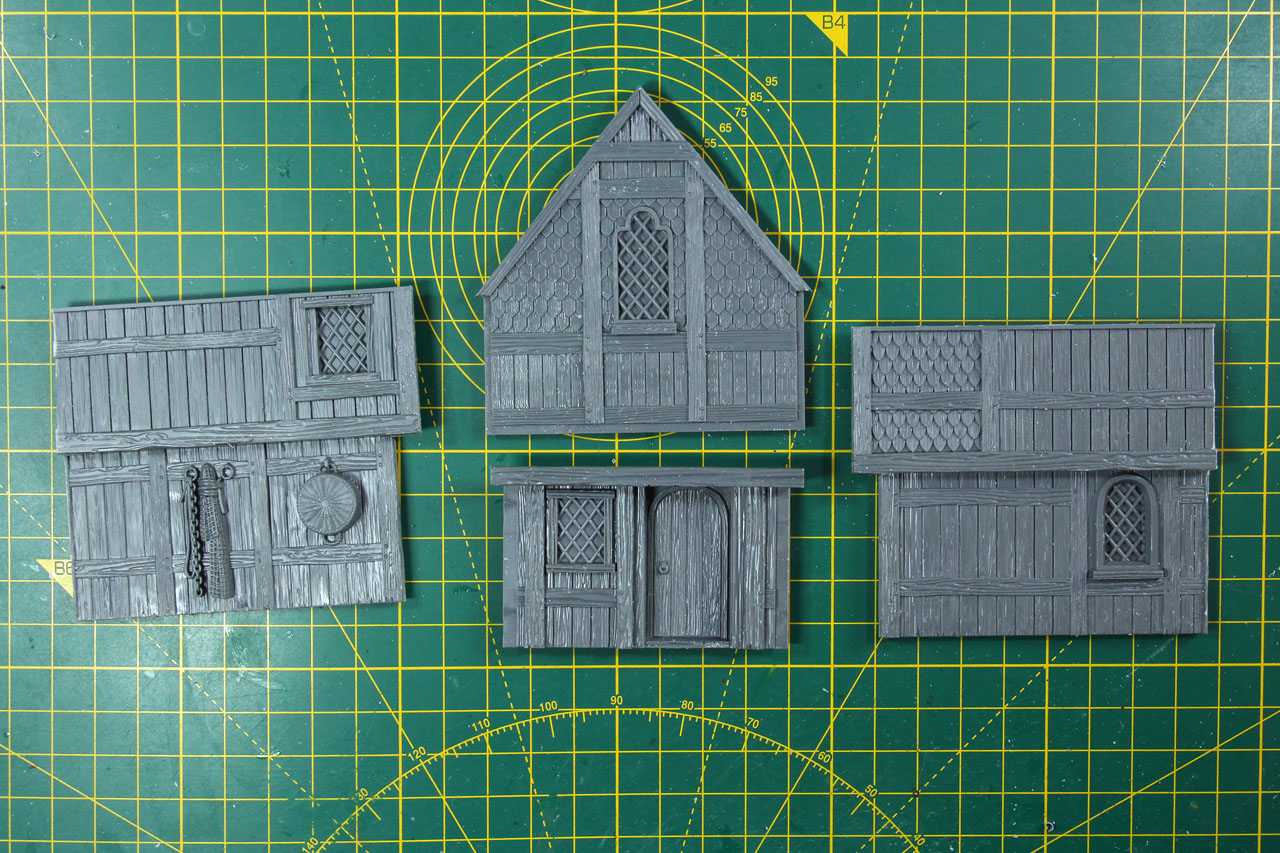
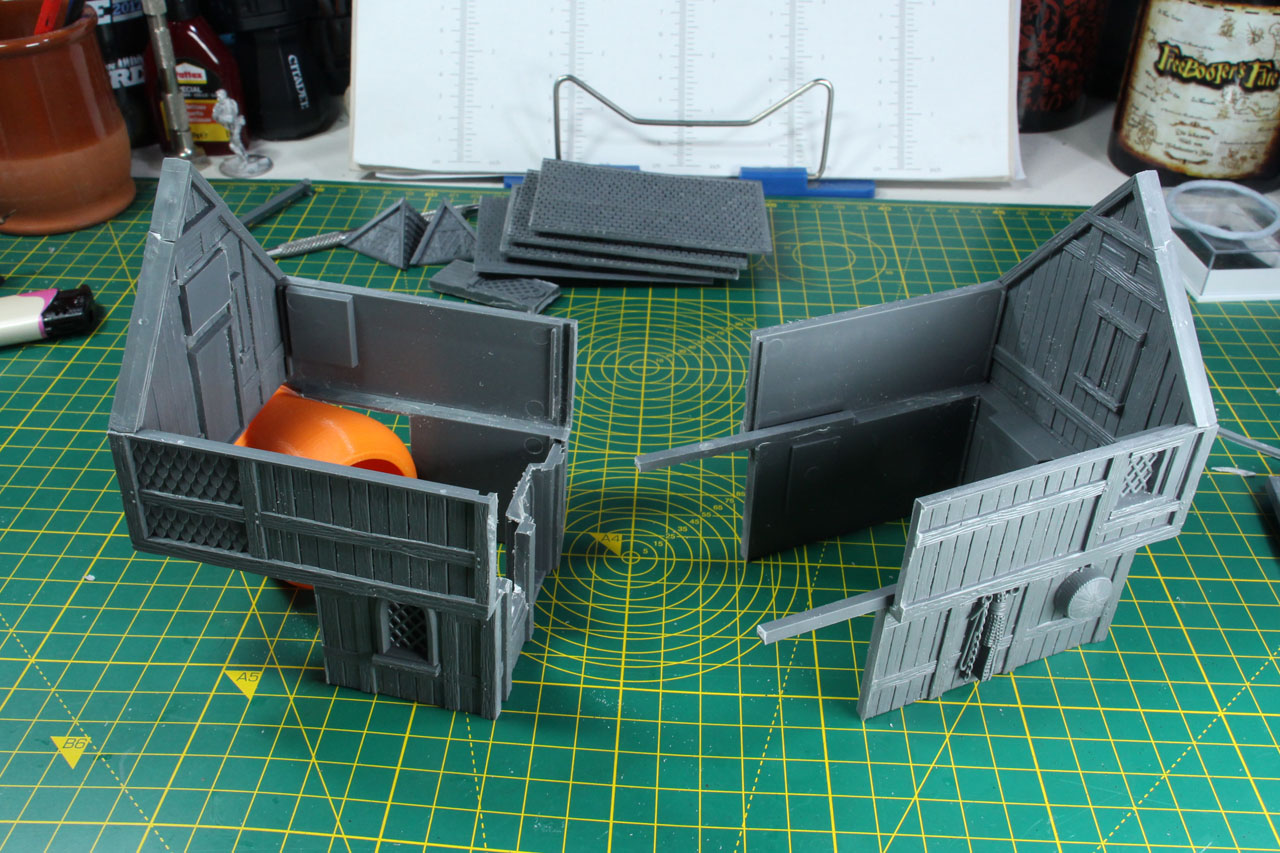
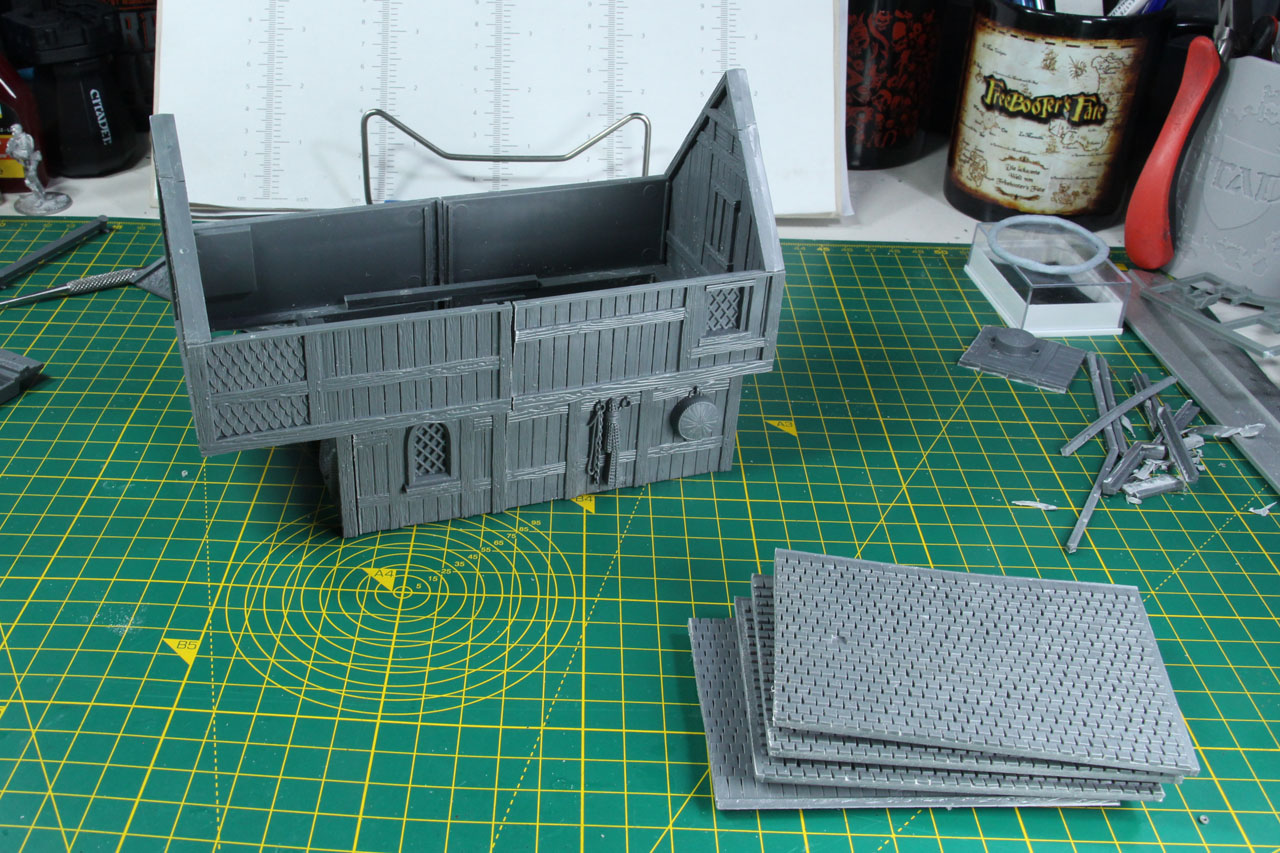
In the first part of this article, we're going to cover mostly the main building that will sit on the base plate. For that we need the regular parts you'd need to build a single lake town house. Start with laying out the front and back, as well as the sides of which we need two sets.
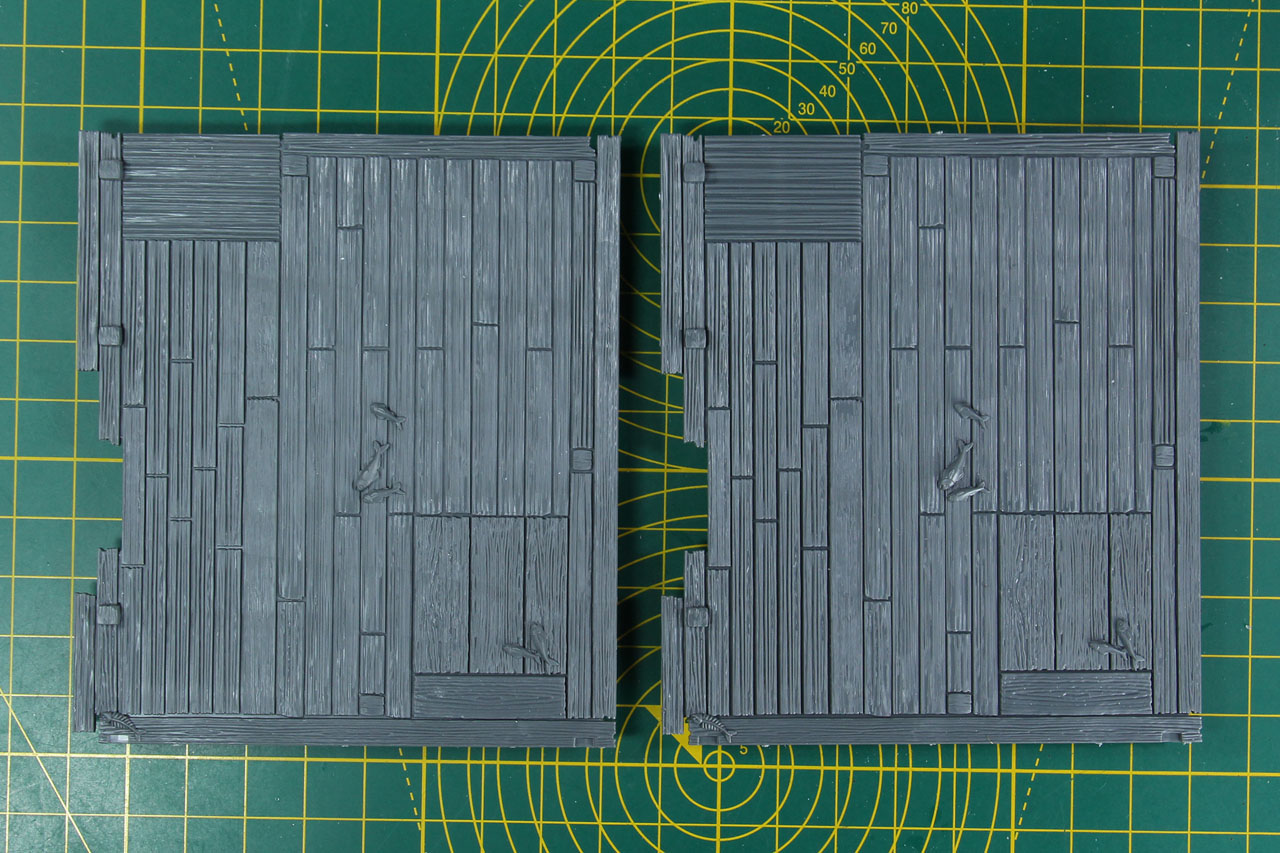
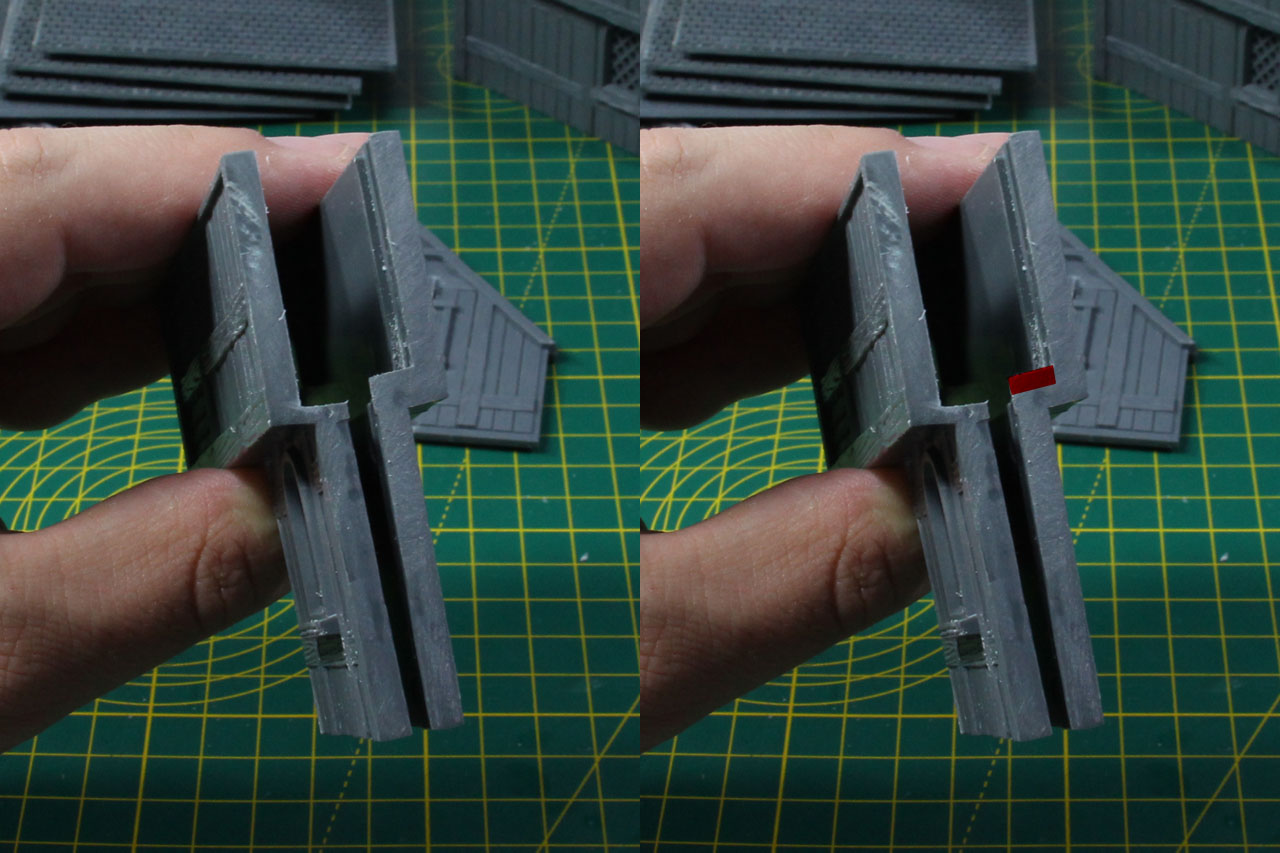
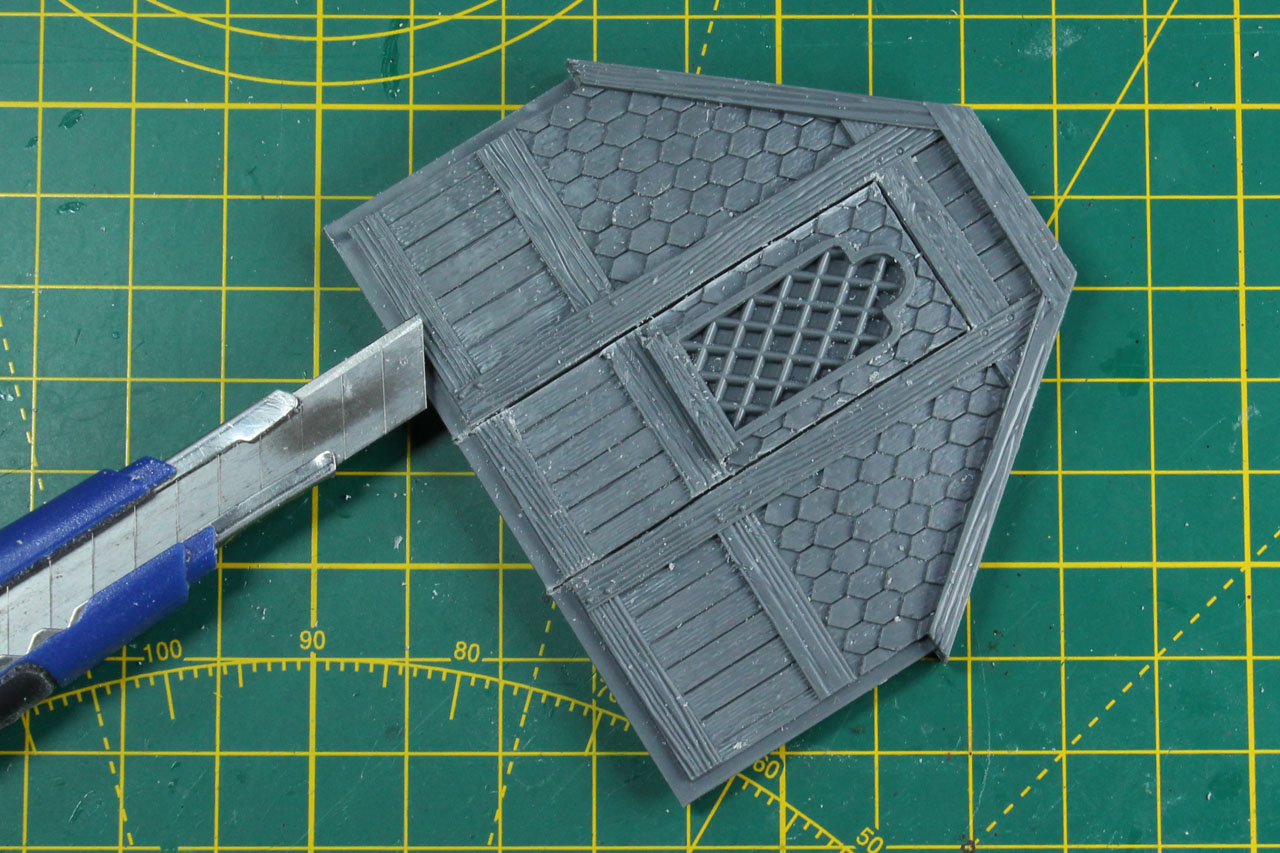
We have to modify some of the parts quite a bit. As the sides are a combined piece, made from two long wall sections, them in two different ways. To give you an idea, I've laid out the wall sections and marked the areas to be cut in red. Make sure to keep the pieces you cut, as you might need them later on, for further conversion.


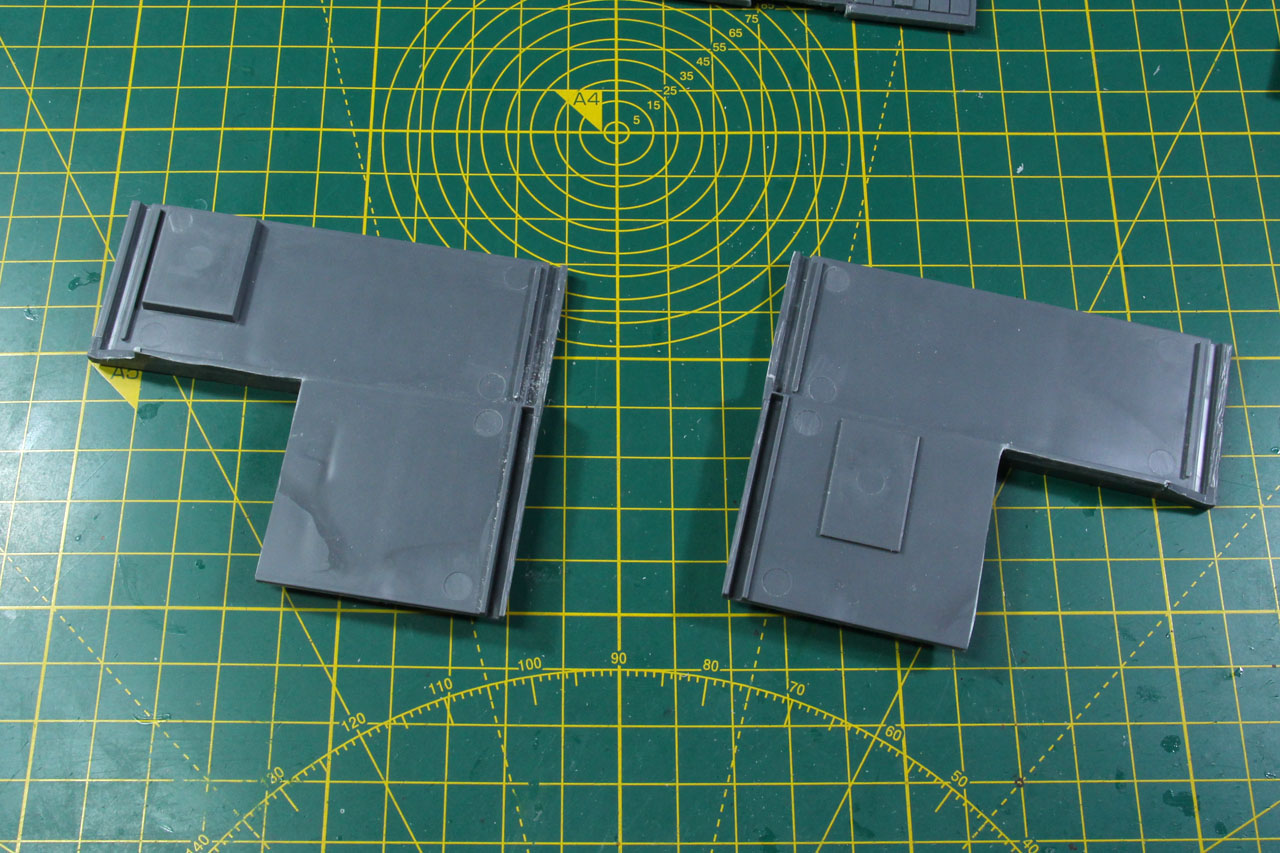
When you look upon the inner part of the walls, you'll see a thin sheet, that will need to be cut, as we intend to strength the inner connection and need a plain ground for that.
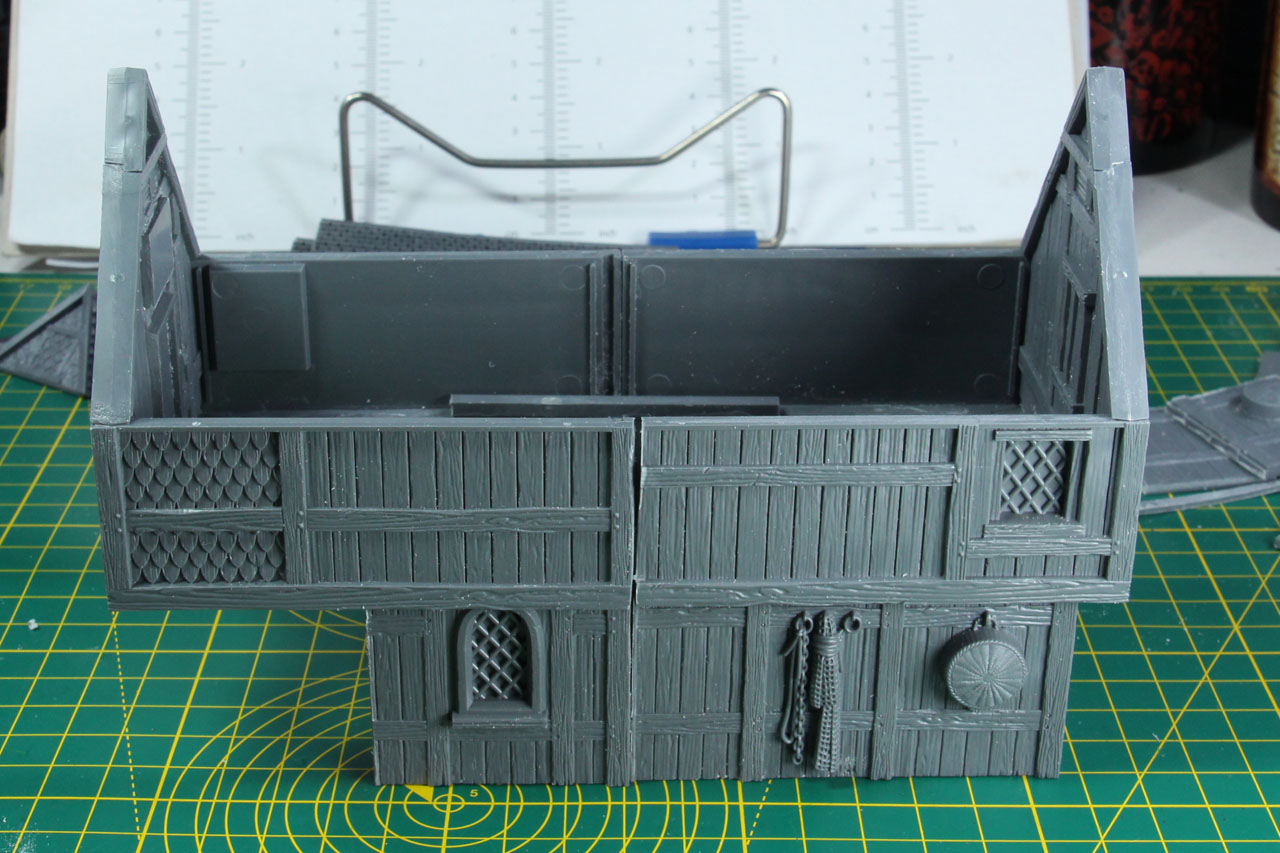
The front wall can be build in a rather regular way, we choose the upper and lower parts straight from the sprue. The walls are just shortened a bit to align with the second half of the walls, that cover the path and first floor. You might want to use a spart front to align the pieces. Don't glue that one just use it as a template for the alignment / distances.


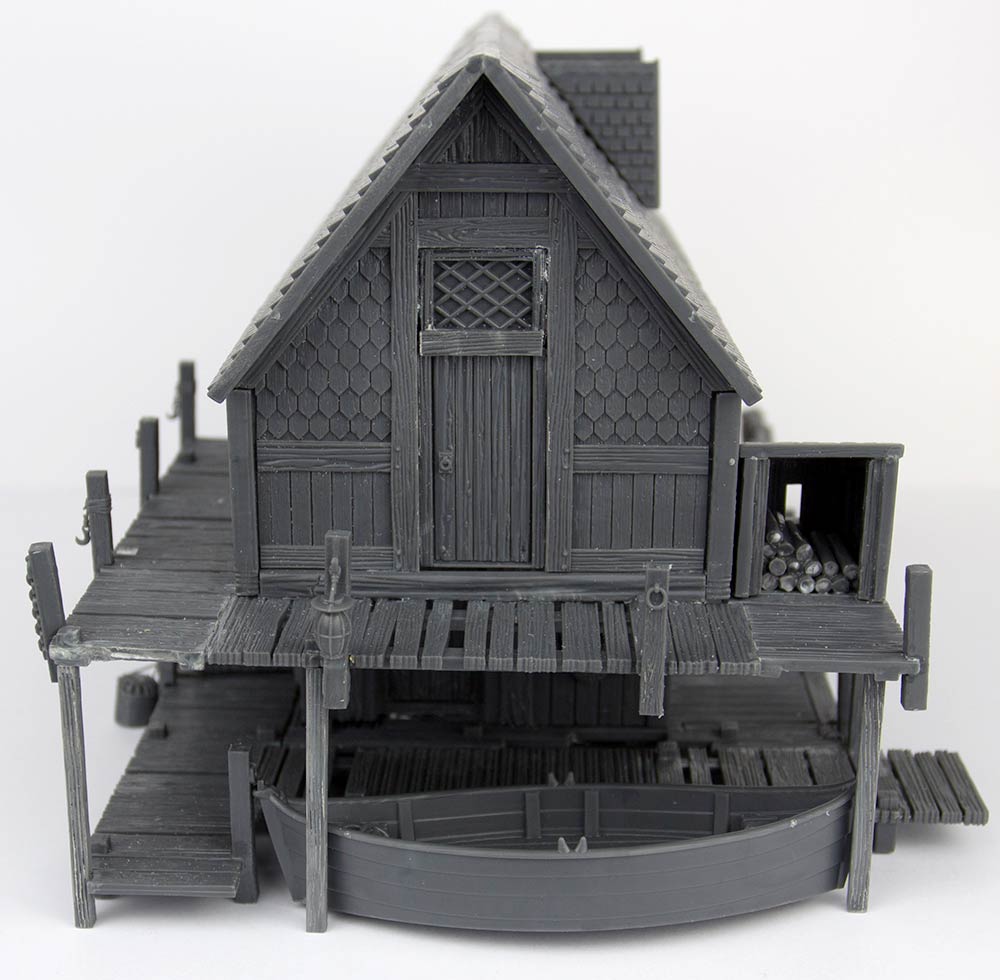
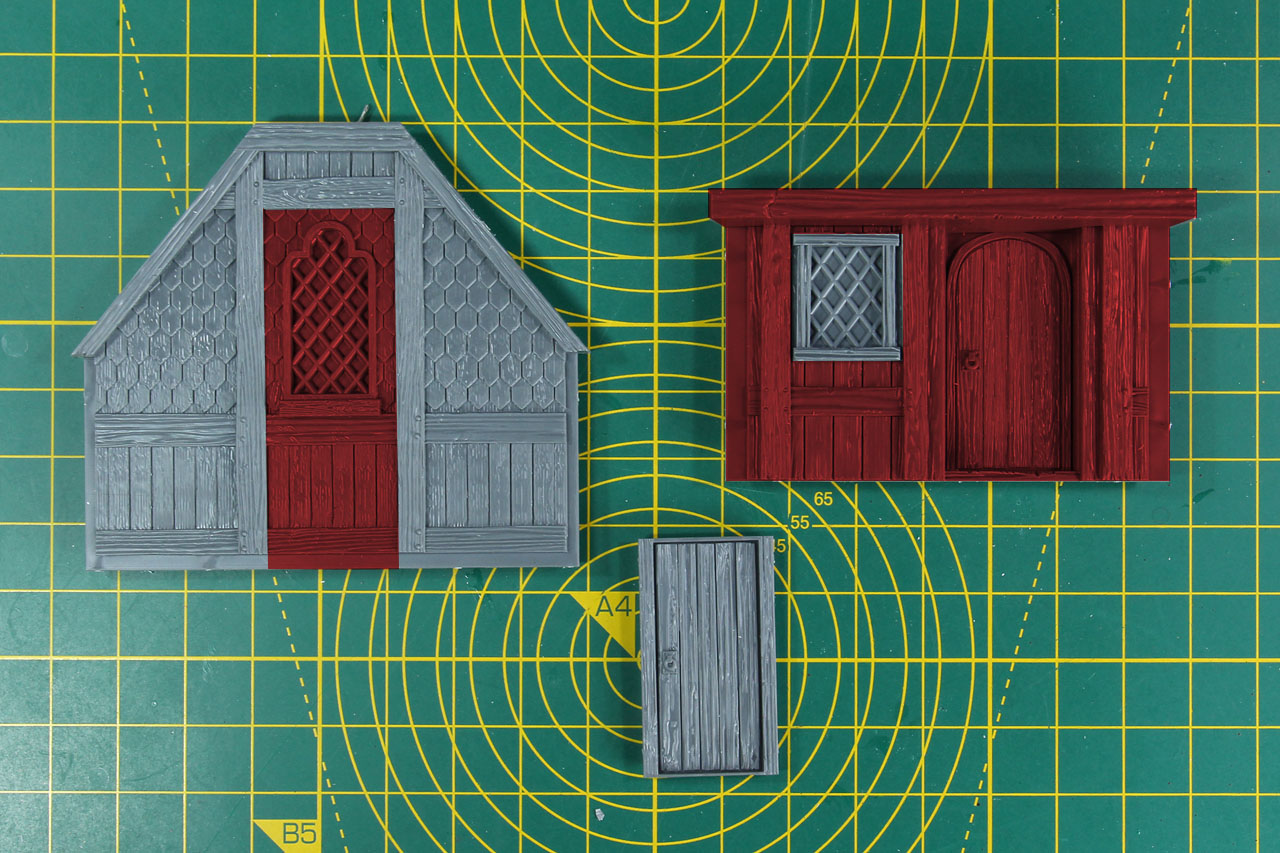
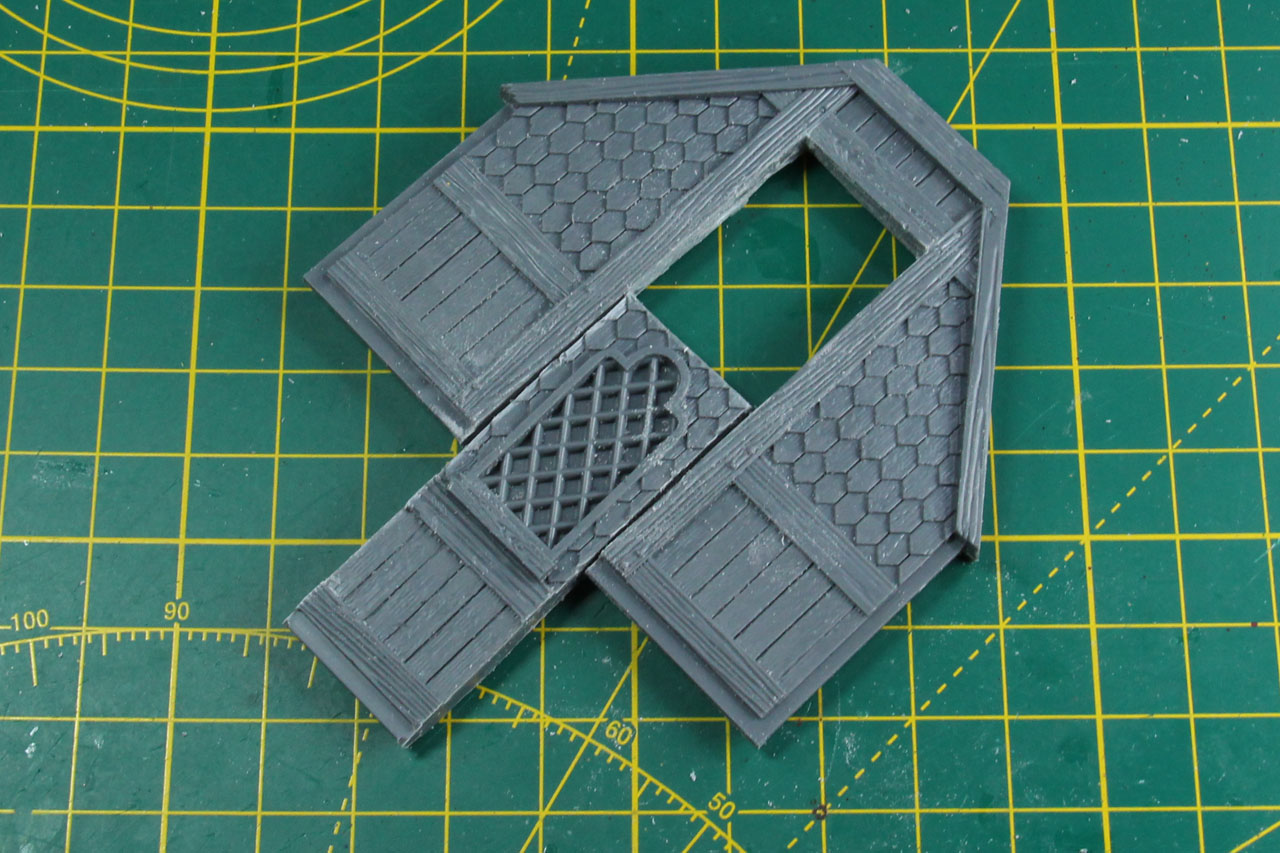
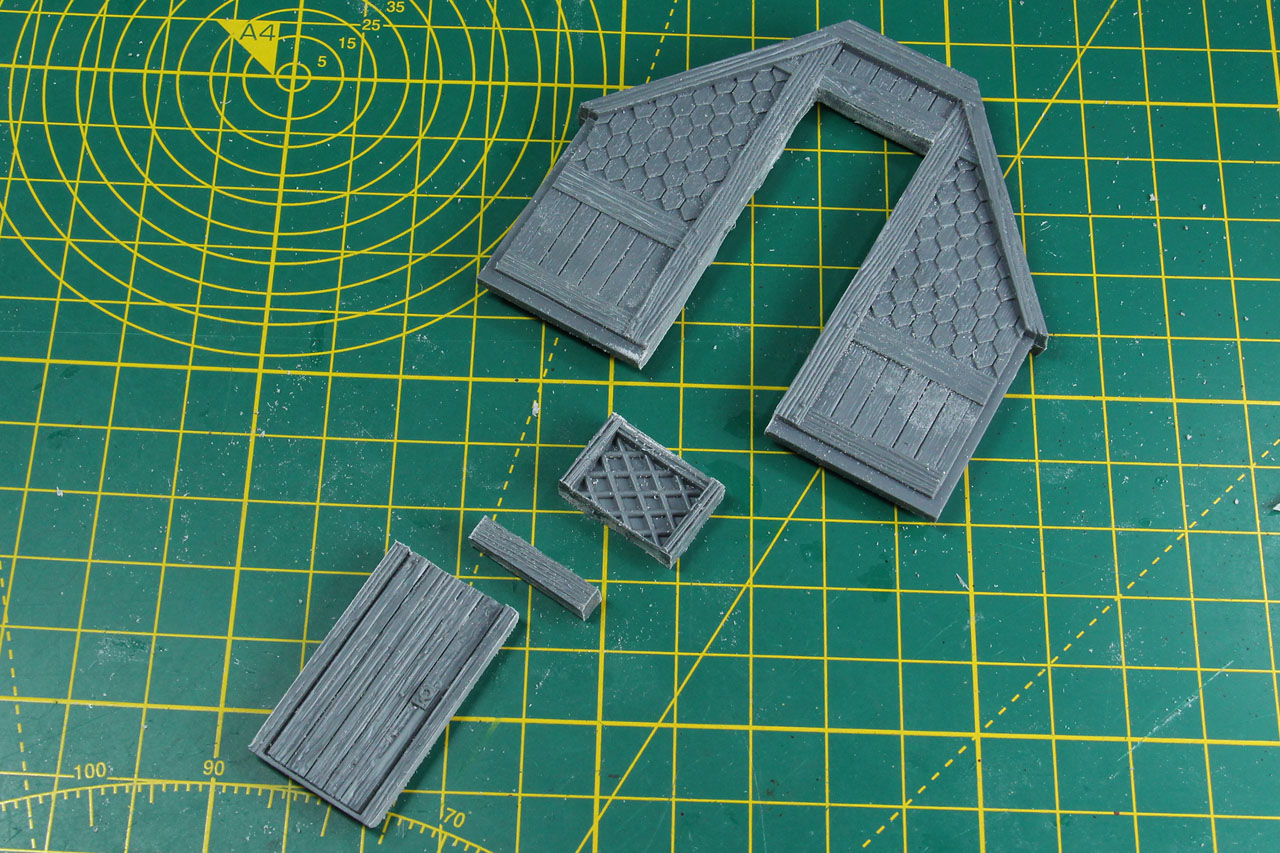
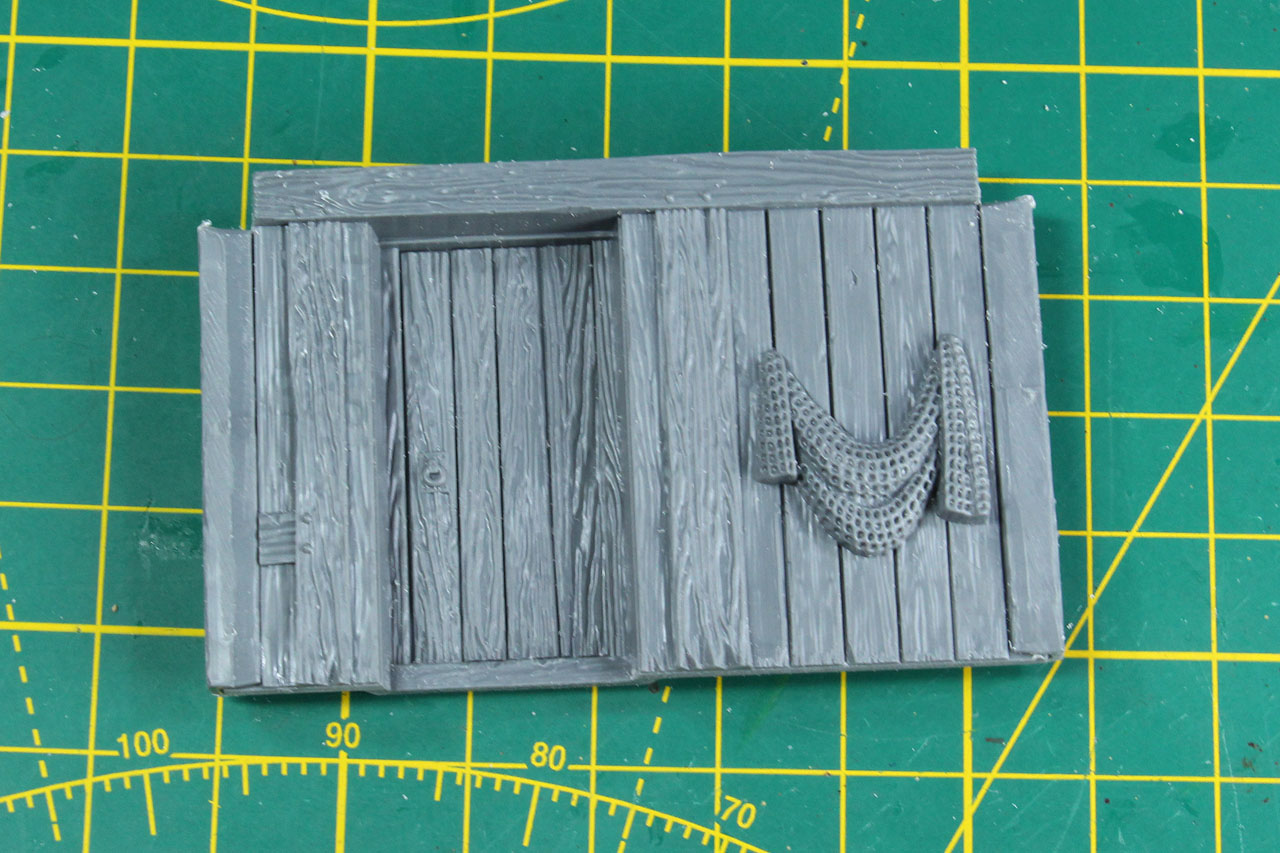
The back wall will need to be converted, as we need a door on the first floor. For that we need a regular front, a door and a windows from the lower front. I've marked the areas red, that we need to cut.
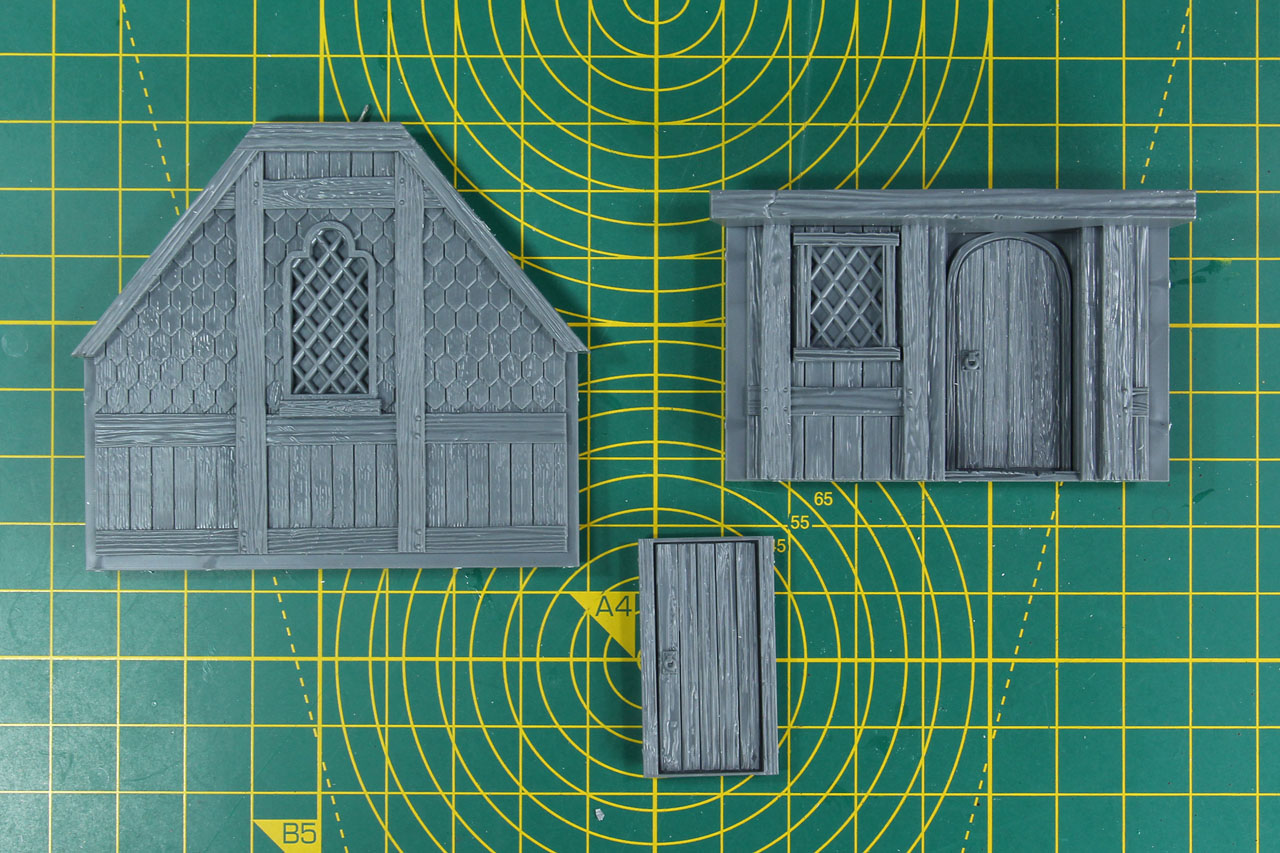
As this is a rather thick piece, I strongly advice to go multiple times along the path with medium force, as that will result in a cleaner cut. As with the other walls, keep the parts around, that you cut off, especially the top bar from the lower wall, as that will be needed for further support later on.

We arrange the door in the way the picture shows it. Just make sure the door knob points the right direction. You remember that we cut off the pillars from the walls for a small pathway, these pillars are now added to the lower floor and added again to the walls. You'll need to take a bit of the top of the wall, to make it fit under it.


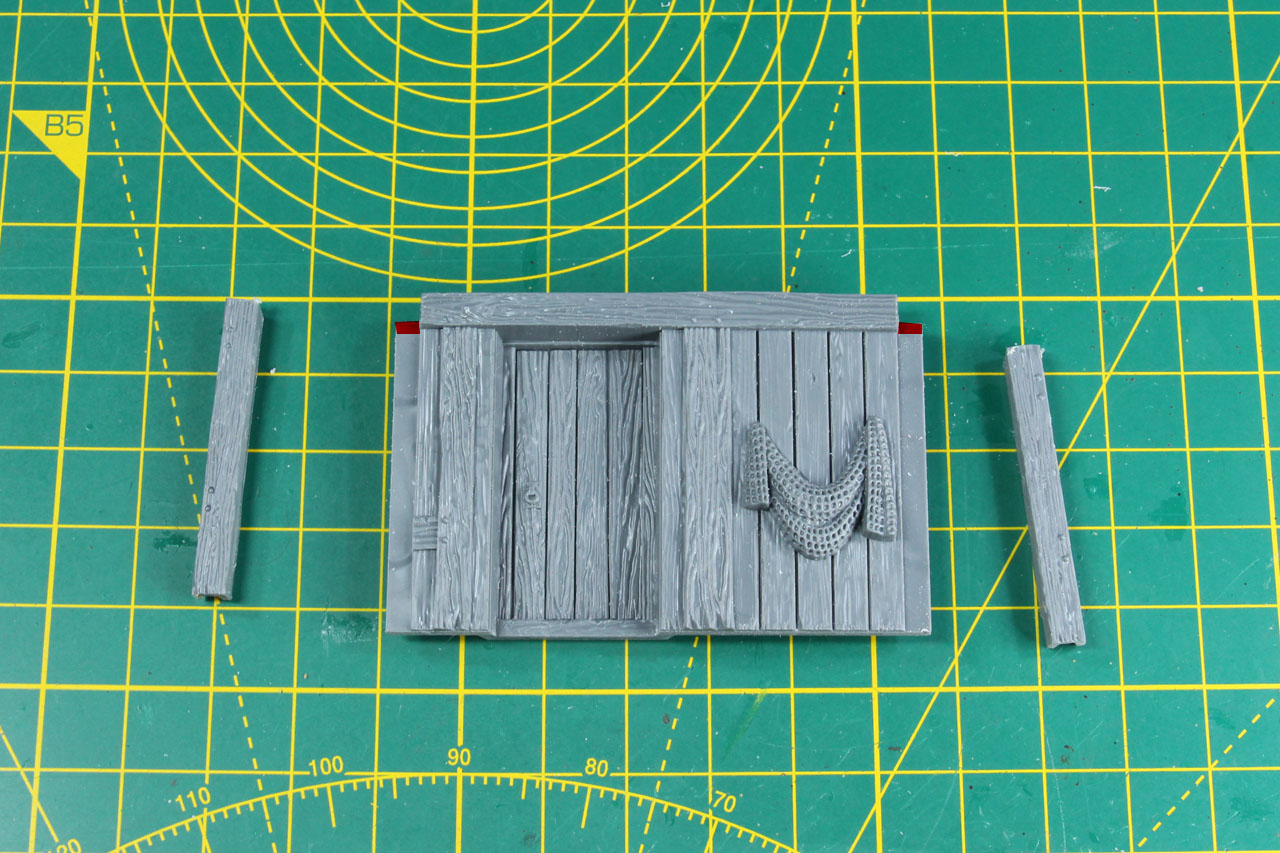
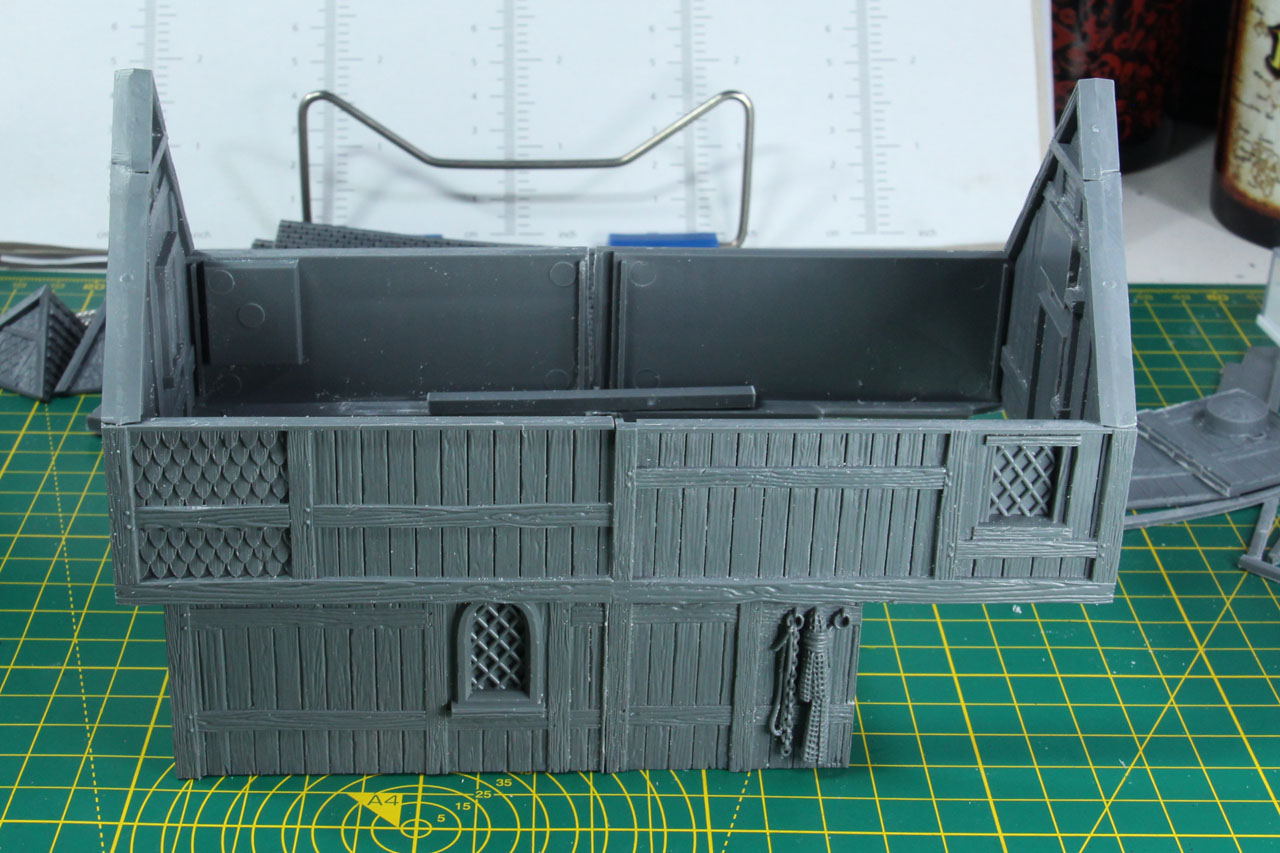
Glue the front and the modified side walls together. As with the other, I suggest you take a spare wall section as a template for the width.
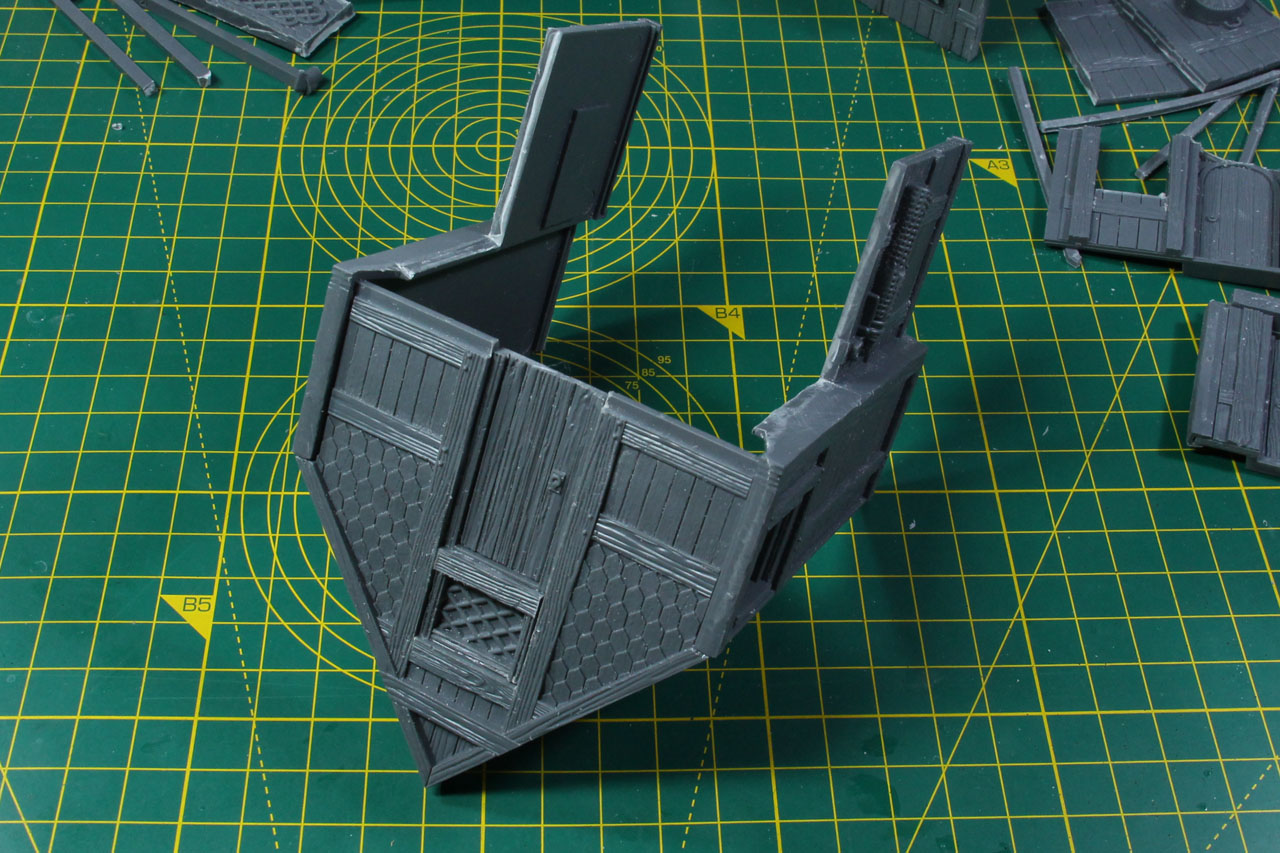

And now use the spare top bar from the lower wall, to close the bottom band on the first floor. You could, if you wanted to glue some plastic card in space to close the floor.

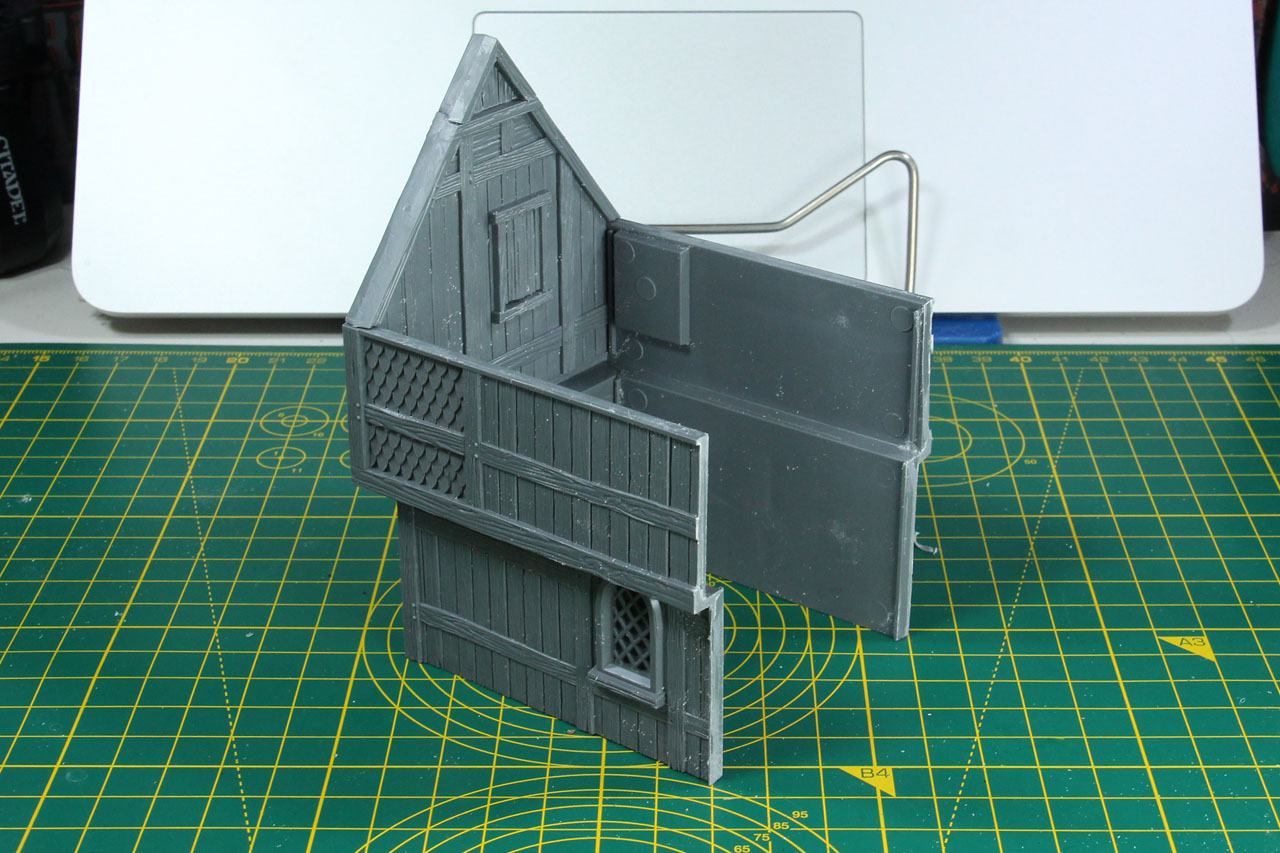
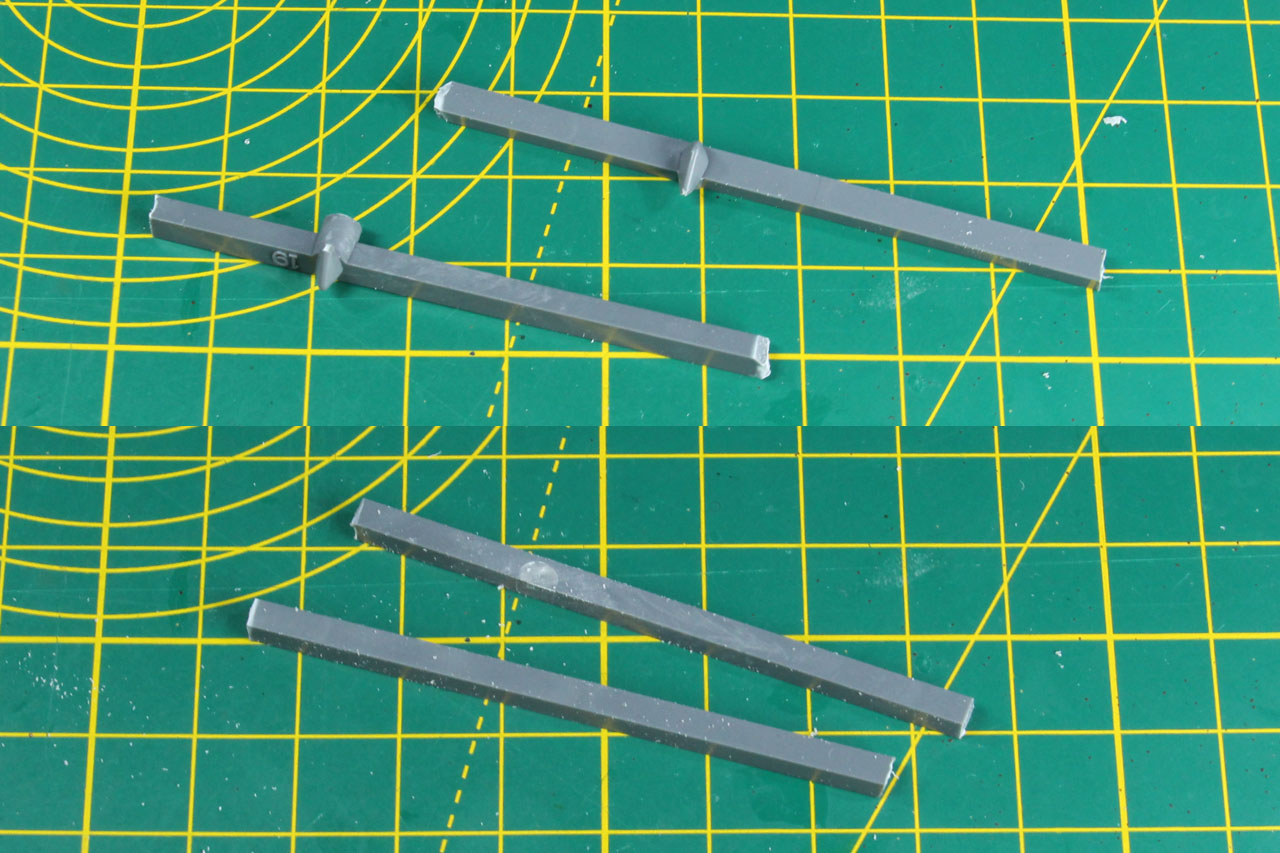
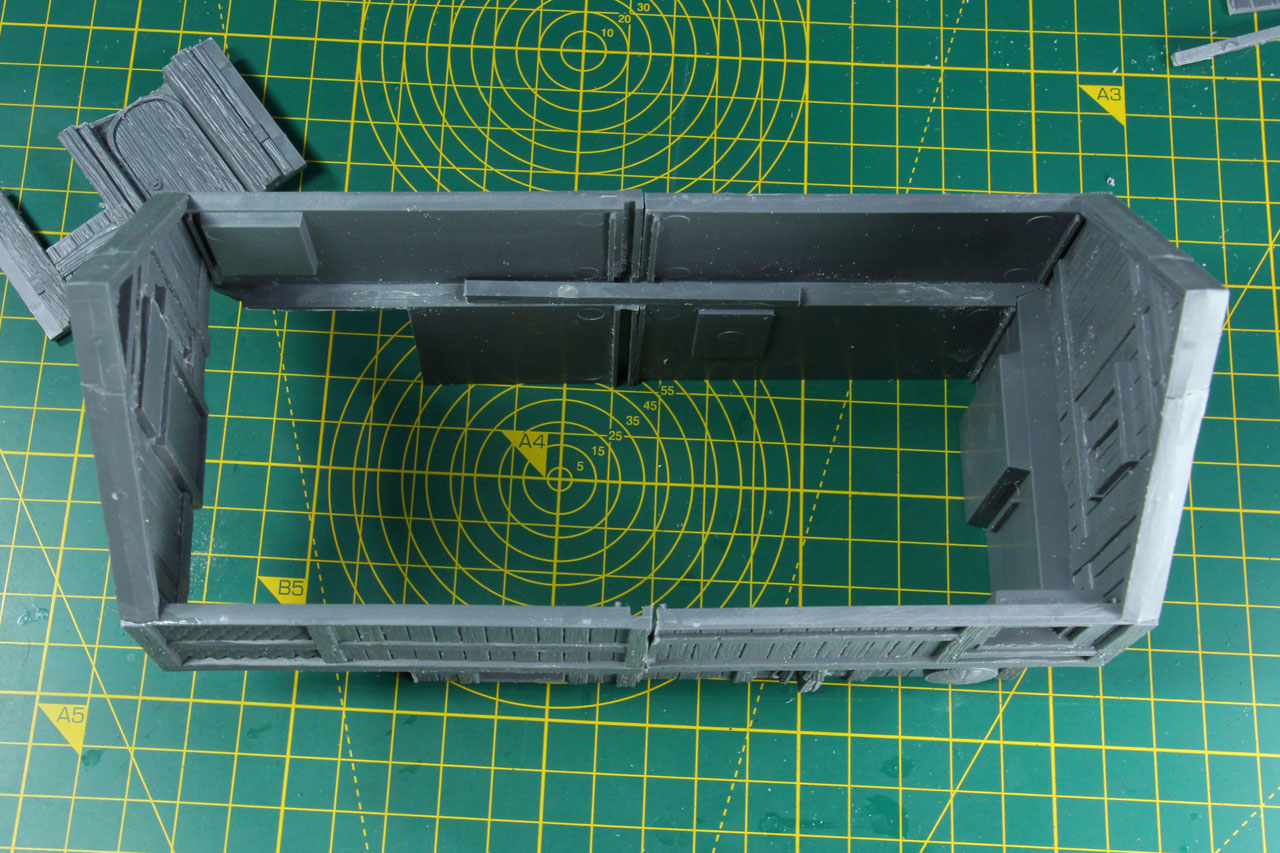
This step is optional, I just thought the build would benefit from it. I used two long pieces of sprue to align the two parts of the house. For that you have to cut the small lid, that I pointed out further above, so you have a plain connection to work with. Once again you could use the spare fronts as a template for the distance / width. Let this settle and you have a stable base to continue.
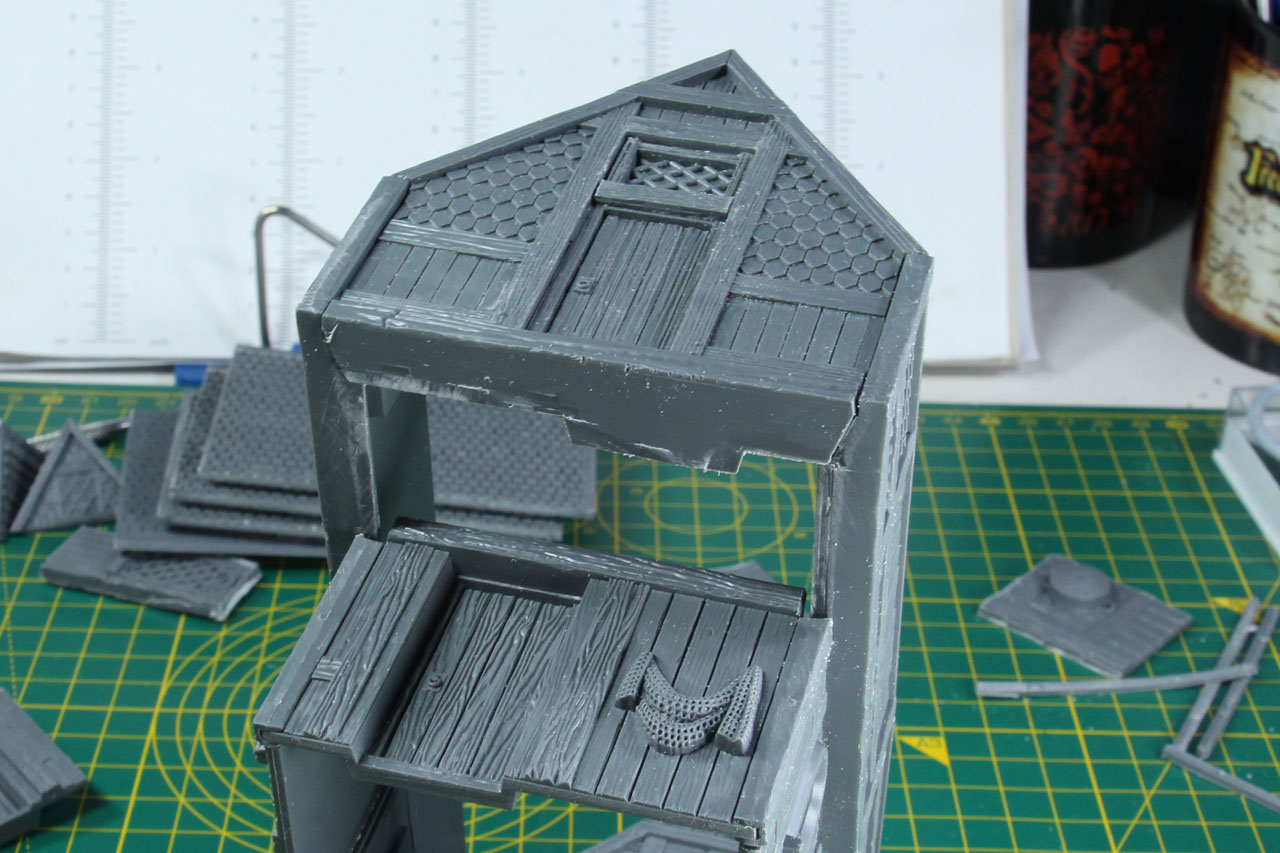
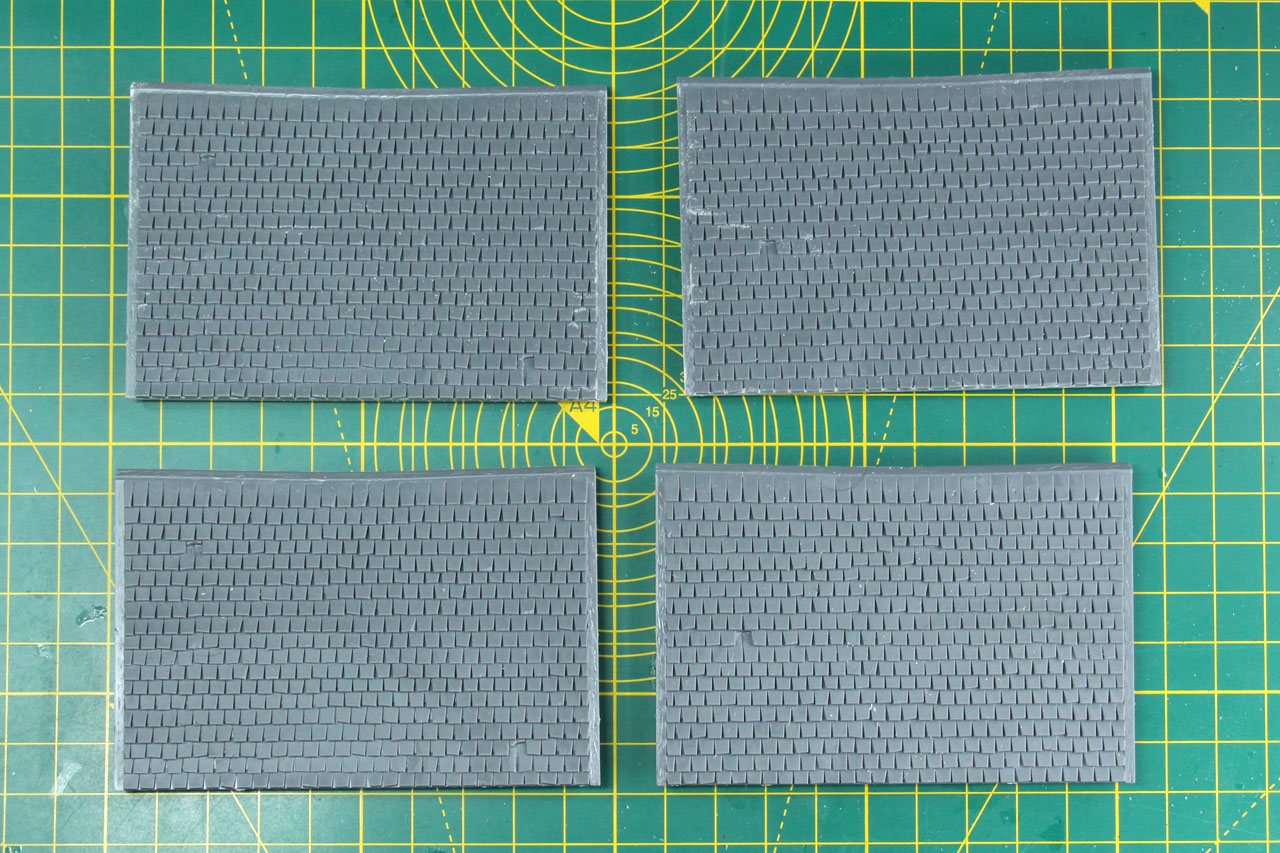
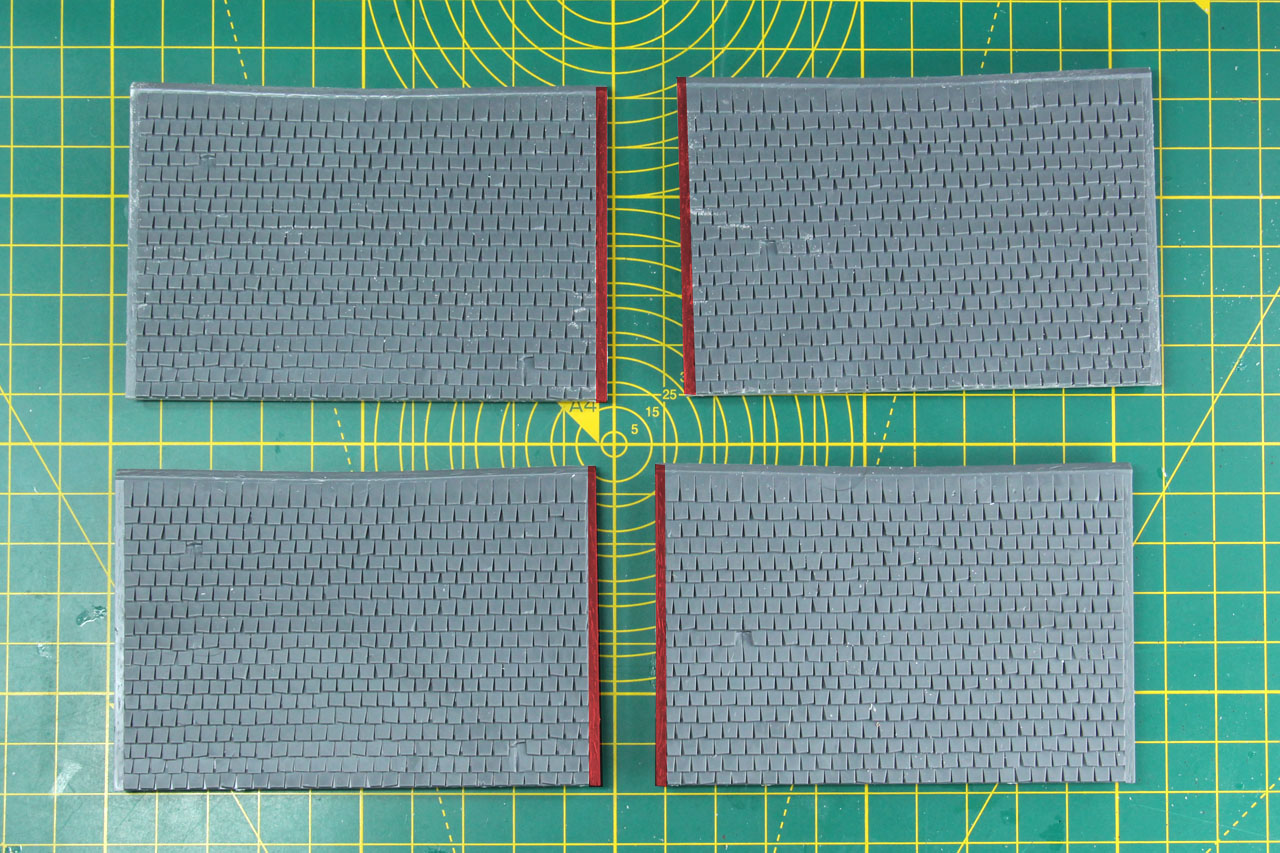
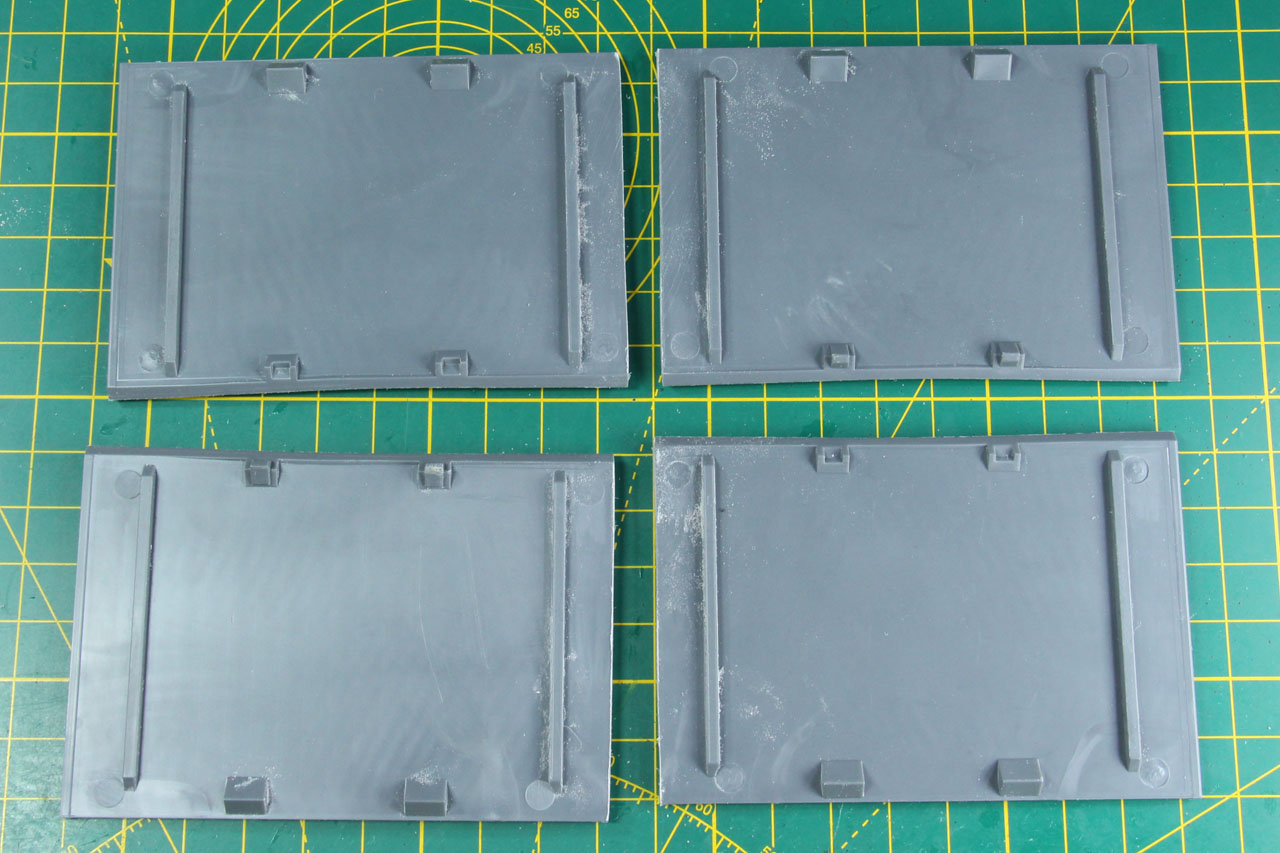
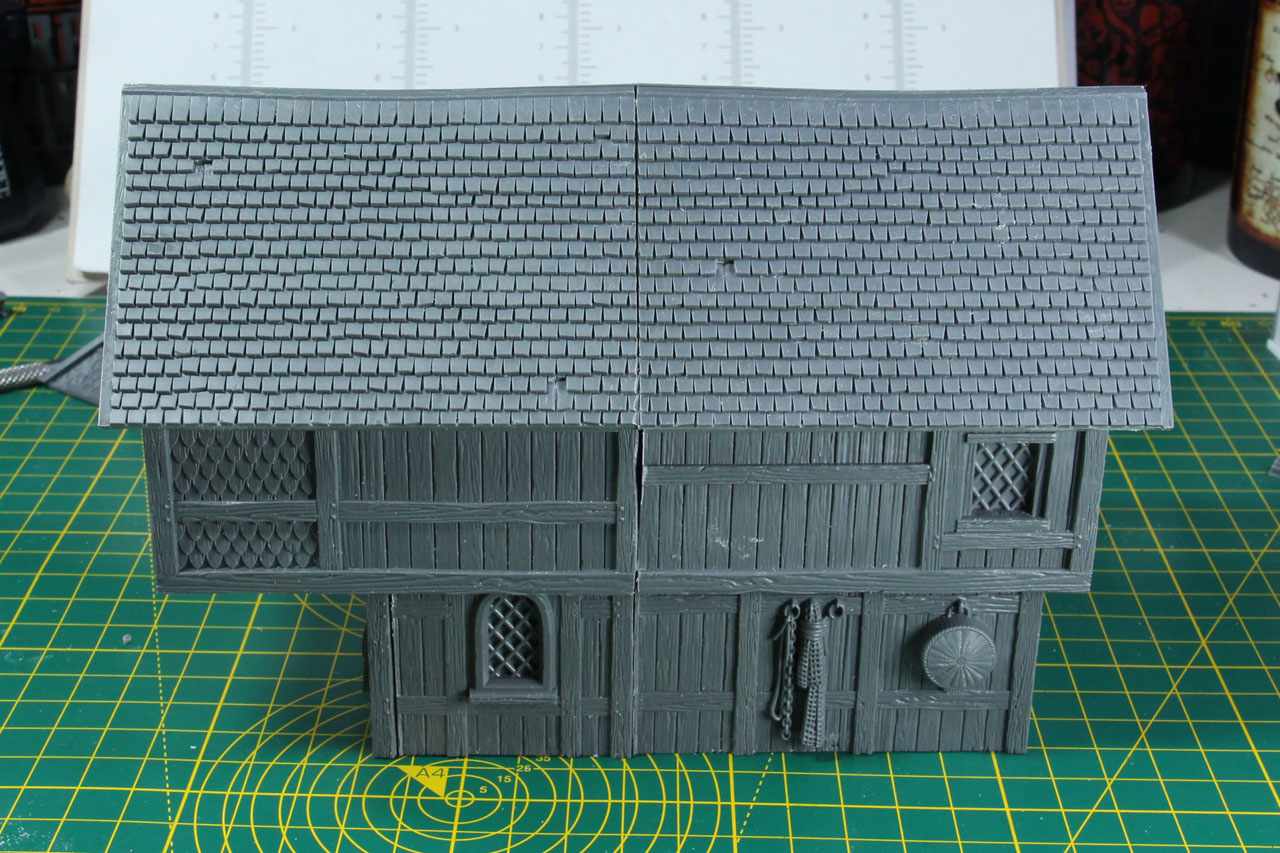
Next up the roof. For this we need all four roof tiles from two kits. As the roof will be to long, we have to shorten it a bit, pointed out in red. As this shifts the position of the roofs on the building, you'll need to modified the underside as well, once again marked in red, what you need to cut down.


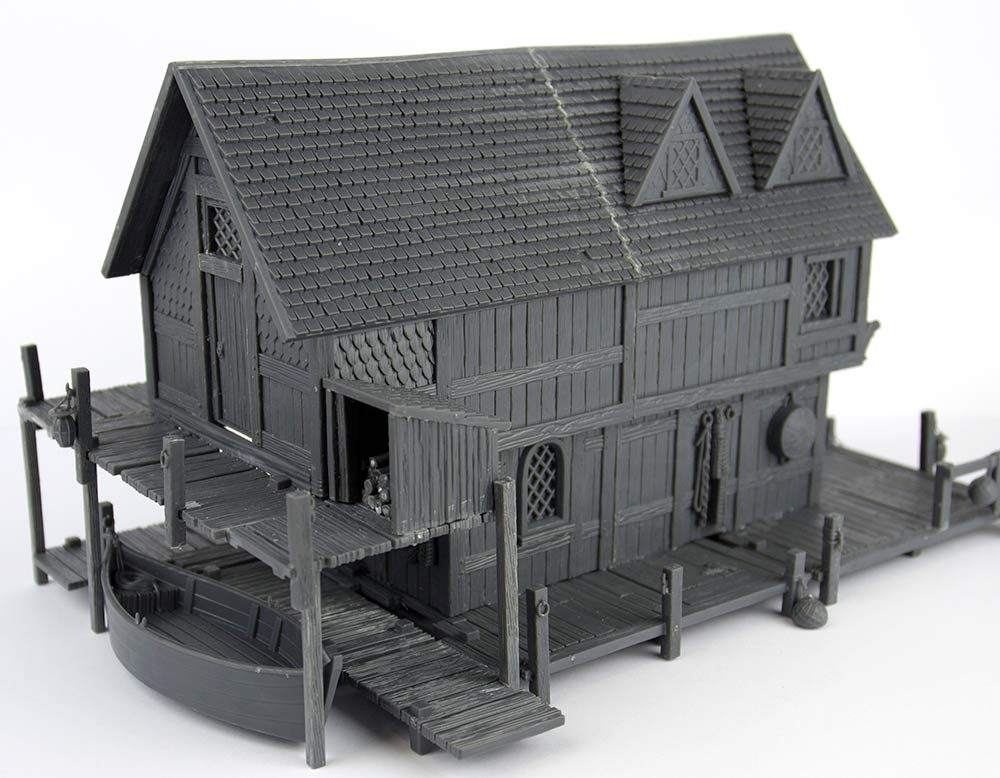
Add these to the building and you'll see, it fits pretty well, yet we have a few gaps in between, where the shingles don't really line up. But we will take care of that later one. In case you want to have a removal roof, you'll probably use some straight sprue pieces, to build a v-shape roof, that can be taken off for game purposes. I see this as rather optional and for stability reasons went with the roof glued on top.
There are two dormers on this building, you can already set them up, if you want to. Just build them like in the instruction.


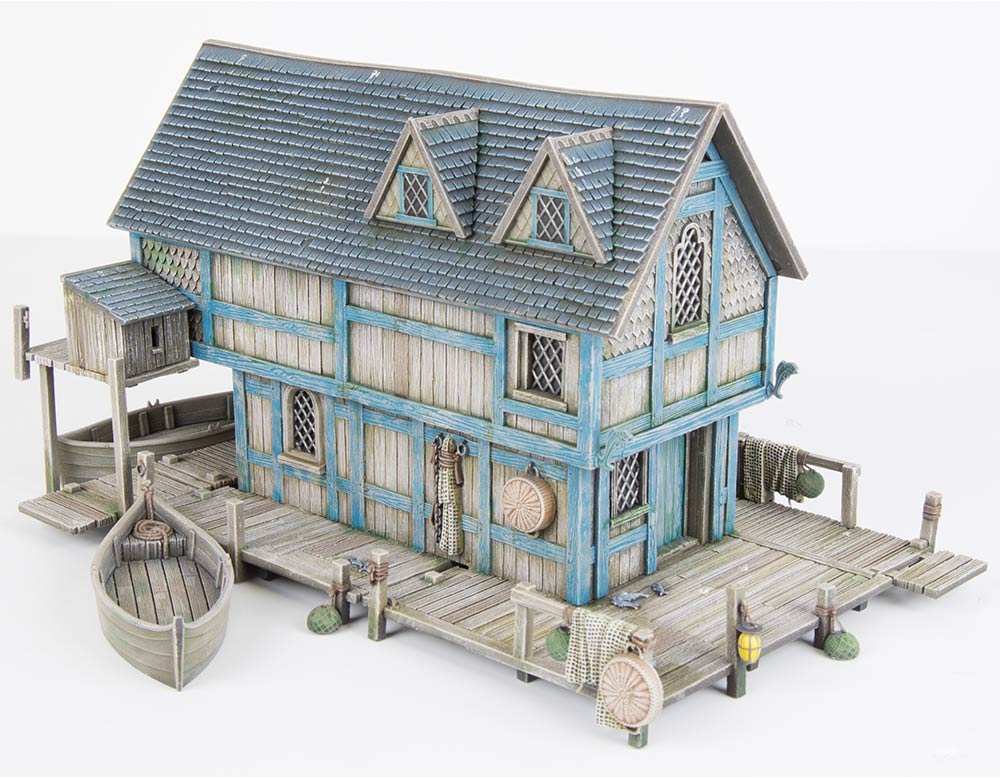
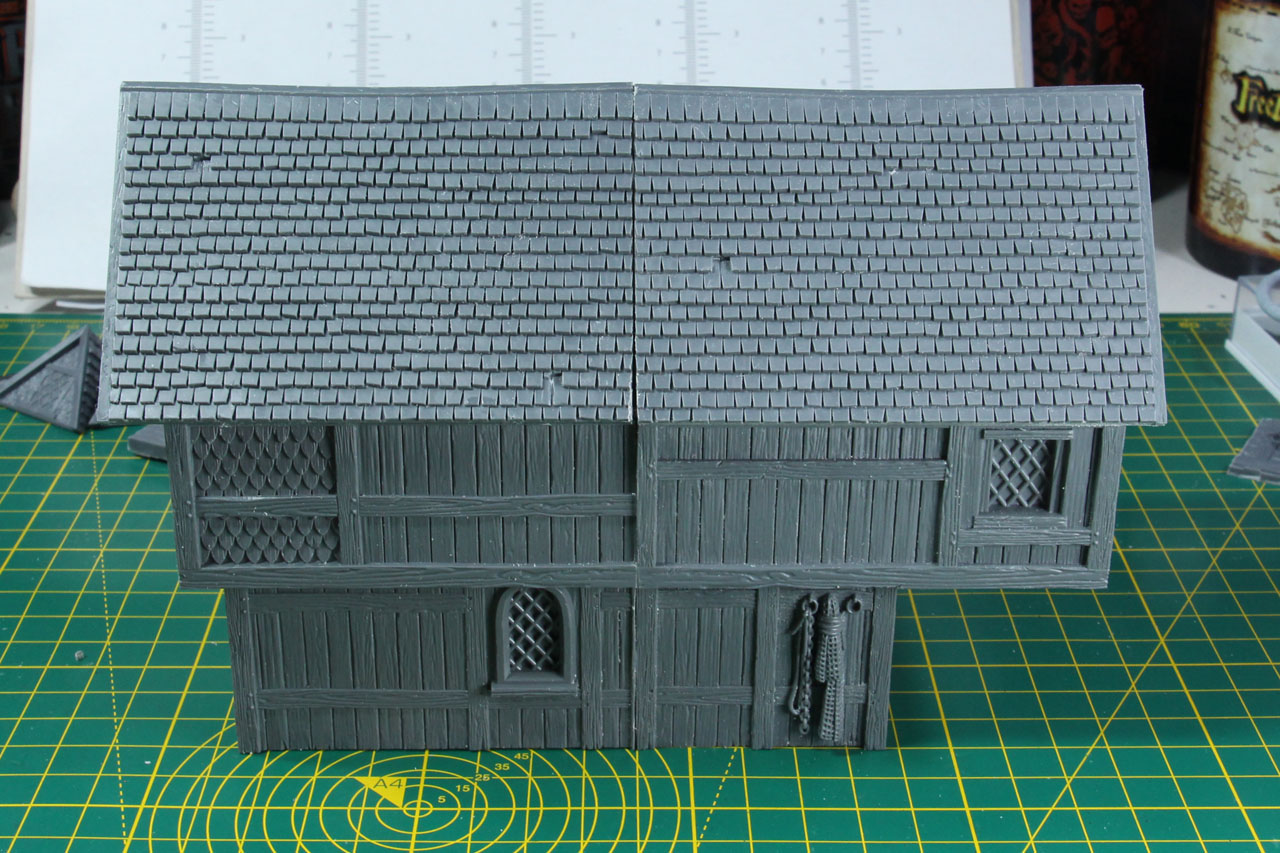
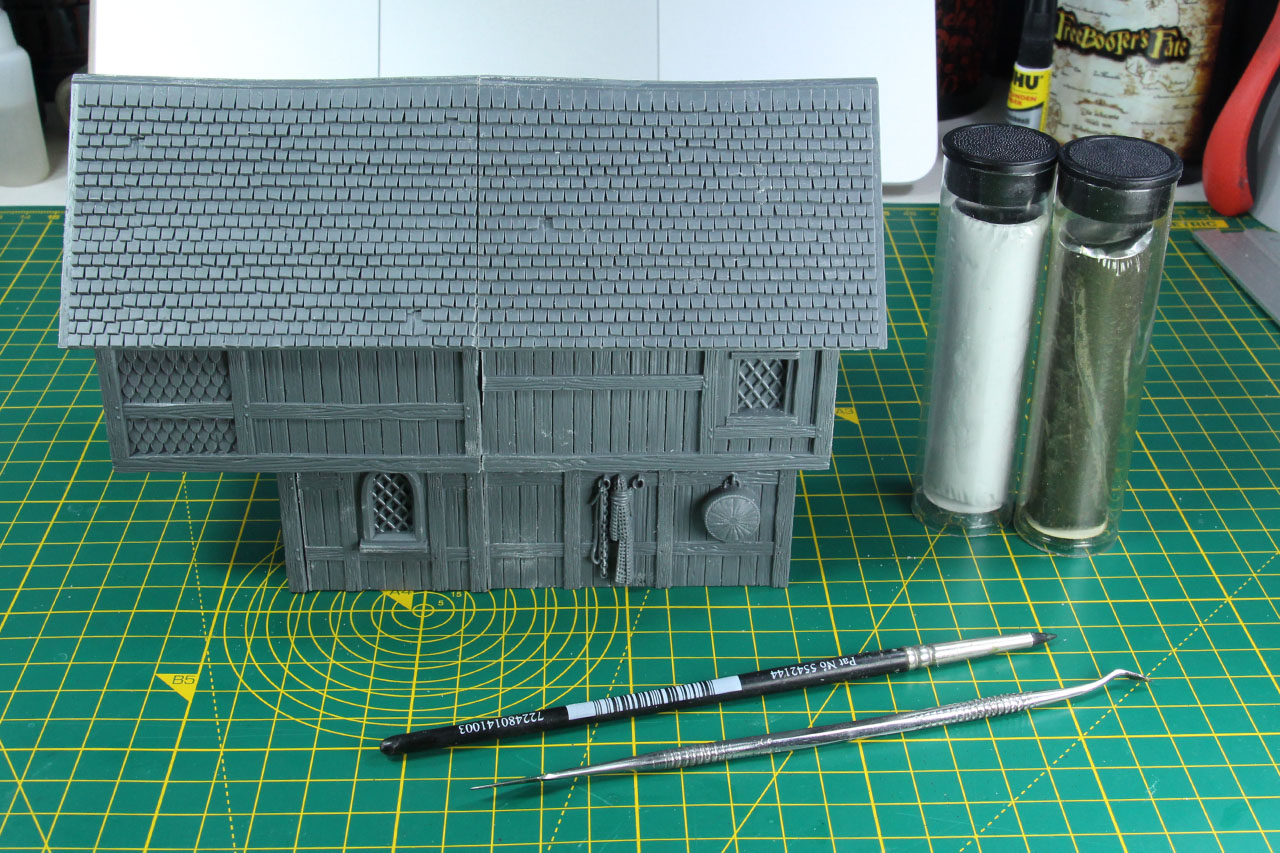
As for the gaps on the roof (and along some of the cut and re-aligned pieces on the sides), mix up some modelling clay, for example green stuff or in my case P3 grey stuff. Sculpting tools come in a broad variety, I have a brush with a rubber tip and a set of sculpting tools. With these I took care of the shingles, as you can see in the second picture. It doesn't take long to do and it is not very complicated, but creates a much cleaner finish.
Don't worry if your touch ups aren't as neat or clean. There are multiple bits that you can glue into place, to cover those (partially) up, like lanterns, nets or baskets.


The main building is mostly finished, beside some smaller details. The next step would be to take care of the stairs and path way around it, but I'll cover that in the next part of the article.
If you have any questions on the conversion so far, feel free to ask.
The Lord of the Rings and Middle-Earth Strategy Battle Game are tabletop miniature games by Games Workshop.
The covered product item was provided by the manufacturer.
Enjoy this article?
Like us on Facebook

Follow me on Instagram

Categories
- events (191)
- fantasy (546)
- General (156)
- historical (600)
- Little Big Adventures (4)
- offtopic (5)
- reviews (475)
- science fiction (594)
- showroom (98)
- terrain (105)
- work-in-progress (393)


Leave a Reply