Warhammer 40.000 Sector Imperialis Basilicanum
In this really long and big review - we're talking 118 pictures (usually only event coverage reaches those numbers) - I want to share with you my building of the Sector Imperialis Basilicanum that was released along the Warhammer 40.000 Kill Team release in July 2018.
Usually Games Workshop releases the terrain novelties around Christmas, as they speak to a broad audience of players, not only those who play specific armies. But this extensive range accompanies the entry level skirmish set up of Kill Team in the World of Warhammer 40.000. There are different sizes of Sector Imperialis Ruins available, the small Ruins set for 30 EUR, the Sector Administratum for 40 EUR, the larger Sanctum for 60 EUR and the biggest kit of the range, the Sector Imperialis Basilicanum for 80 EUR that we're going to unbox and build today.
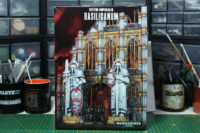
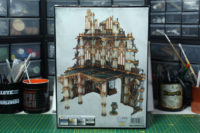
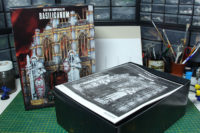
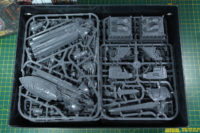
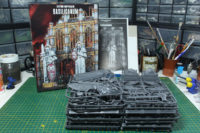
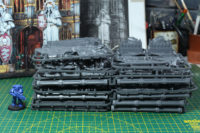
The Basilicanum boxed set is a huge and heavy box. Equivalent in the measurements of the Malign Sorcery set. The set is comprised of 10 frames in grey plastic (Games Workshop counts the three smaller sprues for the statues as one and the double sprue for the smaller ruin pieces as one as well, stating a total of 7 frames in the product description), with a total number of 134 pieces, along with a multipage assembly instruction. You can see it is quite a high stack of sprues. The product description on the Games Workshop website states that this kit although contains the rules for use with Warhammer 40.000, but I couldn't find any and assume that this is a copy and paste error (as in the Kill Team sectors and most Age of Sigmar terrain kits rules are included).
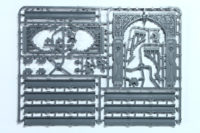
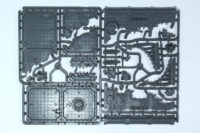
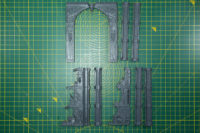
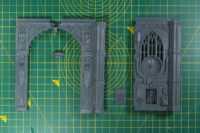
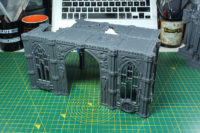
One of the two exclusive frames for the Basilicanum is the one with the gate. It is included one time in the box.
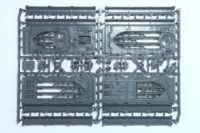
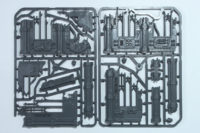
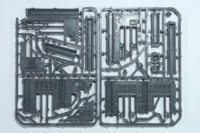
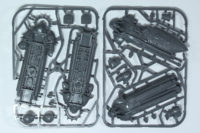
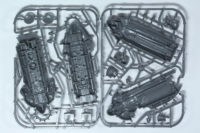
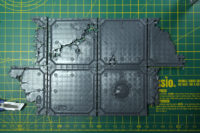
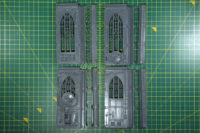
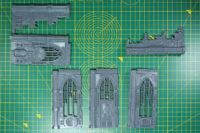
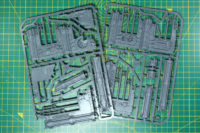
These two are the core frames for the Sector Imperialis kits and are included two times each, covering the walls and floor pieces.
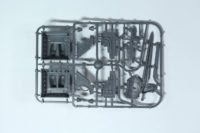
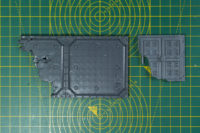
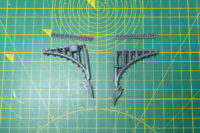
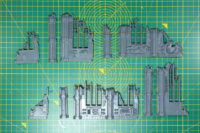
These two smaller sprues are basically the content of the Sector Imperialis Ruins and are included in each of the sets at least once, for the half walls of the ruin / building top levels.
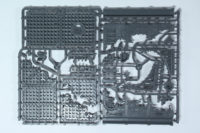
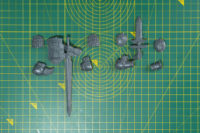
The second exclusive sprue for the Basilicanum is the assortment of three smaller sprues, covering two statues.
Casting is good, the use of the space within the frames is superb and very dense. The quality of detail is convincing, but the amount of mould lines is a bit higher.
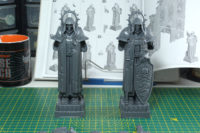
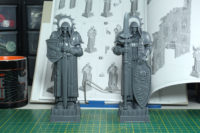
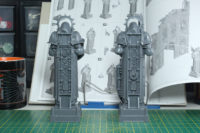
First and easiest parts to assemble are the two statues. These two are really large, both wearing cowls, one is armed with a spear and shield, the other one with a sword and smaller shield. As you can see, they kept them in size with the Space Marine statue from the Honoured Imperium kit.
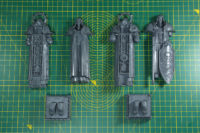
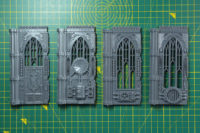
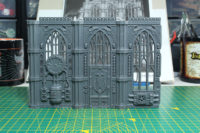
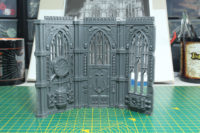
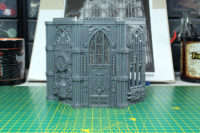
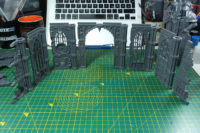
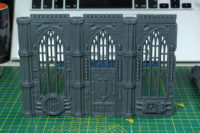
The main frame of the Sector Imperialis kits consists of these four wall designs. They have a column attached to their left (completed by another half column) and in can be positioned in 45° or 90° angles to each other, as you can see from the pictures below.
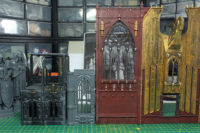
As these new kits are further developments of the old Cities of Death ruins / city building kits from 2006, I added a comparison in scale with the regular plastic kit and the much larger Shrine of the Aquila. As you can see the Sector Imperialis is roughly 50% taller than the Cities of Death design. Interesting aspect of the newer design, the sizes are compatible with each other, so you have the same heights of walls and width of the floors for the Sector Imperialis and Sector Mechanicus Industrial range (among others used in the Renegade and Shadow War Armageddon boxed sets).
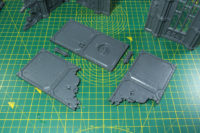
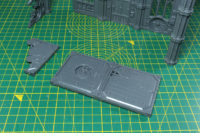
For the floors are several tiles available, an intact double tile, a semi-intact one and a half tile, two damaged half tiles, and two remains of tile edges. The floor tiles are roughly 50% larger than the old Cities of Death tiles. Width of the floors is the same as from the Sector Mechanicus tiles.
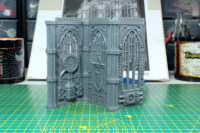
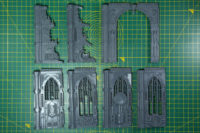
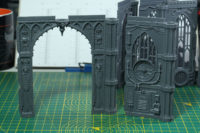
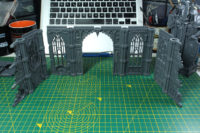
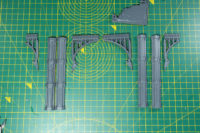
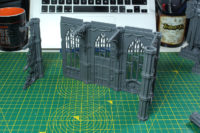
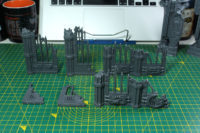
The Basilicanum is made from the four generic wall types from the Sector Imperialis kits, two with tall windows and two with higher ground walls. In addition there are two damaged wall tiles and a double wide entrance without doors. Just add the other half column and you are good to go.
I toyed around with the parts to get a feel for the assembly and what is possible. They stand quite stable even without gluing. I really like the idea of angling the wall pieces in 45° as it breaks of the usual rectangular shape of buildings. I spend quite some time thinking about how to pull this off. Unfortunately I had to scrap the idea for this review and build, as there were no matching floor tiles to go with. I would need to modify a lot far from how they came from the sprue to achieve a satisfying result and that would not make sense with the intention to show what is possible with the parts directly from this kit. But you get the idea, especially for one store buildings / ruins, this is an interesting option.
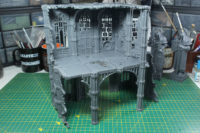
As I want to keep the building storable and playable to a reasonable amount, I decided to split the parts of the Basilicanum into two buildings of two stories each. That would ensure that I can store it on a regular shelf and due to the taller height of the Sector Imperialis would still be an impressive sight on the battlefield.
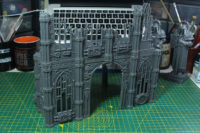
Let us begin with "Building A", the smaller Basilicanum. I went started with a similar footprint as the "regular" Basilicanum and assembled the gate.
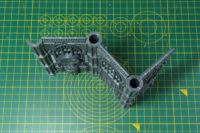
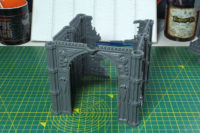
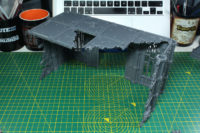
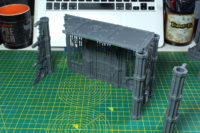
To see, if I had enough parts to recreate what I had in mind, I did a dry run. I went with an open U-shape of the ruins, pretty similar as mentioned above to the regular build, just moved one wall panel from the left to the right. I glued the individual sides together but waited for the angles until I added the floors to ensure proper angles of the corners.
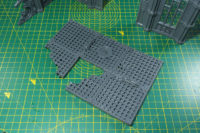
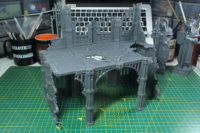
Next up the floors of the first level. The floor tiles are connected with couplings in the design of industrial lights. These are covered in two designs in the sprues, intact and damaged. I added to the 6 floor tiles another damaged half-tile to connect the right corner of the build.
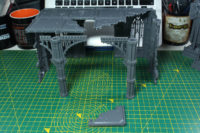
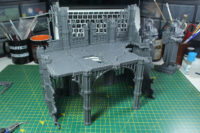
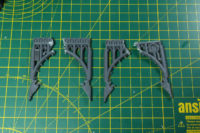
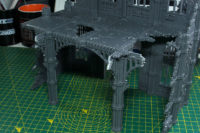
To support the floor in the back of the ruin, I added two columns along with the support arches. These are included in several different designs, broken arches left and right, regular one wide arches and a two piece double wide support arch. I went with the two broken support arches for the side and the double wide support arches for the centre pieces.
So bring the columns to one level, there are filler pieces to finish the top part. They are used as couplings for the walls of the next story as well. Make sure to add them the right way, with the design pointing upwards.
The "raw" structure of the buildings is quite easy and fast, but the detailing is something that you can spend quite some time on. As you can see, here's a side wall and empty side of the broken tile, which need some detailing. There are smaller pieces included in the set, to do so.
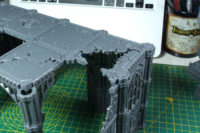
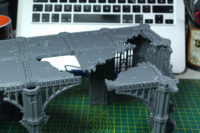
Same goes with the open top of the column. I added a broken piece of a floor tile and two connector pieces to close the top of the pillar.
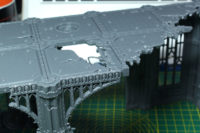
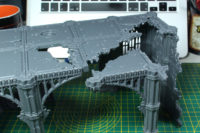
The next step is a bit tricky. I went "freestyle" to close the gap and connect the column with the broken half-tile to the remaining half-tile on the other side of the ruin. Worked quite well.
With the ground floor of Building A finished. It is time to take care of the second building. I wanted to build something around the nice wall piece with the Aquila door. A compact 3 by 2 building would work, let us call it Building B "Officium". So similar to the first Building, I went with a foot print and laid out the parts I wanted to use.
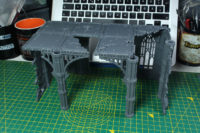
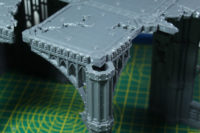
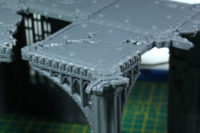
The floor tiles are assembled with the couplings and the support arches are used below the floor tiles. If you want to use the support arches not on the edge of the floor tiles but directly under them, you have to trim of the skull strip. Do not throw these away and save them for later. We will use them. As you can see we now have an L-shaped ruin with the support arches ready for the floor tiles.
I added the first row of floor tiles, with the intact double tiles and a damaged half-tile.
As with Building A, this building of course needs some detailing as well. Beginning with the left side, a broken floor tile to guide the ruined wall piece to the left.
And the second row of broken floor tiles is added as well, along with the connection pieces for the ruined wall section on the right.
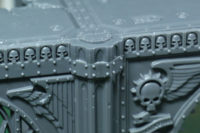
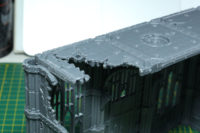
The floor tiles need their column toppers as well. I added the small splintered floor pieces for detail and one of the trimmed off skull-border pieces we cut from the support arches, to close the edge. We will do the same on Building A.
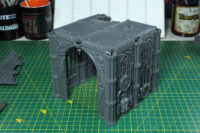
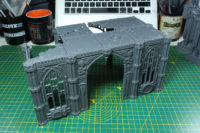
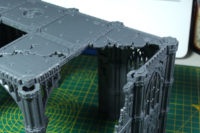
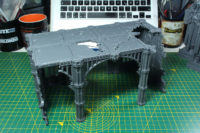
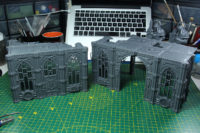
Now we have two medium sized one story buildings, Building A to the right and Building B to the left. As you can see I used the second trimmed off border piece to decorate the edge of the floor as well. You could stack the buildings on top of each other if you like. That is one of the big advantages of the new system, you don't need to glue the floors to each other. You could build a couple of one-story ruins and stack them to your gaming needs or spread them out for a broad but "flatter" gaming area.
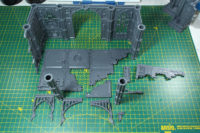
After building the statues and toying around with the main frames, we have the frames of the smaller ruins set. The 30 EUR ruins set seems to me like two of each of these sprues. You get an assortment of broken half high walls, two double pieces, two single pieces and two heavily damaged edge pieces.
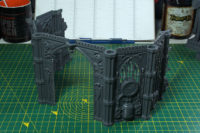
These can be build in different variations, as they use the same columns as the other Sector Imperialis kits, you can angle the walls in 45° or 90° as well. As you don't have to worry about the floor pieces with these, you can arrange them even more freely.
But instead of using these individually, I decided to use them as the second floor walls for the two buildings. As the smaller Basilicanum would still have the statues in front of them, and they are connected to the front wall, I wanted to keep the walls on the second floor half-way intact. So I went with a broad front and small ruins edge.
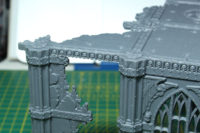
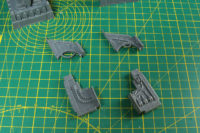
There are additional detailing pieces in the kits, like the broken off tips of the columns. These are available in two designs and five of them are included in this kit. So I added three to the bigger Building A.
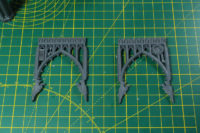
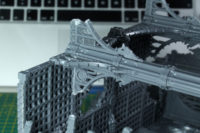
As I didn't use the smaller support arches. I decided to put them to use on the ruins by cutting them up and placing them around the corner of the columns, as you can see below. With the fourth one being positioned below the floor tiles, I had to cut off the skull trim.
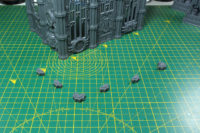
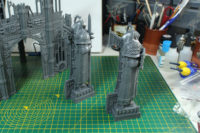
Now just the statues are missing. They were assembled in the first step of this build review. They are connected to the columns in the first and second floor by two connection pieces each. They can be angled if you want to in 45° or 90° similar to the walls, so if you want to place them on the corners, that would be an option as well.
And back to building B. The remaining pieces from the smaller ruin frame are used to build the walls of the second floor. Along with the broken remains of the columns.
I used the chandelier (piece B6) to connect to smaller floor pieces to the edge of the ruins for further detailing.
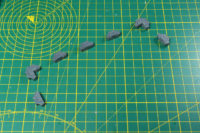
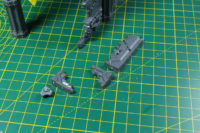
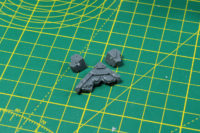
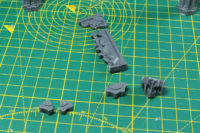
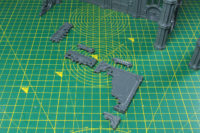
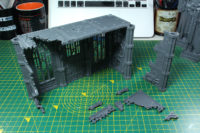
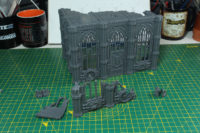
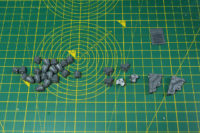
And after building the two medium sized ruins, I used a majority of the parts and had only these few bits left. An optional wall covering, two small edge pieces of damaged floor tiles and a load of head lights (that weren't used in the entire assembly instruction). I assume they are glued to the centre of the underside of the floor tiles.
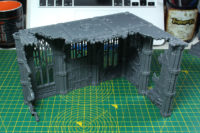
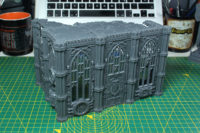
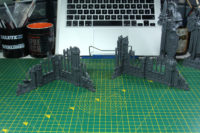
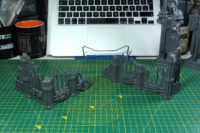
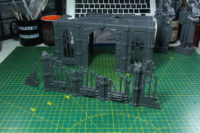
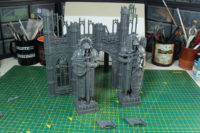
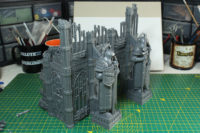
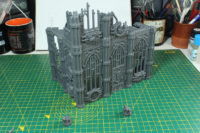
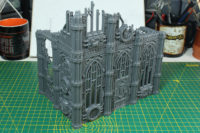
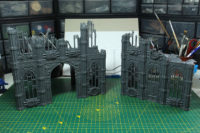
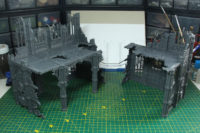
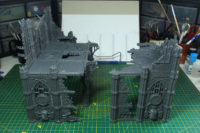
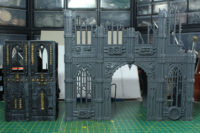
Here you can see the two assembled ruins (with the statues removed for space purposes). You could use them individually or place them next to each other to show the remains of a larger building.
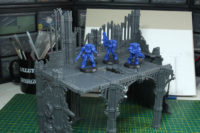
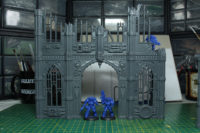
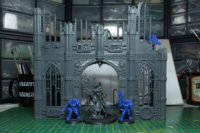
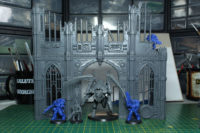
I was sceptic at first, if the new taller size of the walls wasn't to big even for the 32mm heroic scale of Warhammer 40.000. But with more and more larger miniatures on the field, like the Armiger Warglaives, monstrous creatures and such, it made sense to increase the size of the terrain, as they need cover too and you need stories tall enough to place them within. A couple of shots with a few Primaris Space Marines and larger creatures from the 40k universe.
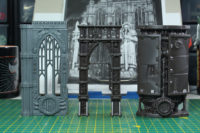
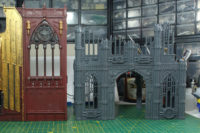
A brief comparison with a Cities of Death ruin shows the sheer size of the kit, as well as the hugely improved details, both in density and design, compared to the over a decade older other kits.
Conclusion
To be honest, I was sceptic at first with these kits. At 80 EUR, it is quite the price badge for a single building. And with the number and size of the stories, it felt a bit unnecessary tall for a skirmish set up like Kill Team. But if you split this meant-to-be 3 story building into the two buildings I showed here or split them even further in a couple of ruins, you can go quite a long way in terms of terrain. In the Kill Team starter box it is similar, covering more ground than height. And if you can get out two or more medium sized building ruins, they are 40 EUR each, with is reasonable.
I am amazed by the interconnectivity of this kit and the range. The put a lot of time into the design and how they work with each other, within the range and within other kits from the 40k terrain range. Quality has improved by a lot compared to the cities of death. You still have a bit of warpage on some of the larger pieces, but overall they fit much better together. And they are much more modular, as you can actually assemble them in many different ways without having to worry about gaps and such.
I am thinking about getting the Sanctum kit as well, as I like the smaller statues and the different type of church like support arches. But I want to be honest, these kits are rather time consuming to prepare and build. Due to the thickness of the parts, they have a lot of connection pieces within the frame, all of them need to be cleaned, along with the mould lines. As you have a large amount of details per piece and with the large windows a lot of outline to cover with mould lines, there is a lot of filing and scrapping to be done. But once you're beyond that stage, it gets quite easy. Easy and modular assembly with a good amount of variation. They beat the look of regular MDF terrain by far and you get quick results. A coloured primer, some generously applied wash and dry brushing will get them on the table in no time. But there's always the option to add more details.
Warhammer 40.000 is a brand by Games Workshop.
The reviewed product item was provided by the manufacturer.









Leave a Reply