Bolt Action Jagdpanzer 38(t), Flammpanzer 38(t) and 2cm Flak auf Hetzer
To finish on 38(t) week, I cover today the Hetzer kit by Warlord Games. As this kit covers quite the broad variants, I'll base the review around the Hetzer Zug kit, so I can build all three variants; the Hetzer, the Flammpanzer and 2cm FlaK 38 Hetzer reconnaissance anti-aircraft vehicle.
As this is a Hetzer kit, like the one by Rubicon, the following description is the same:
As the tank destroyers Marder based upon the Panzer 38(t) were more of an industrialized "field conversion" using captured anti-tank guns and later regular PaKs, a properly designed light tank destroyer was needed. Introduced as the Sd.Kfz. 138/2 Jagdpanzer 38(t), this tank was produced from April 1944 until the end of the war, along the heavier Jagdpanther and Jagdtiger variants. The name "Hetzer" is undocumented and it is unclear, were it actually came from and it is highly discussed if the tank even was called that during the war. Hetzer comes from the German verb "hetzen", meaning hounding or rushing somebody or something.
The total number of Hetzers build during the war was slightly more than 2,500 units. During the production several alteration and modification were made, and a lot of variants and prototypes were introduced, based on the widened 38(t) chassis. After the war Czechoslovakia continued to build the tank and exported nearly 160 vehicles to Switzerland, as version G-13. There are quite a lot of Hetzers to be seen in tank museums around the world, and even some in private collections. One of the most famous owners of a Hetzer was Motörheads Lemmy Kilmister.
There were several variants build of the Jagdpanzer 38(t), like a command, reconnaissance and recovery variants. Some of these were properly produced, others simply field conversions with only one or two digit numbers build. And with some of them, it is entirely unsure of the plans moved much further than blue prints. Of the Flammpanzer 38(t) just 20 units were build and first used on the Battle of the Bulge. Of the reconnaissance variant that the included FlaK carrier is based upon - at least by Warlords words were only 2 build, so it is more likely that it is build upon the recovery variant, of which more than 180 units were build. Beside in German service, the Hetzer was used by the Czechoslovakian army, Hungarians, Bulgarians, and even some captured vehicles by the Red Army and the most well-known “Chwat” (Daredevil), captured by Polish insurgents.
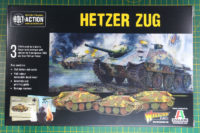
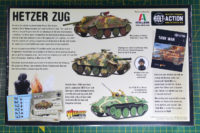
This kit is a cooperation by Warlord Games and Italeri and covers the regular Jagdpanzer 38(t), Flammpanzer 38(t) and Reconnaissance variant, along with parts for the early, mid and late productions. It is a hard plastic kit in the 28mm / 1:56 scale and comes with a price tag of 20 GBP, or the Zug with 3 vehicles for 50 GBP. The decals in this kit cover the opportunity to build it as Hungarian vehicles as well. As I wanted to show you all three variants in this review, I went with the Zug box.
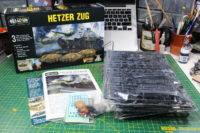
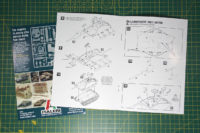
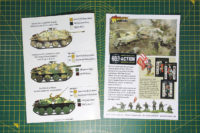
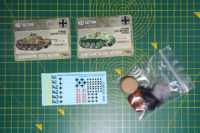
The box comes with three sets of Hetzer sprues, a multi page instruction that covers some paint guides, stat cards, a decal sheet and a bag of wound tokens.
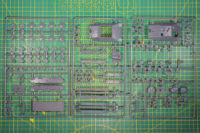
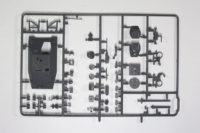
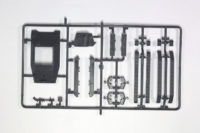
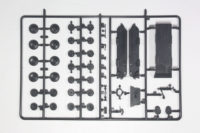
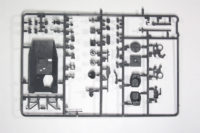
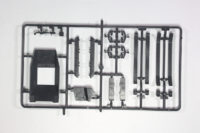
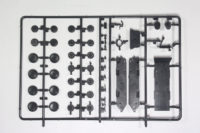
The Hetzer kit is spread across three plastic sprues produced by Italeri.
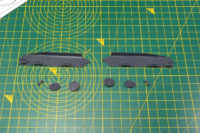
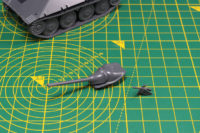
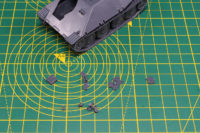
As you can see the sprue is used loosely, with lots of free space around the frames. Casting is okay, quite a bit of mold lines and there are a few - unfortunately repeating - casting errors.
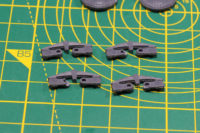
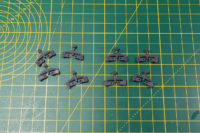
You notice that this is more of a model kit, so it uses a lot of individual pieces to form assembly units. The road wheels are connected to springs, unfortunately those are not very well casted. The connection is fragile as it is, as the connection between the socket and pin is not very tight, but with parts of the socket not being casted this is even more loose.
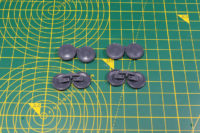
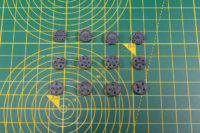
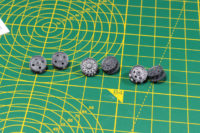
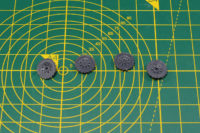
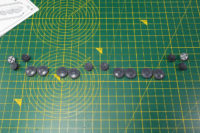
Next up to the road wheels, are the idler wheels. There are 3 different designs included in this kit, with 4, 6 and 12 holes. With the designation of 4 for early production, 12 for mid and 6 for late production. Unfortunately that designation is wrong. There are different sources, but you could generally say that the number of holes is reduced over time of production. Early production should be 12, same as the Panzer 38(t) chassis and reduce from there. The Flammpanzer would have 8 holes (not covered in this kit), as the original pictures of the S12 Flammpanzer serving in Army Group G in Belgium. Actually most Hetzers I've seen in Museums or pictures of had 8 or 4 hole idler wheels, I only recently came a across a few idler wheels ith 6 holes in Ospreys New Vanguard 36 and in the background of this picture.
The sprocket wheel is assembled, two piece and aligned with the remaining wheels.
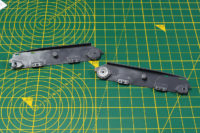
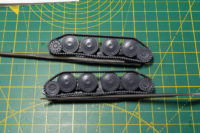
The outer walls of the lower hull are prepared. The suspension is added and the fit is a bit loose, so I was worried about the later fit of the tracks.
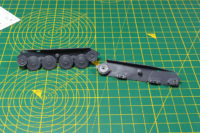
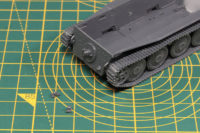
The tracks are the next step. And the fit was really bad. It felt as if they were a mm or two too long. I added the tracks shortly after the assembly of the prior step, so that the glue was not completely set and I had the chance to rearrange the parts if they need to. The ill fit was a very annoying step and I had to repeat it two more times for the other tanks.
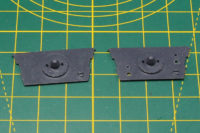
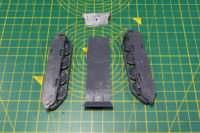
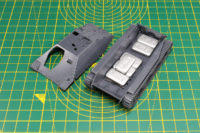
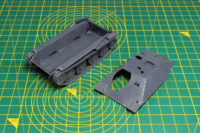
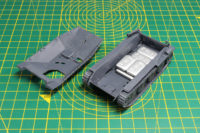
To complete the lower hull, you have to combine the back plate and underside with the side walls. If you want to add spare tracks to the hull, you have to drill in the holes in the back plate.
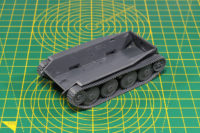
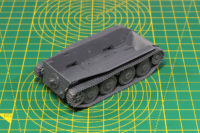
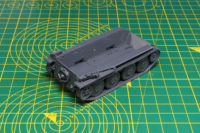
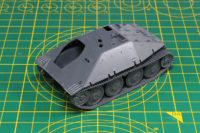
Now the lower hull is done and you can check it for a proper stance (no wobbling) and add lead to the kit if you want to weigh it down.
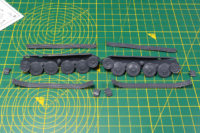
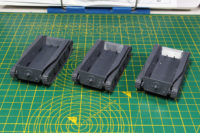
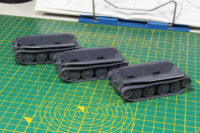
I have build the three different production variants included, with the different idler wheels and you can see that the tracks unfortunately don't really align with the upper row of wheels. The sockets for the spare tracks were added to some back plates, not to all to have a bit of variation among the tanks.
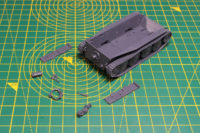
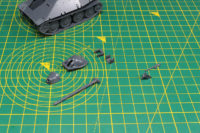
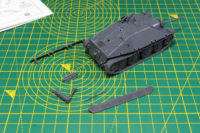
Now the tools and rear track guards are added to the kit.
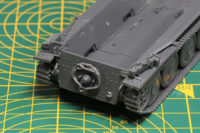
The towing rope has no clear connection, so you just glue it to the flat part of the back around the round plate.
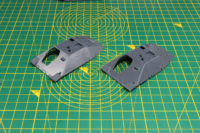
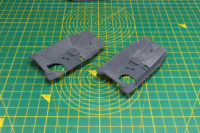
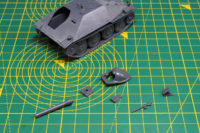
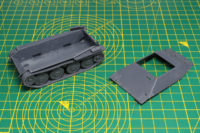
There are two upper hulls included in this kit, one is the closed one for the regular tank variants and the other one an open for the Aufklärungspanzer variant. You can not use the upper hulls directly from the sprue, you have to prepare them for the next steps. This means you have to drill holes for tools and further spare tracks, along with cut sockets for the side skirts. There are guides on the inside of the parts, but those are not a perfect match.
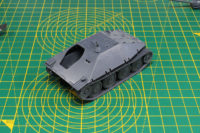
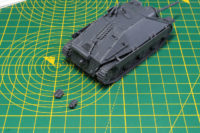
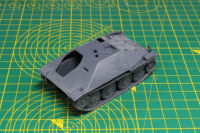
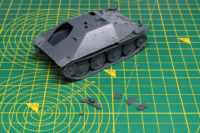
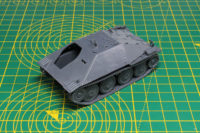
Until here the steps are for all the tanks the same, so I'll split it and continue here with the Jagdpanzer 38(t) Sd.Kfz. 138/2. I cut the sockets for the side skirts and added lead to the hull.
The mantlet is next, along with the MG. You can keep the gun movable, if you glue everything but Part 41. The kit only covers one gun variants for all the production runs. The hatches can be added open or closed, in case you want to add a tank commander.
The mantlet is a good fit and the tools can be added around the hull.
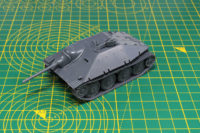
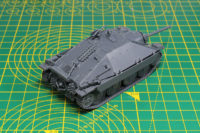
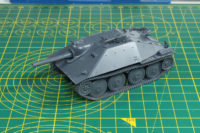
Next up are the track guards and exhaust. As the instruction noted the 4-hole idler wheels as early production, I went with the early exhaust, so this is an historical inaccuracy. But maybe it is an early kit that got replacement idler wheels. Just the spare stracks missing and the Jagdpanzer is done.
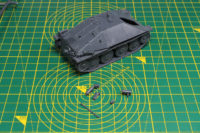
The fit of the track guards was okayish. This could have been handled better to be honest. With other kits, you glue them to the rim and that is it. Even if you leave the track guards off, you have to fill the not fully casted sockets, as you can see with the flammpanzer.
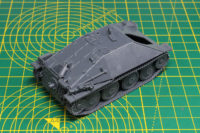
As the Jagdpanzer is complete, the build starts again at combining the lower and upper hull for the Flammpanzer 38(t). It uses the same upper part as the Jagdpanzer, I just left the track guards off. As you can see there is a minor casting error on the area that you would have to cut out if you want to add the track guards. I went with the chassis with 12-hole idler wheel. Sources state that there were only 20 where built and assigned in two groups of 10 to the Heeresgruppe G. Pictures of the S-14 tank show it with an 8-hole idler wheel. But as 8 weren't an option with this kit and the further added parts let assume that they were built upon late production variants, I went with what I had, the 12-hole idler wheel.
The hatches can be build open or closed like with the regular Jagdpanzer, but with a flamethrowing tank I assumed it would be a better choice to keep them closed.
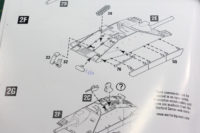
The additional exhaust part (?) is not numbered on the instruction leaflet, but is part #46. The proper assembly position is unclear, as there is no socket on the back and on the finished Flammpanzer a few pages further you can't really see it due to the angle.
Last but not leasts, the mantlet with the flame projector is added along with the board MG, and the Flammpanzer is completed.
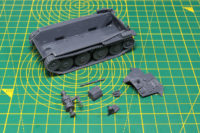
Now back to the chassis, but this time with the different open topped upper hull to build the Bergepanzer 38(t) Sd.Kfz. 136 with 2 cm Flak. The instruction states that this would be the Aufklärungspanzer, but it is more likely that the Flak conversion was build upon the more numerous Bergepanzer. Some procedure here, you have to drill holes and cut the sockets for the track guards and tools if you want to use them. I decided to not use the tools and no track guards either, as the tool boxes surely could be stored inside the tank and the track guards weren't necessary on a Flaktank.
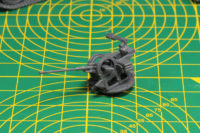
The 2cm Flak is movable, so you only glue a few of the parts together and the gun keeps the option to be elevated.
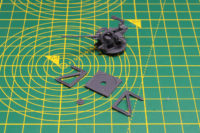
There is a small plateau for the flak that raises it to the proper height. The stance is a bit fragile, but if you put it into the floor of the lower hull (without gluing it onto) while the glue settles that helps to stay in form.
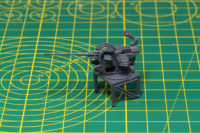
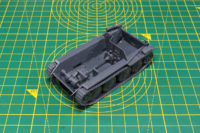
As this version of the Hetzer is open topped, you can see into the fighting compartment. Therefore a few parts for the transmission are visible.
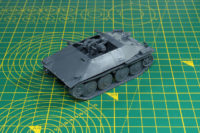
Now the remaining parts of the exterieur are added, I didn't glue in the stand with the Flak, as it would be impossible to properly paint the vehicle later on.
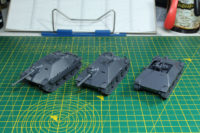
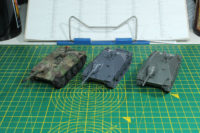
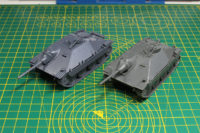
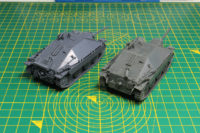
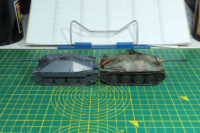
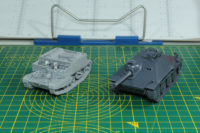
A brief comparison of the three tanks made from this box, along with the shot next to the resin kit by Warlord Games and the Rubicon Model.
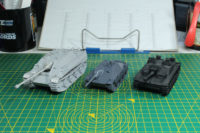
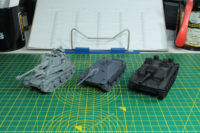
Along with the comparison with other German tank destroyers, the much larger Jagdpanther, the Stug and Marder III.
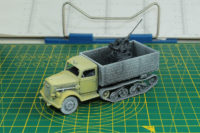
To see how compact the Hetzer actually is, here it is next to the Bren Carrier. And if you build a regular Hetzer variant, you have the 2cm Flak to spare, you could use that for example on an Opel Blitz or Maultier.
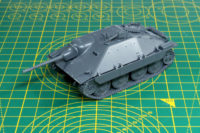
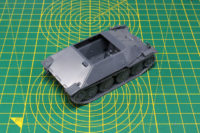
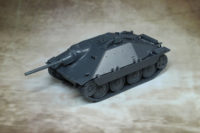
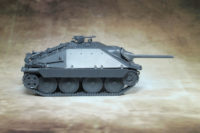
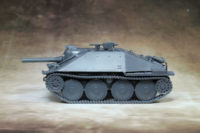
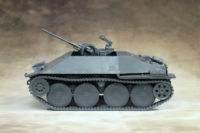
To sum this article up, the build tanks in a close up, beginning with the Jagdpanzer 38(t).
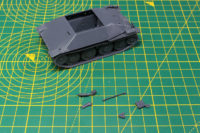
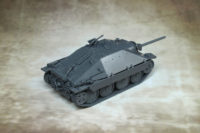
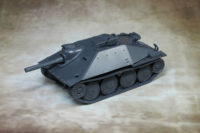
The Flammpanzer 38(t).
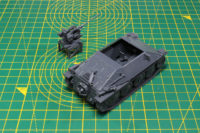
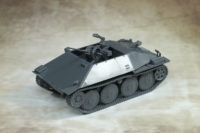
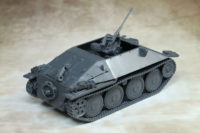
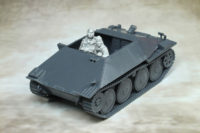
And the open topped variant including a shot of the Bergepanzer with an German artillery crew added for scale purpose.
Conclusion
One benefit of this kit certainly is that you have a broad variety of variants that it covers. This is not the usual with the Warlord Games kits, especially with the Italeri cooperation (if you don't count the Churchill), as they most are simply the tank on the box and that's it. The kits by Warlord Games themselves are more wargamer friendly, with the Italeri ones clearly showing their roots in model kits. And that is the big problem from my point of view with this kit. Yes, you have all the options, but it is an incredible amount of work for a gamer and some things like the trouble with the fit, the needed work with the holes and socket or the historic inaccuracy are certainly there.
With the Bergepanzer open top variant you have a lot of potential for conversions that is true, for example like the 15cm s.I.G 33/2 (Sf) auf Jagdpanzer 38(t) or Bergepanzer with a dozer blade, and some crazy paper tanks with rockets or rocket launchers on the roof. Even some variants with a Sd.Kfz. 222 turret. But still, it had casting issues and ill-fitting parts, that I am - especially after the great experience with the Panzer 38(t) and Marder kit - not satisfied with this kit. The Rubicon kit is less trouble at a similar price tag and gives you, especially if you're just looking for a Jagd- or Flammpanzer, the better experience.
Bolt Action is a brand of Warlord Games.
The reviewed product item was provided by the manufacturer.





Leave a Reply