Rubicon Models SdKfz 250/3 “Greif”
Continuing with the Africa theme week, we stay with the vehicle kits, switch the manufacturer to Rubicon Models and take a look at Rommel's personal command car, the SdKfz 250/3 "Greif".
Rubicon Models released a broad range of armoured vehicles and added later conversion sets to some of them, to give them even more options. One of these is the command upgrade for the SdKfz 250 (Alte and Neu) and SdKfz 251 (Ausf. C and D) kits. In this case we're going to combine the SdKfz 250/1 Alte with the upgrade kit to build a SdKfz 250/3 in this building review.
The SdKfz 250 was a light armoured halftrack vehicle, very similar to the larger SdKfz 251. It was used in a wide variety of roles by the german forces, the basic variant was used as an APC for scout units, and was usually equiped with one or two MG 34. Other variants were armed with heavier guns, like the SdKfz 250/11 with an sPzB 41 or the SdKfz 250/7 with an 81mm mortar. The production of the Alte was stopped in October 1943, with around 4,200 units built, in favour of a new design, that would be easier and cheaper to produce (introducing SdKfz 250/1 Neue). This greatly simplified the production, but did not enhance the level of protection, as almost anything above small arm fire could penetrate the SdKfz 250 of both variants.
Rubicon offers these kits made from ABS hard plastic in the 28mm / 1:56 scale, at a price of ca. 23 EUR for the basis vehicle and ca. 13 EUR for the expansion set.
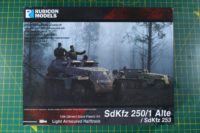
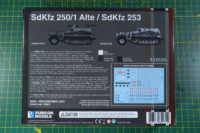
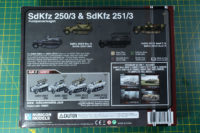
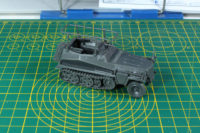
Let's begin with the basics. We have the RM280032 SdKfz 250/1 Alte / SdKfz 253 kit to begin with. You can build either the light armoured halftrack or the artillery forward observer vehicle. In this case, we will start with the SdKfz 250/1 Alte.
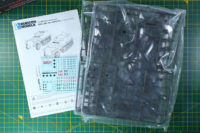
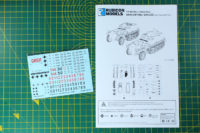
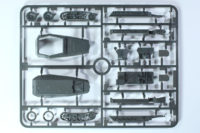
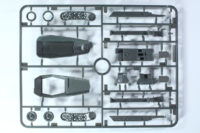
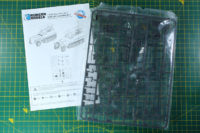
The kit comes with two sprues, an assembly manual and a decal sheet. The decal sheet already includes the insignia for the Greif that we are going to build later.
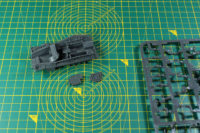
The sprues are casted in the shinier darker grey ABS plastic. There are a lot of details and the cast is properly done. The arrangement is thoughtful and the parts can be taken of the sprue without bigger hassle.
Next is the expansion set 280039. It covers the communication variants, fitted with extra radio equipment and such for command vehicles.
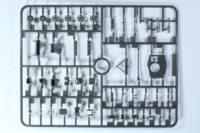
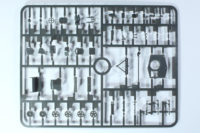
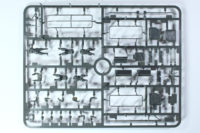
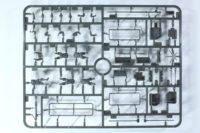
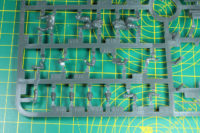
This set covers all the extra parts in a single sprue, along with an assembly leaflet.
There are quite a lot parts in this sprue, along with the frame antenna for SdKfz 250/3 Alte, Neue and SdKfz 251/3. And there are 5 crew members, including Rommel.
As always, prepare for proper use of the kit. Give the sprues a quick rinse with luke warm soap water to remove any detergent and use the appropiate glue, in this case ABS cement is recommended. Take the time to read the assembly instructions before hand, as we have to jump between the two and want to make sure, not to miss any parts.
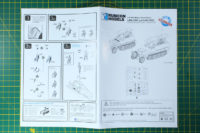
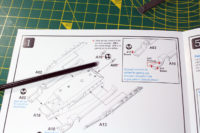
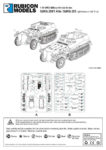
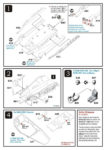
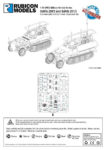
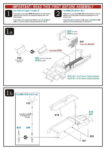
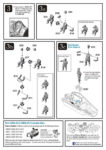
But on this first step, there's a mix up in the assembly instructions, as the parts are not correctly labelled. Rubicon offers the corrected instructions online (and we added them to this review as well). Not a big problem, parts marked with A09 and A10, have to be B09 and B10. As they are illustrated, this error is quite clear and easy to notice. Unfortunately, this isn't the only time that there is this mix up, so better use the instructions below instead of the ones that come with the box.
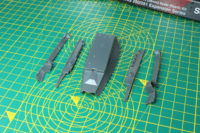
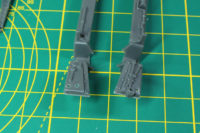
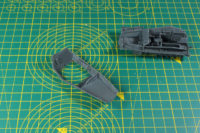
After the side parts are added to the lower hull, a few optional parts and tools are added to the kit. You have to drill holes to fit this onto the chassis, as we had with the M3 Stuart a few days and you might be familiar with this from some other (modell) kits.
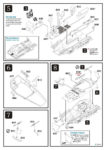
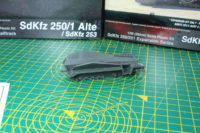
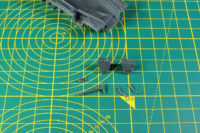
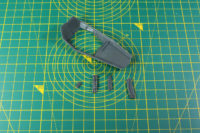
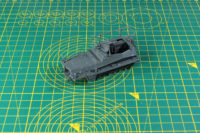
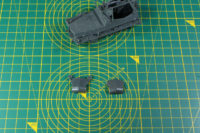
After that, the interior is added. As this vehicle is open topped, Rubicon spend a lot of time to make details inside of the vehicle. This is a bit time consuming and not very clear from the instructions, as a lot of steps are combined and the position in the instruction overlaps unfortunately. In the second picture you can already see a part from the expansion set, the additional radio gear.
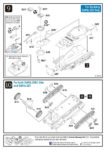
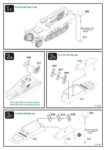
You have to take care, as we don't need to follow all the steps from the base kit, as we have to fit in some radio equipment from the upgrade expansion. Here is the instruction for this. Unfortunately the transition between the two instructions is poorly done. I expected something like replace step 5 and 6 from the basic guide with these two, but you have to find your own way which is rather unpleasant.
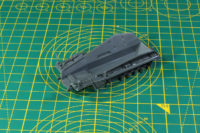
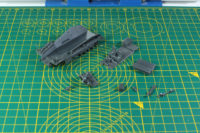
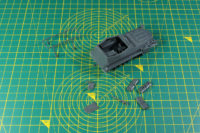
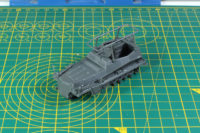
There are few steps, where I assumed that they would follow in that order, like the weapon rack. It is not clear, if that one is needed in the Greif. But there is room for it and I didn't find pictures showing otherwise. The second picture shows the assembled lower part, with the added radio equipment.
As the command vehicle, the SdKfz 250/3 had additional optional gear, like cans and a large frame antenna. The later is not glued in place, as this would make a later paintjob much harder.
Rubicon gives you two options for the front, one for the wargamer and a more detailled one, with more individual parts for the scale model kit builders. As this vehicle is going to be used as a gaming piece, I went with the simpler, wargamer variant of the front grill.
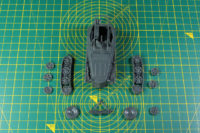
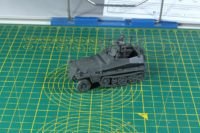
Next up are the chains and tires. Rubicon usually goes with layering, as they did with this one. This gives the track sections more depth, but the tracks themselves are rather smooth (and you have to clean a moldline in the chain structure).
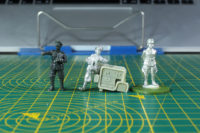
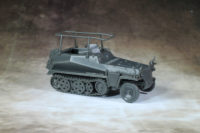
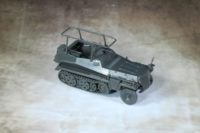
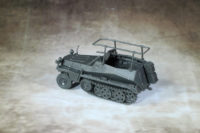
There are crew members in this kit. The details are not very good visible, but they are there, the shiny plastic "eats" them. In the last picture, you see the assembled Greif along with the commander Rommel. There is a box glued to the bank on the inside, to lift Rommel up to proper height.
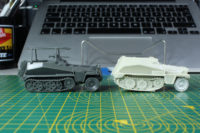
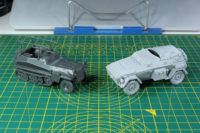
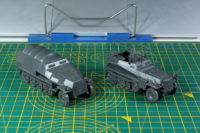
This isn't the only Rommel in 28mm scale, here is a comparison with the Rommel by Perry Miniatures and the limited show miniature by World War AE / Cipher Studio. In the second picture there is a comparison with a resin model of Greif (Perry Miniatures) and a SdKfz 247 Ausf. B by Heer46 in the third.
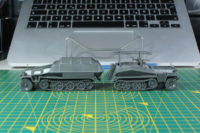
And for size comparison, the SdKfz 251/1 next to the shorter SdKfz 250/3.
Of course, no review of a kit without the showcase series.
Conclusion
Tough one, this kit. Yes, the level of detail is amazing and the final product is more appealing than the resin kit. But, and that is a big but, it could have been much better. First of all, the assembly instructions. Why be lazy there? Rubicon always takes pride on their high level of production quality and accuracy. A proper instruction for the expansion set, that is more extended and clearer would made the experience that I had with this kit much more pleasant. With a regular wargaming kit, that wouldn't be a big problem, but as Rubicon although goes for the scale model kit builders, there are more small parts and option and this makes a lot of work with a kit like this. Beside that, I would have prefered some simplified parts for the interior for the wargamers and a close up or into smaller steps divided instructions for that part.
I like the concept of the expansion sets, as this puts the advantages of plastic to the largest use there is. You make the numbers and you have the variability. This is my first expansion set, but I'm sure that these problems are not an issue that large with other kits like the Einheitskoffer for the Opel Blitz / Maultier, as the seperation for the optional parts is much clearer.
As with the pricing, you pay roughly 23 EUR for the basic kit and another 13 EUR for the expansion. Making the Greif a total of 36 Euro, that is quite a high price for such a kit. The resin kit by Perry Miniatures is 21 GBP / ~25 EUR. Of course, you have the additional bits and piece to build at least one further command car, two if you make the most of it. But still 30+ EUR for Greif, with the weaknesses above, is hard to argue. Maybe splitting this expansions into smaller sprues and making them cheaper would be a better option, As I can imagine 7-8 EUR for a Greif Upgrade sprue would be more appealing, making the total price ~30 EUR.
Link: Rubicon Models



Leave a Reply